All Photos © Christine Elise McCarthy 2014
To see images of my past posts & get links to the recipes – look on my Pinterest board – HERE.


~
All my posts now have a VERY customizable PRINT & PDF option. Create a PDF & save the recipe to your computer or print it out. It offers a “remove images” option & you can delete any part of the post you do not need before printing. The button is below by the Twitter & Facebook links.
~


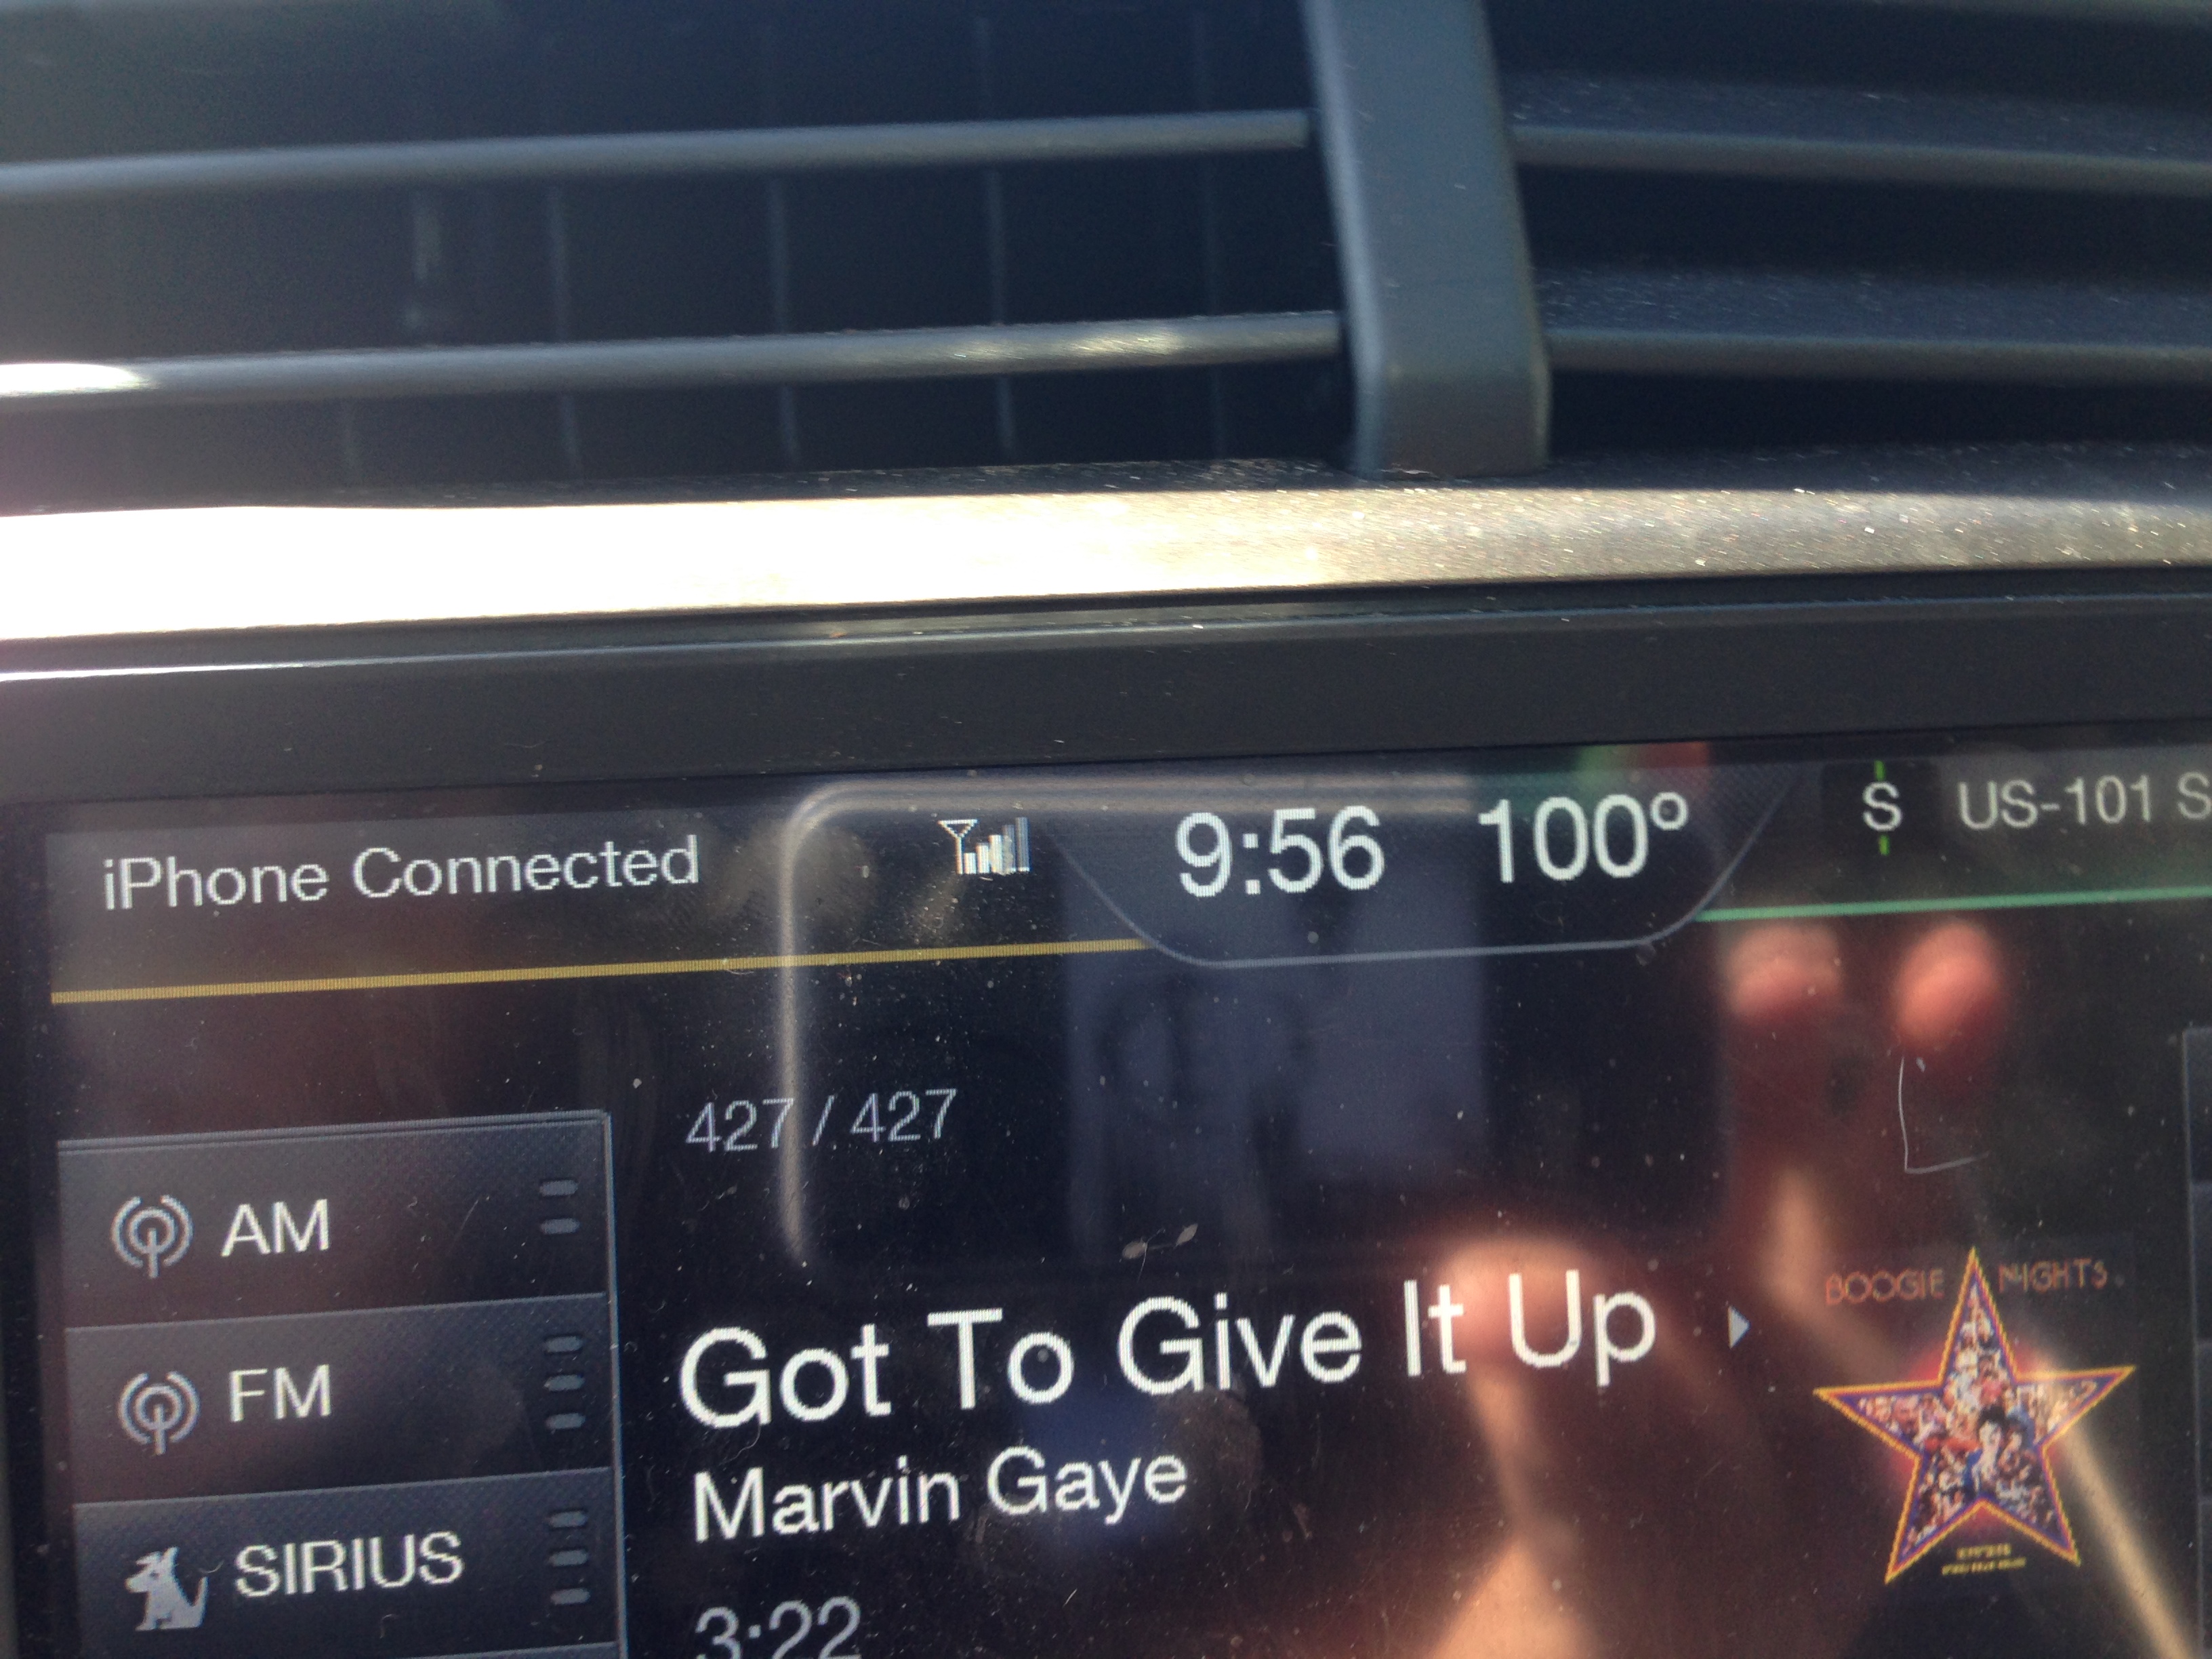
That was taken today – at 9:56 AM. 100 degrees. Holy SHITE! A person can get to feeling downright panicked in this kinda heat – when that person has no access to AC. And I do not. It is fucking NUTS!
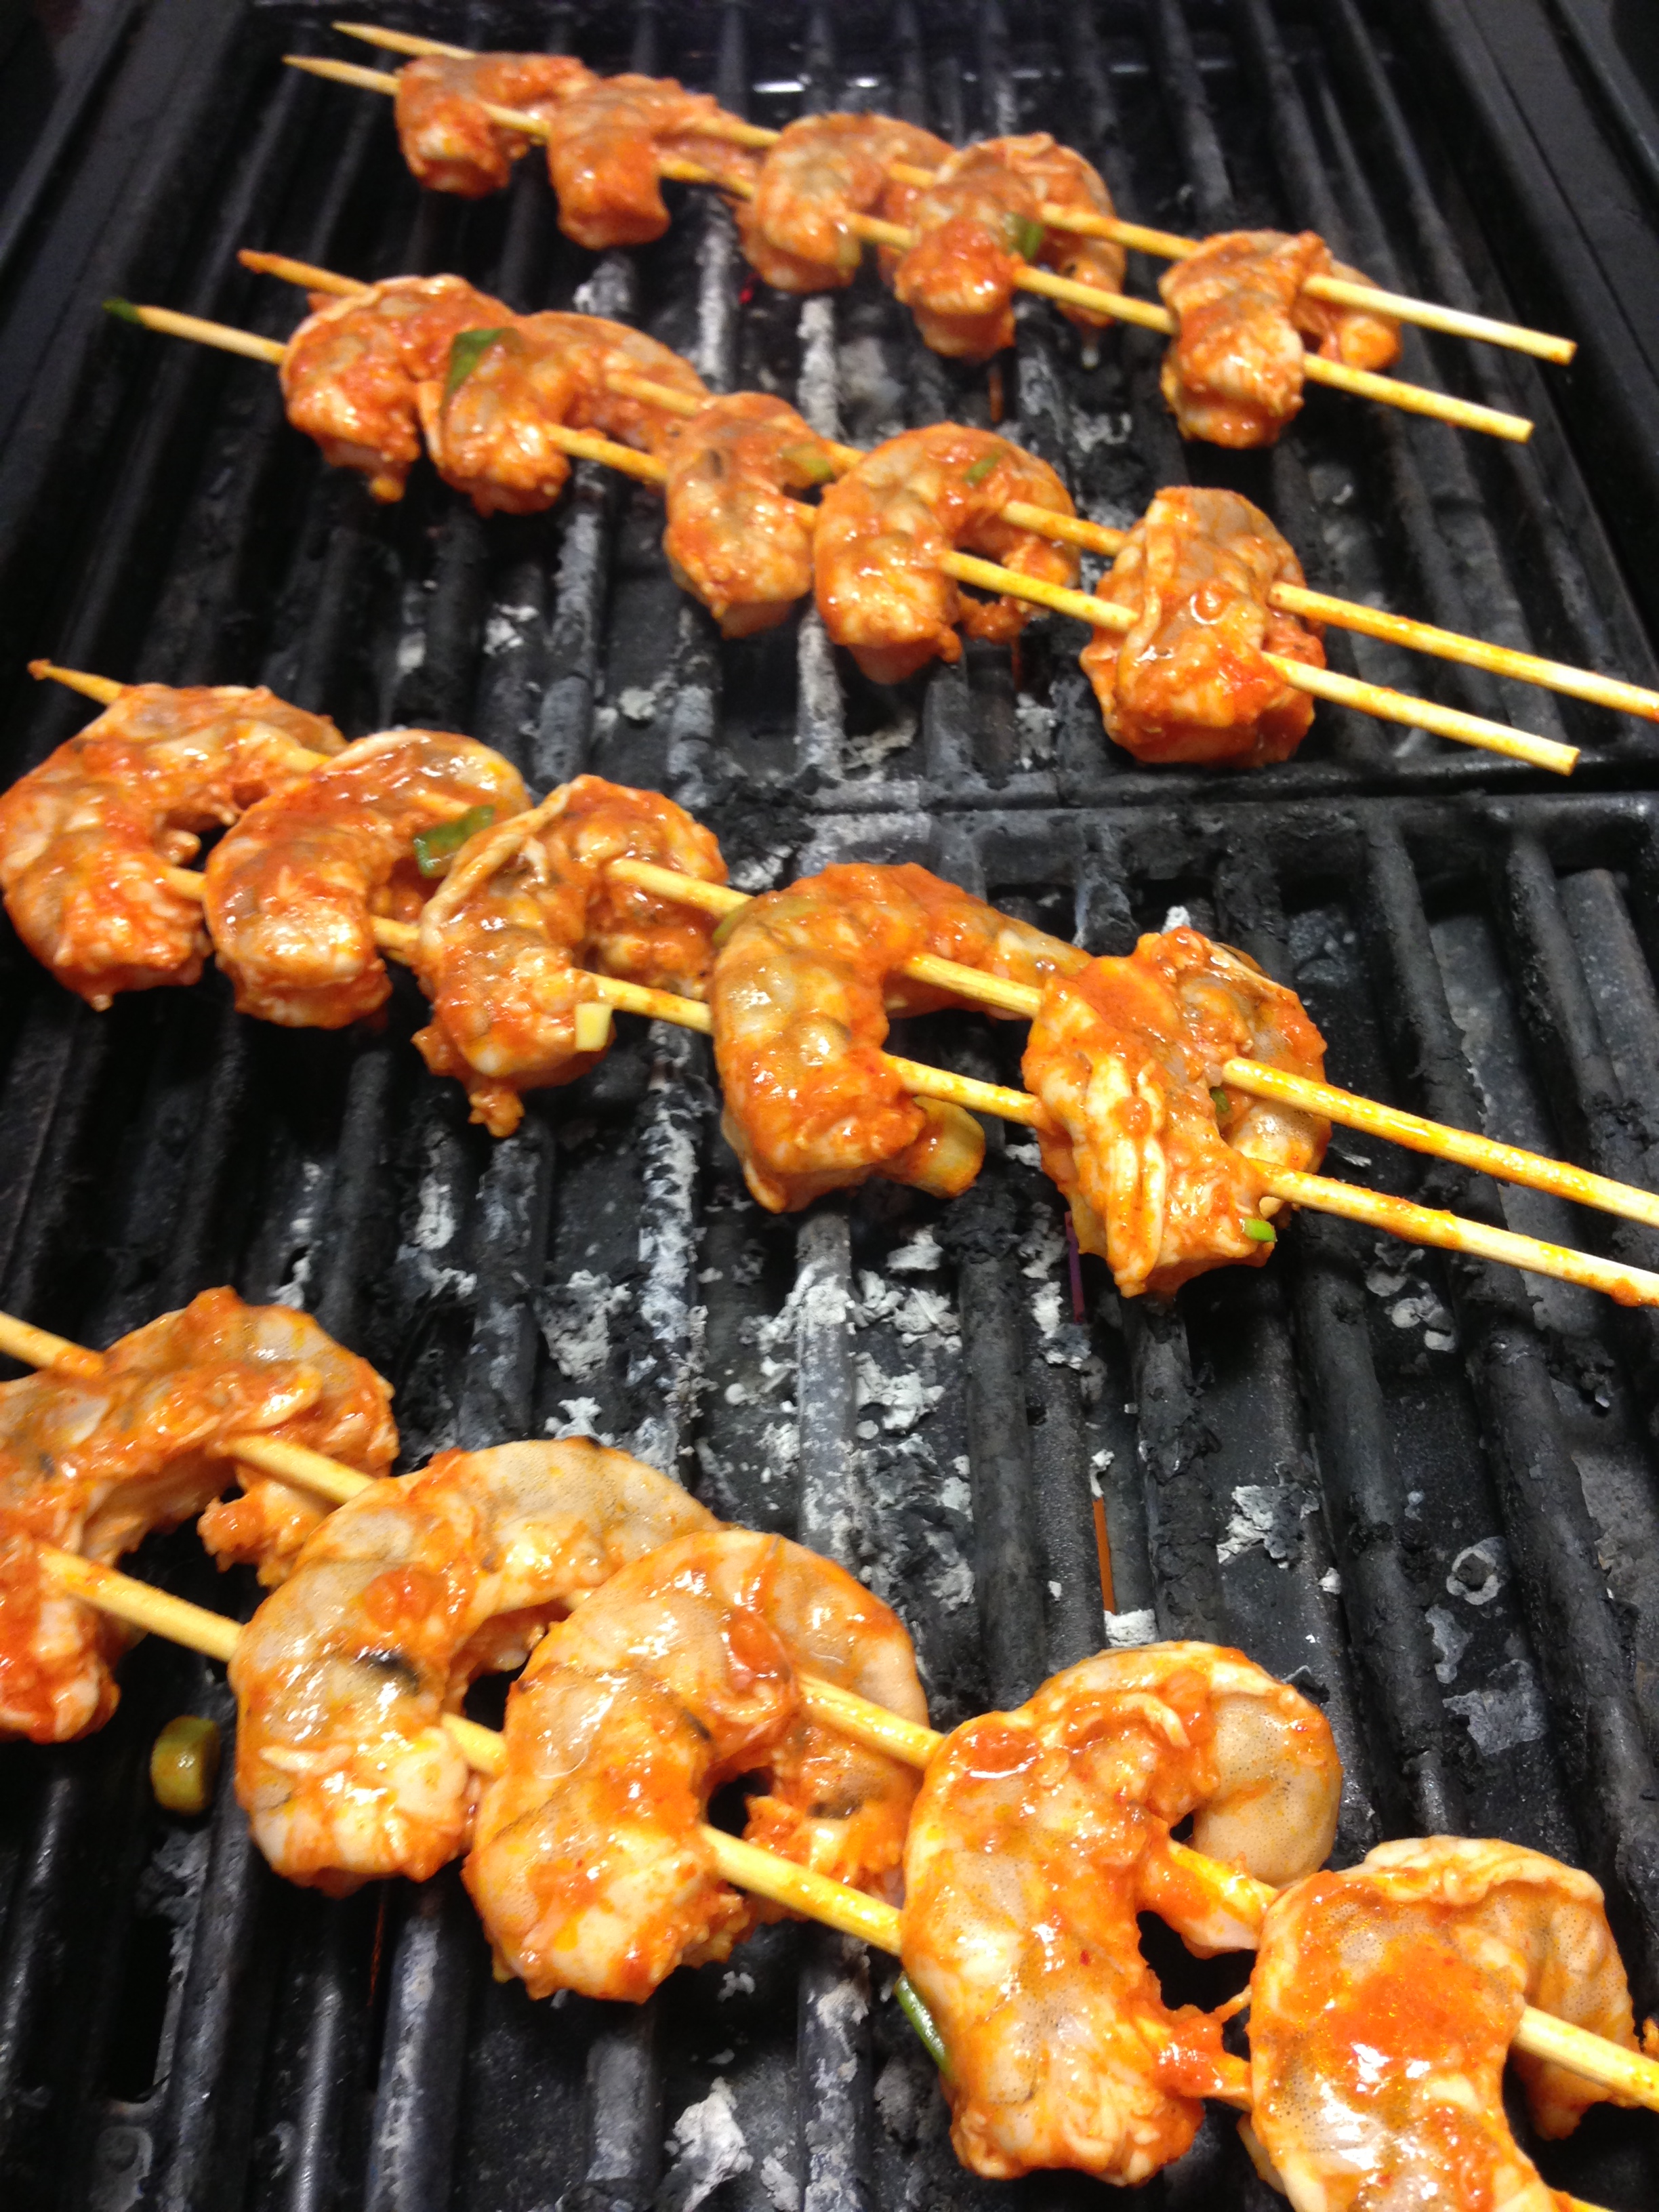
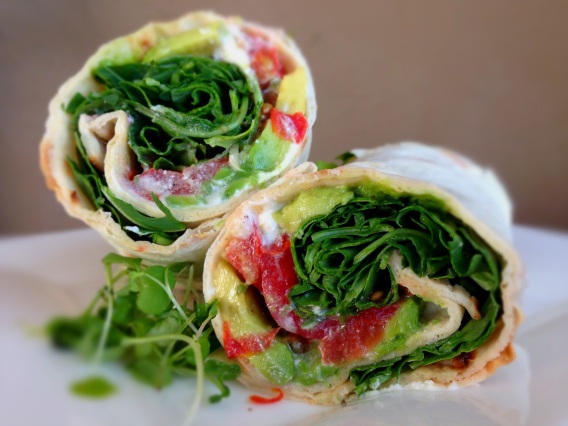
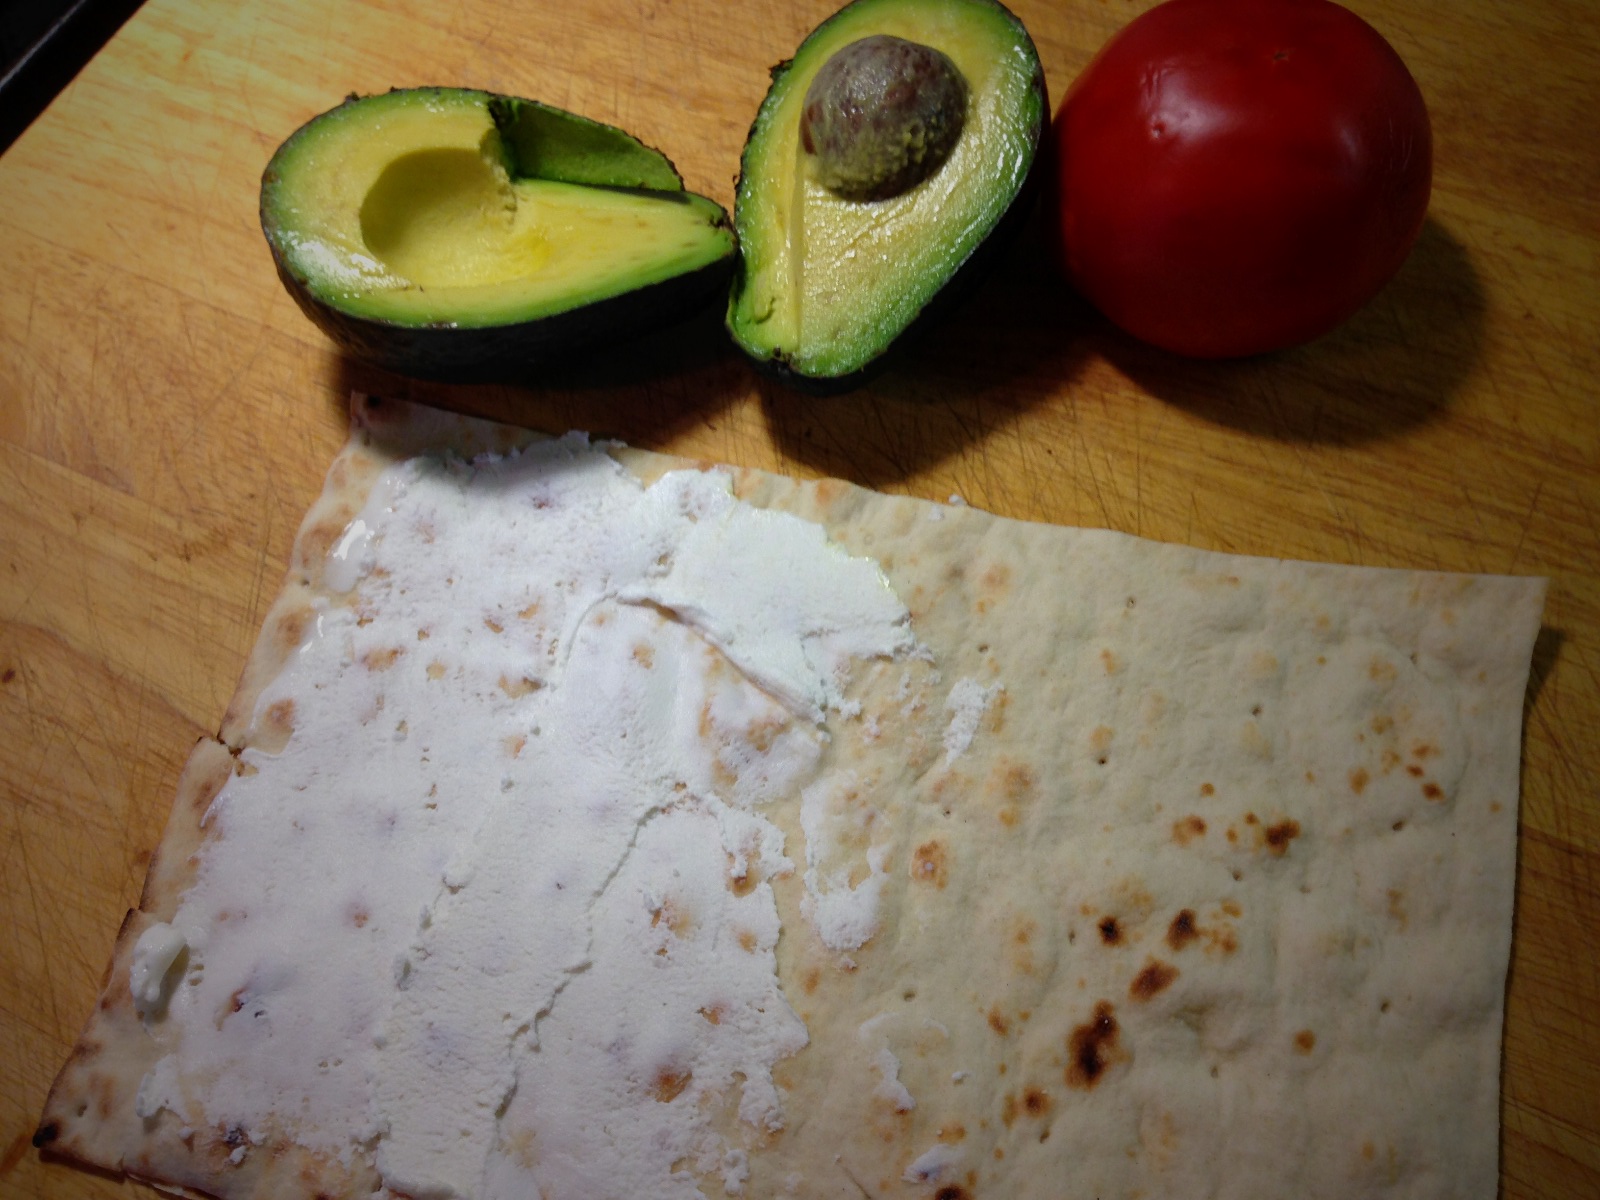
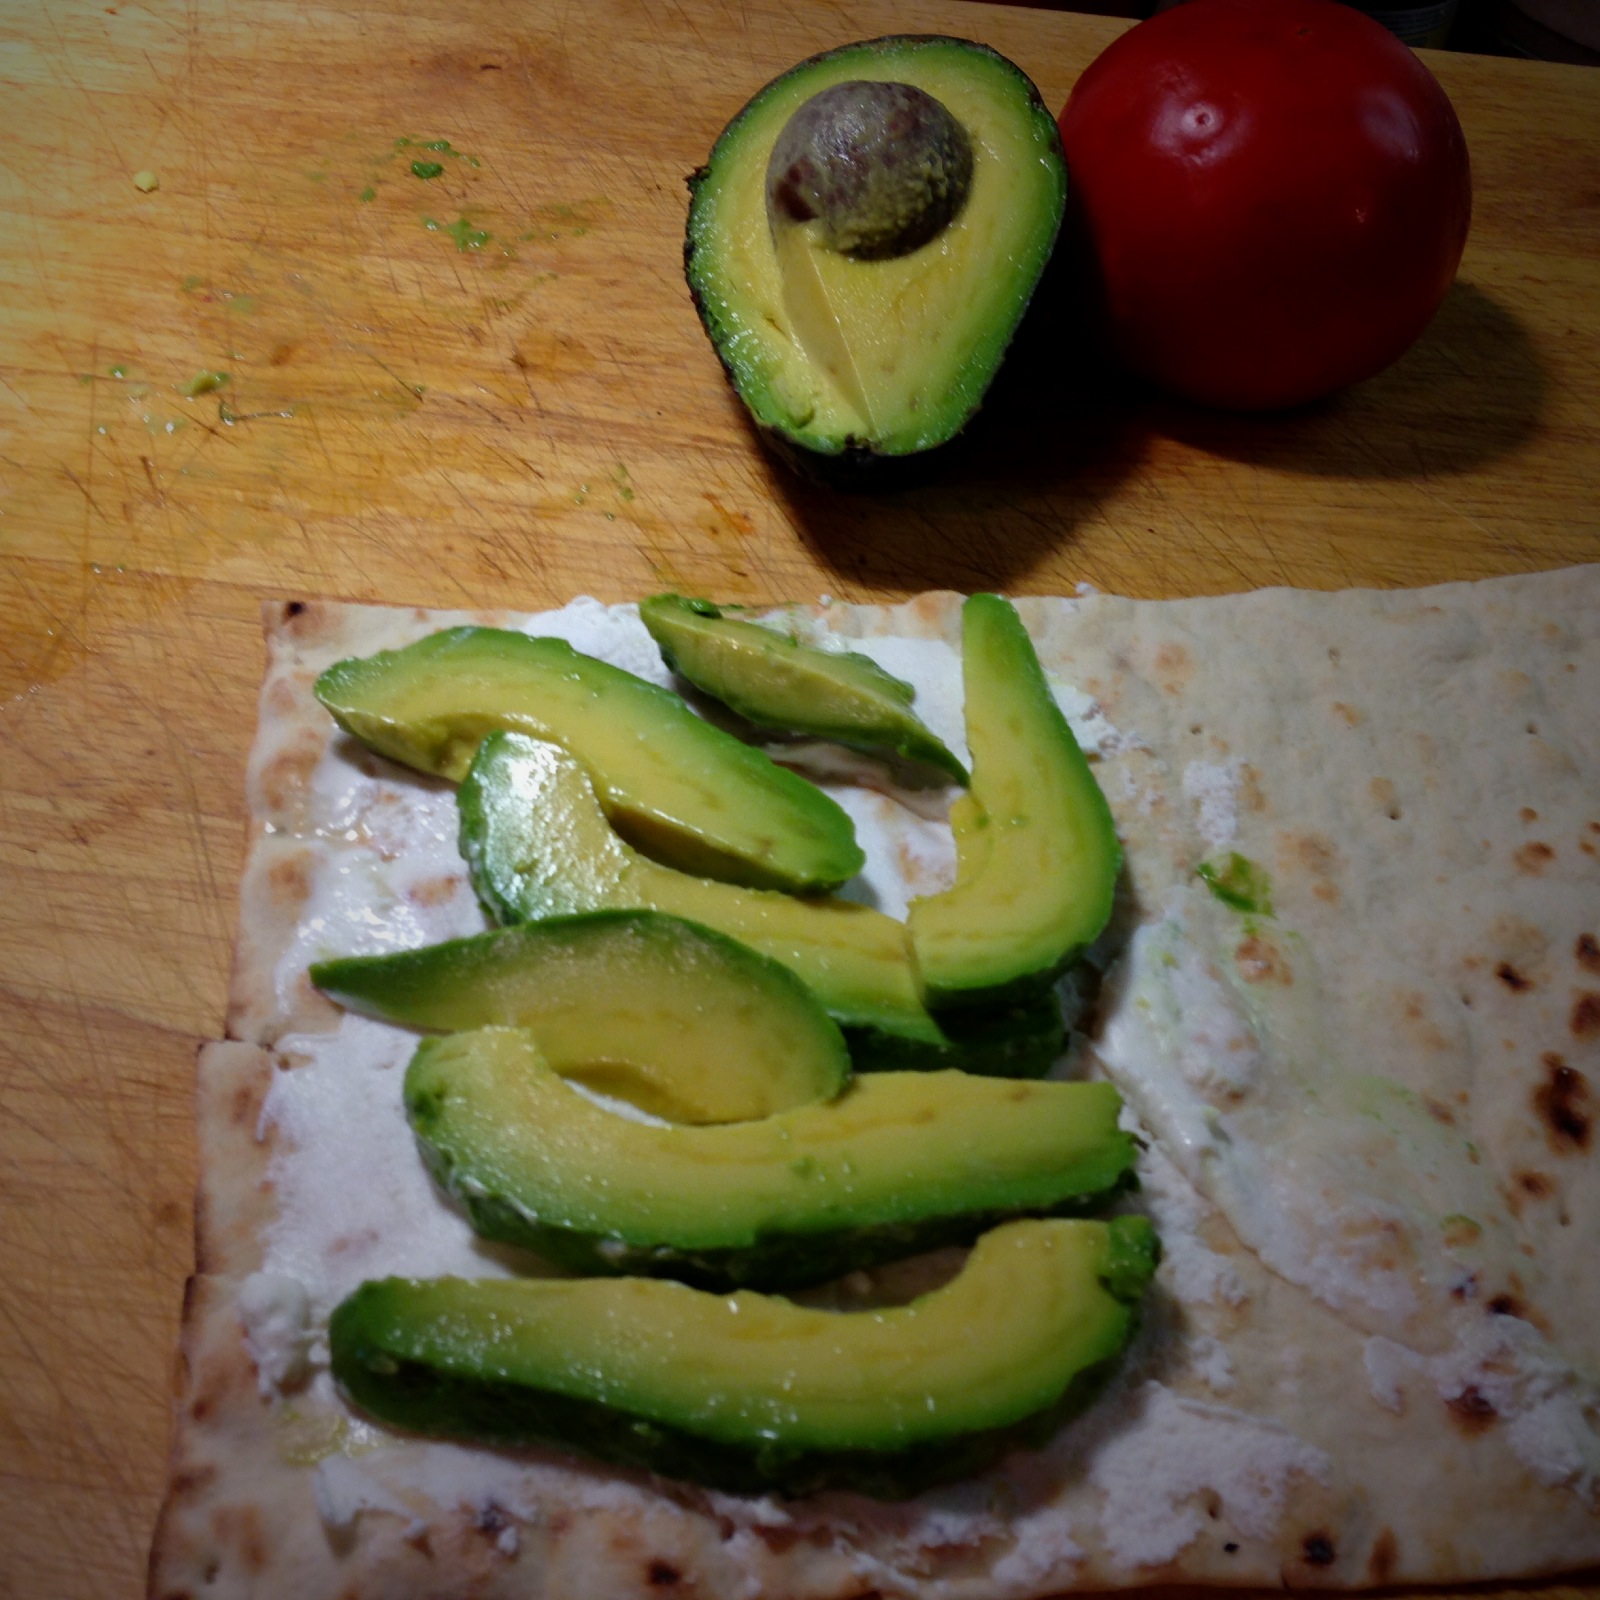
So – in reaction to the heat – I have been making things that require no oven. No stove. No FIRE! NOTHING to add to the heat in the kitchen. Yesterday – I made Cool Vegan Cashew & Cranberry Chicken Salad Tacos with Avocado.

Today – even those tortillas wrapped around the chicken salad look warmth providing & claustrophobic. Looking at the photo, I feel the irrational urge to shrug them off of myself – as if they were wrapped around my shoulders.
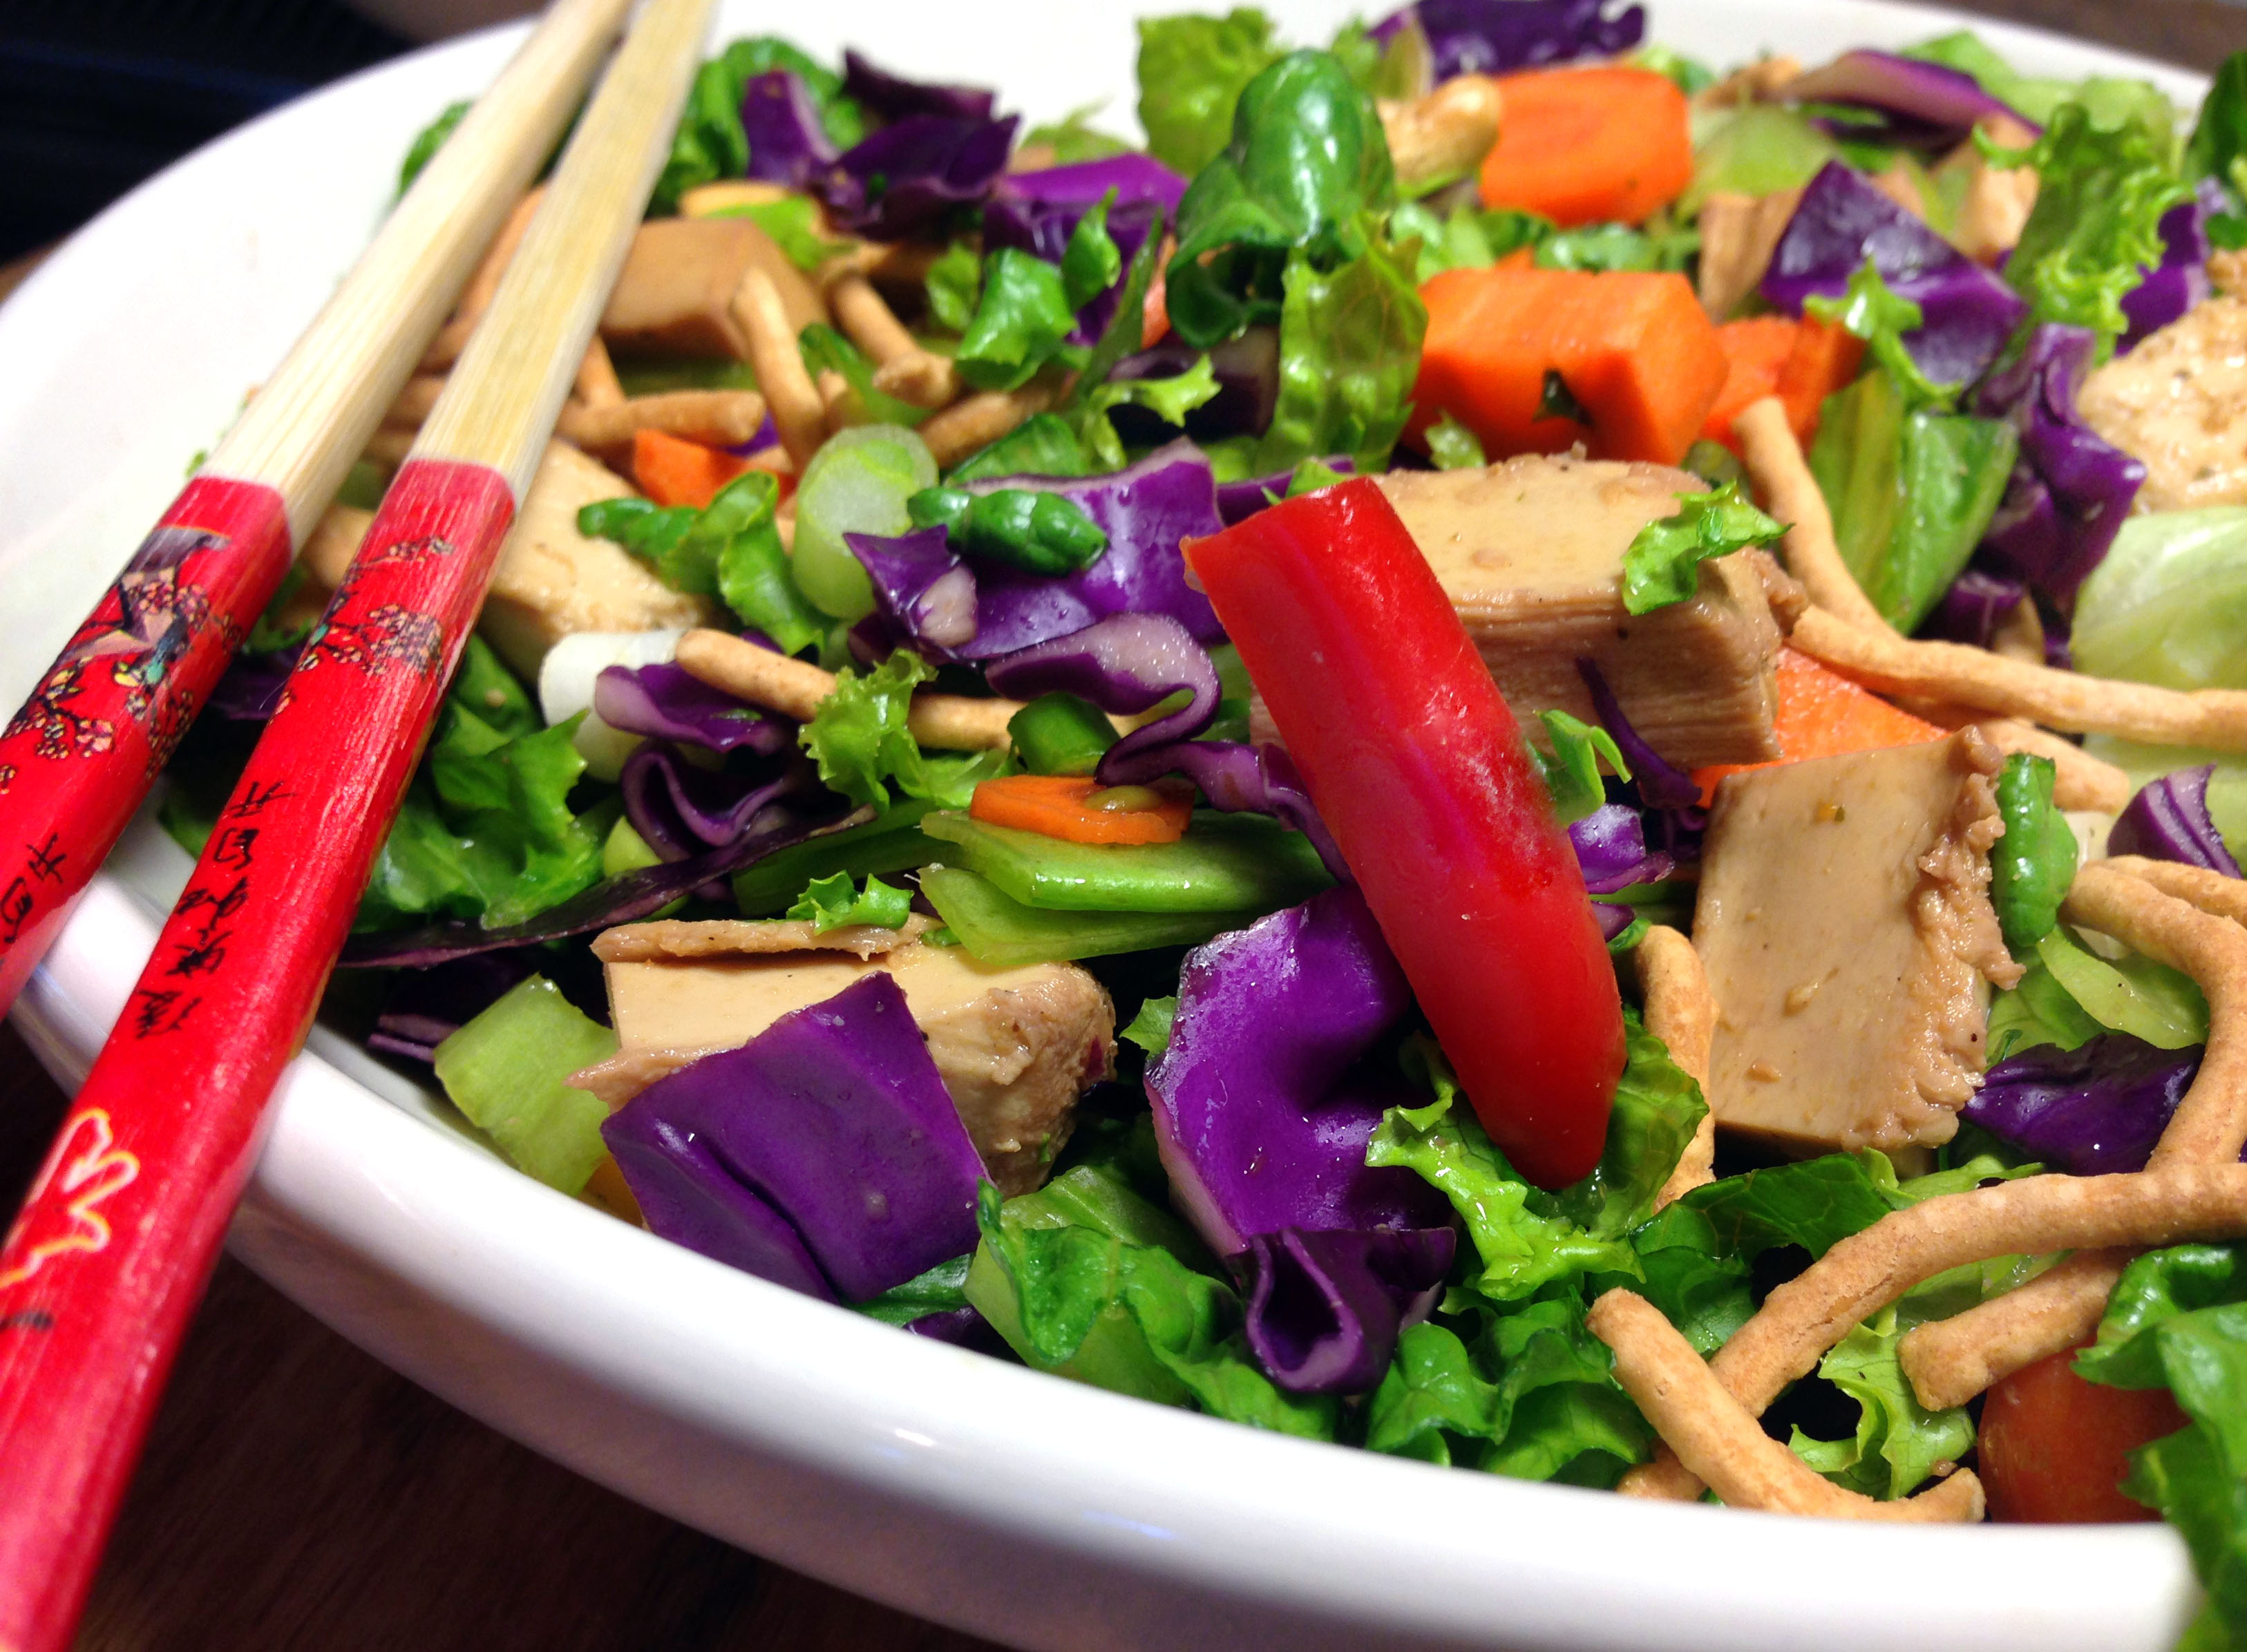
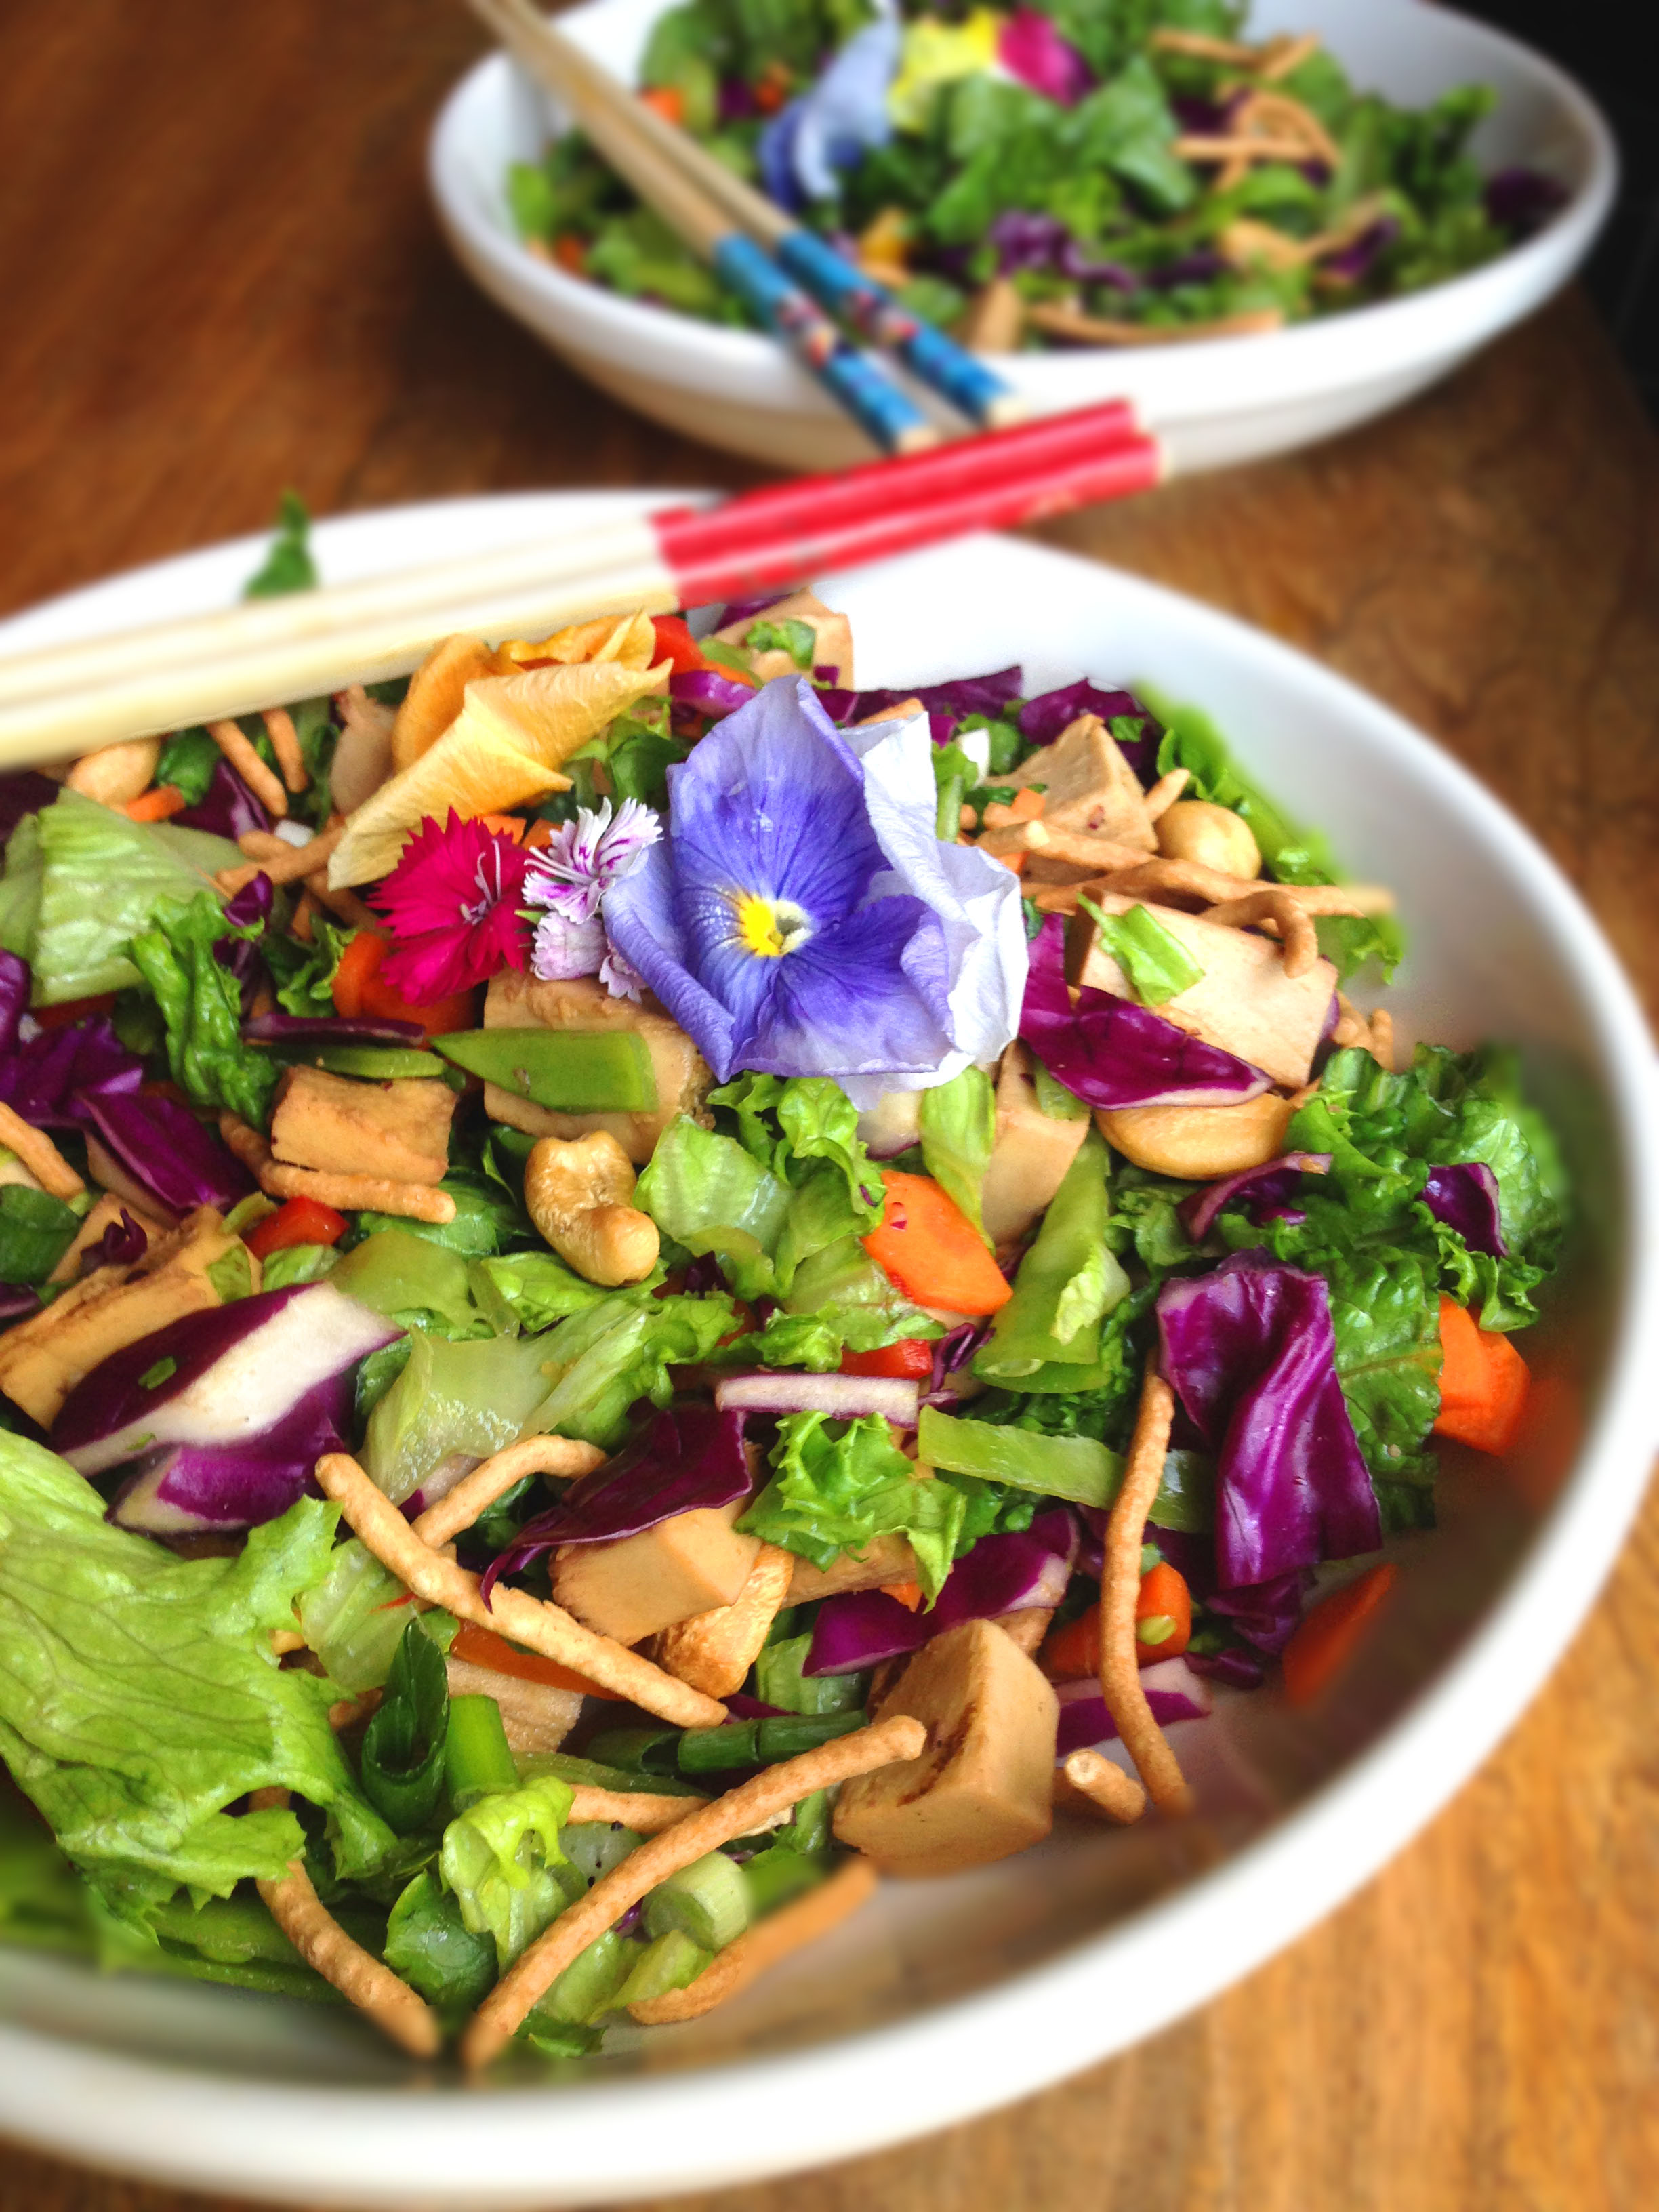
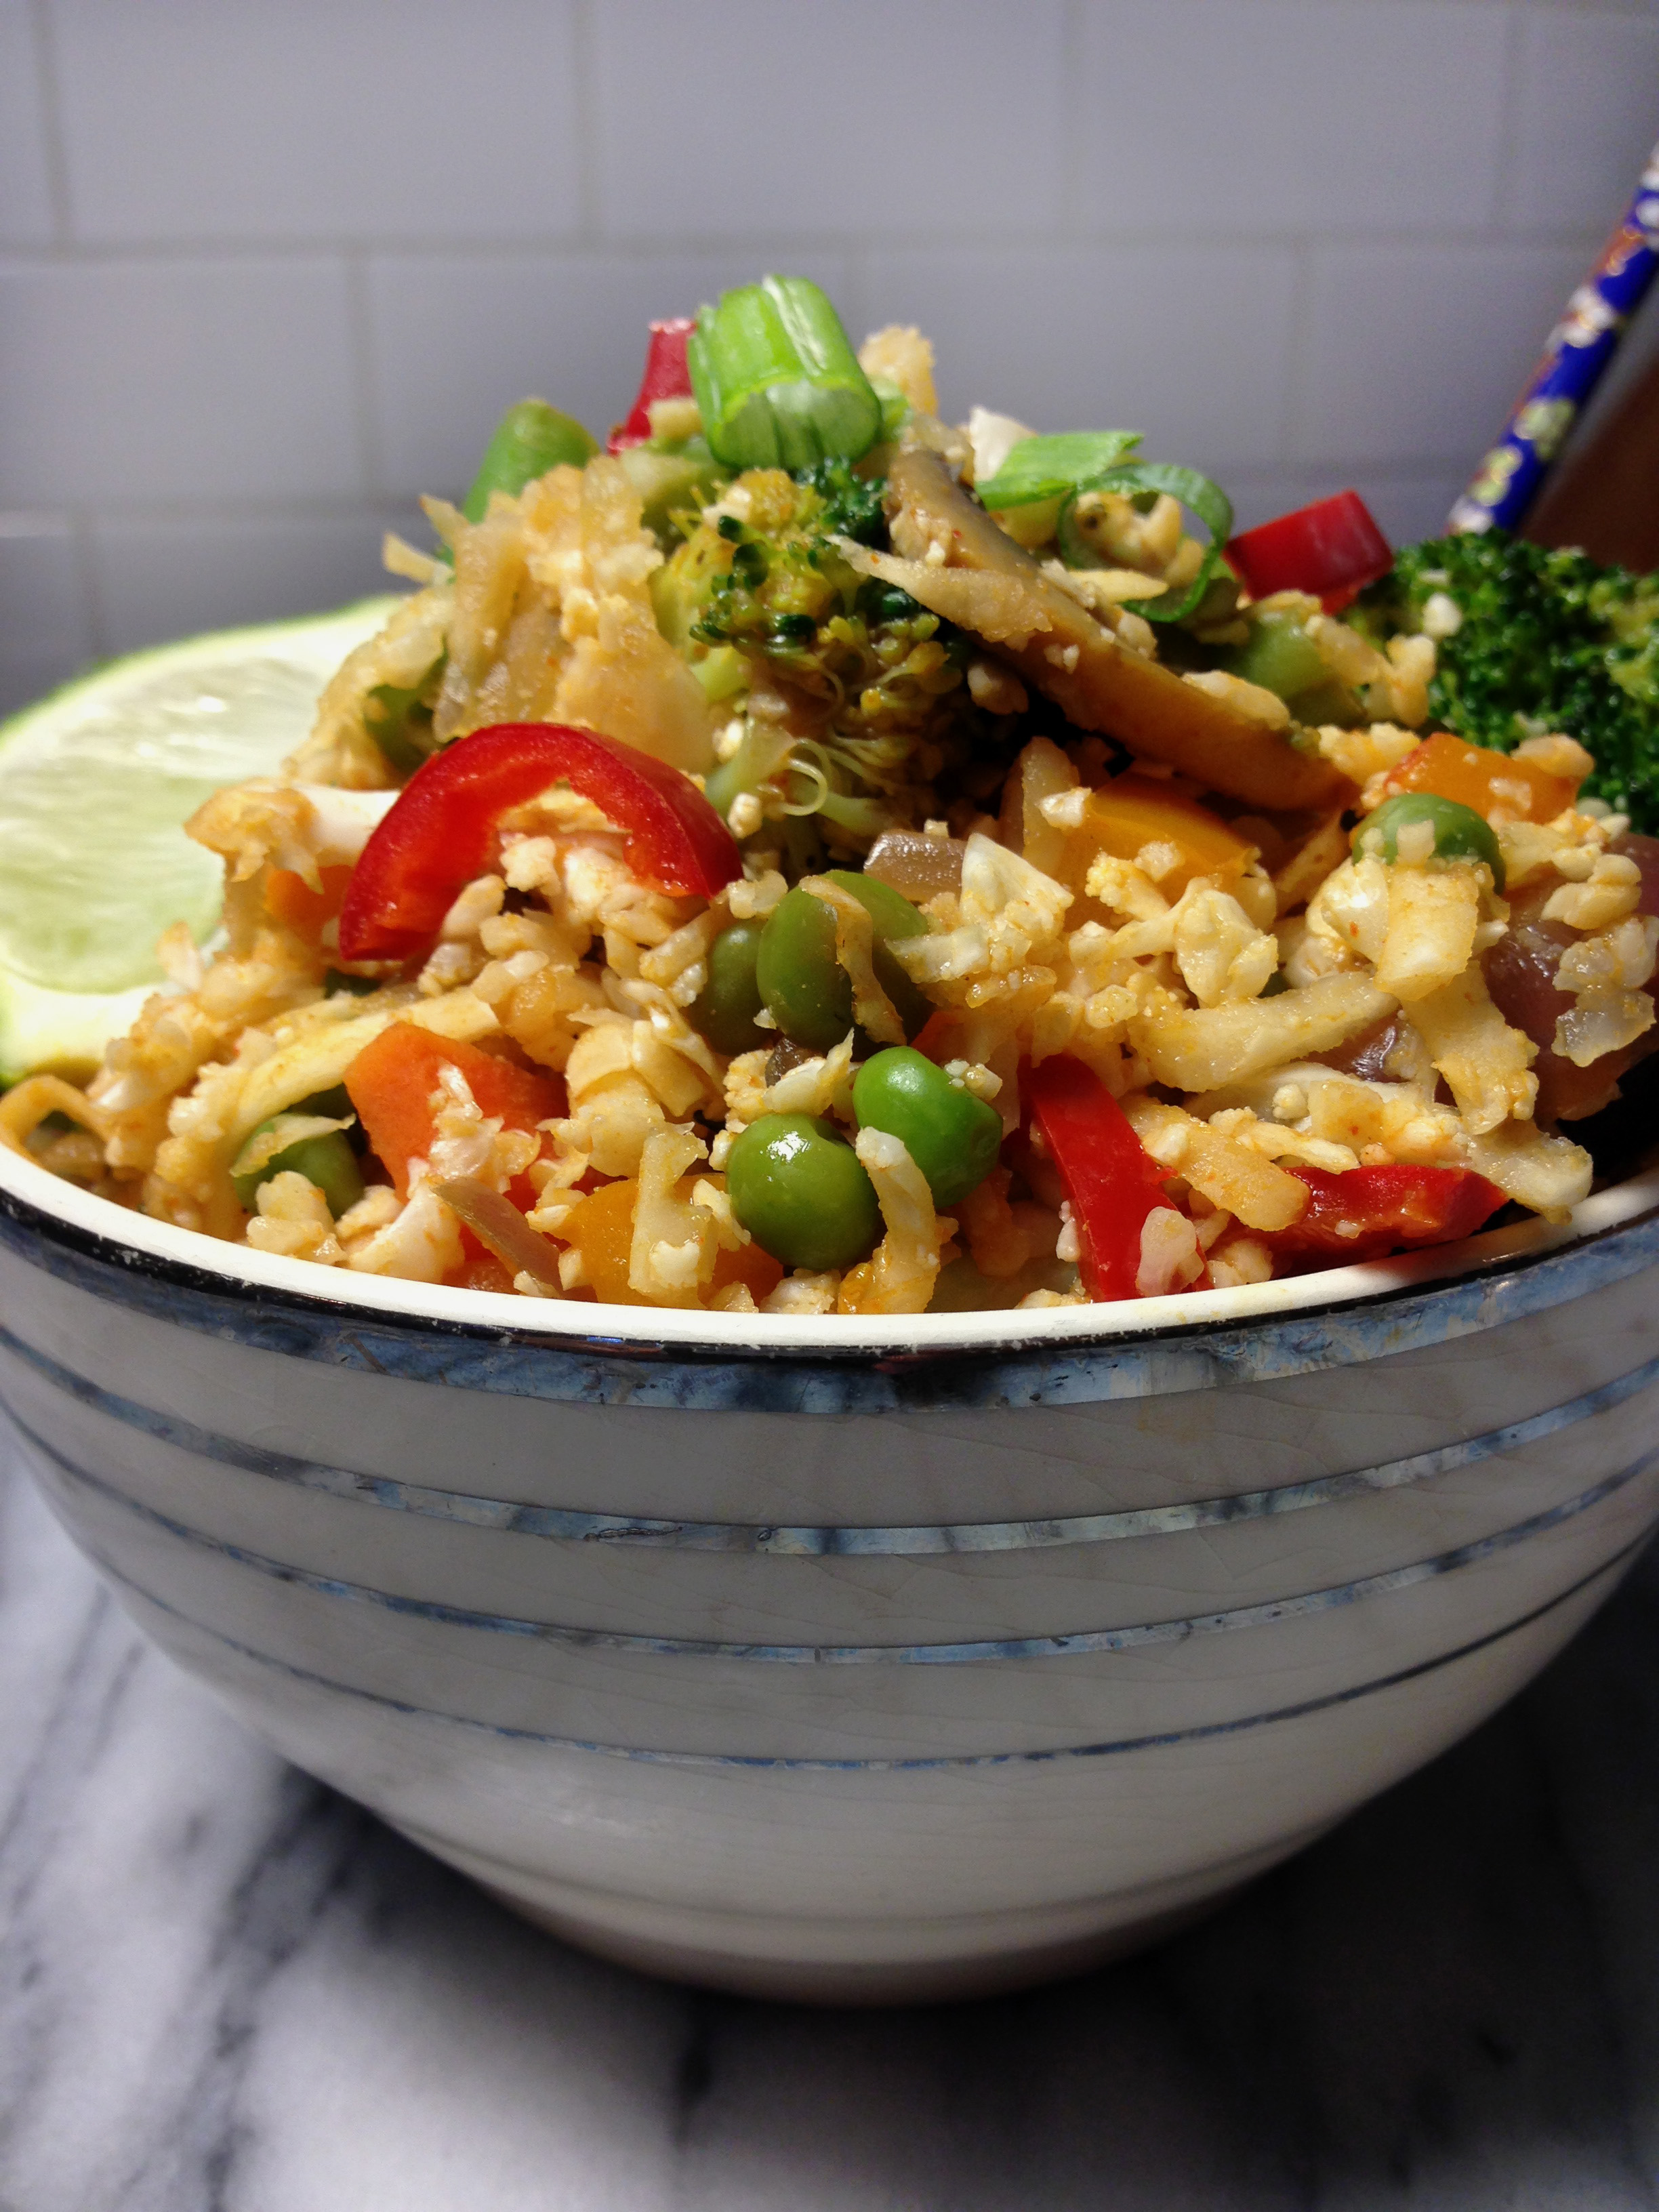
So – I made a salad salad. No wrap. No bread. No blanket! Just cool salad.
Now – know that the calorie count of your average Chinese chicken salad is pretty brutal. Cheesecake Factory lunch Chinese chicken salad is 535 calories. The dinner sized salad is 962 calories. California Pizza Kitchen’s versions are 420 & 790, respectively. A Big Mac only has 550. A small order of fries has 230. That means a Big Mac & fries has roughly the same calorie count as a dinner sized salad at CPK and FEWER calories than the dinner salad at Cheesecake Factory.
This salad will be far easier on your ass – assuming you do not overdress it & that you do not load it up too much with chow mein noodles. Definitely do not use those fried wonton strips. They are like crack – and go right to your ass.
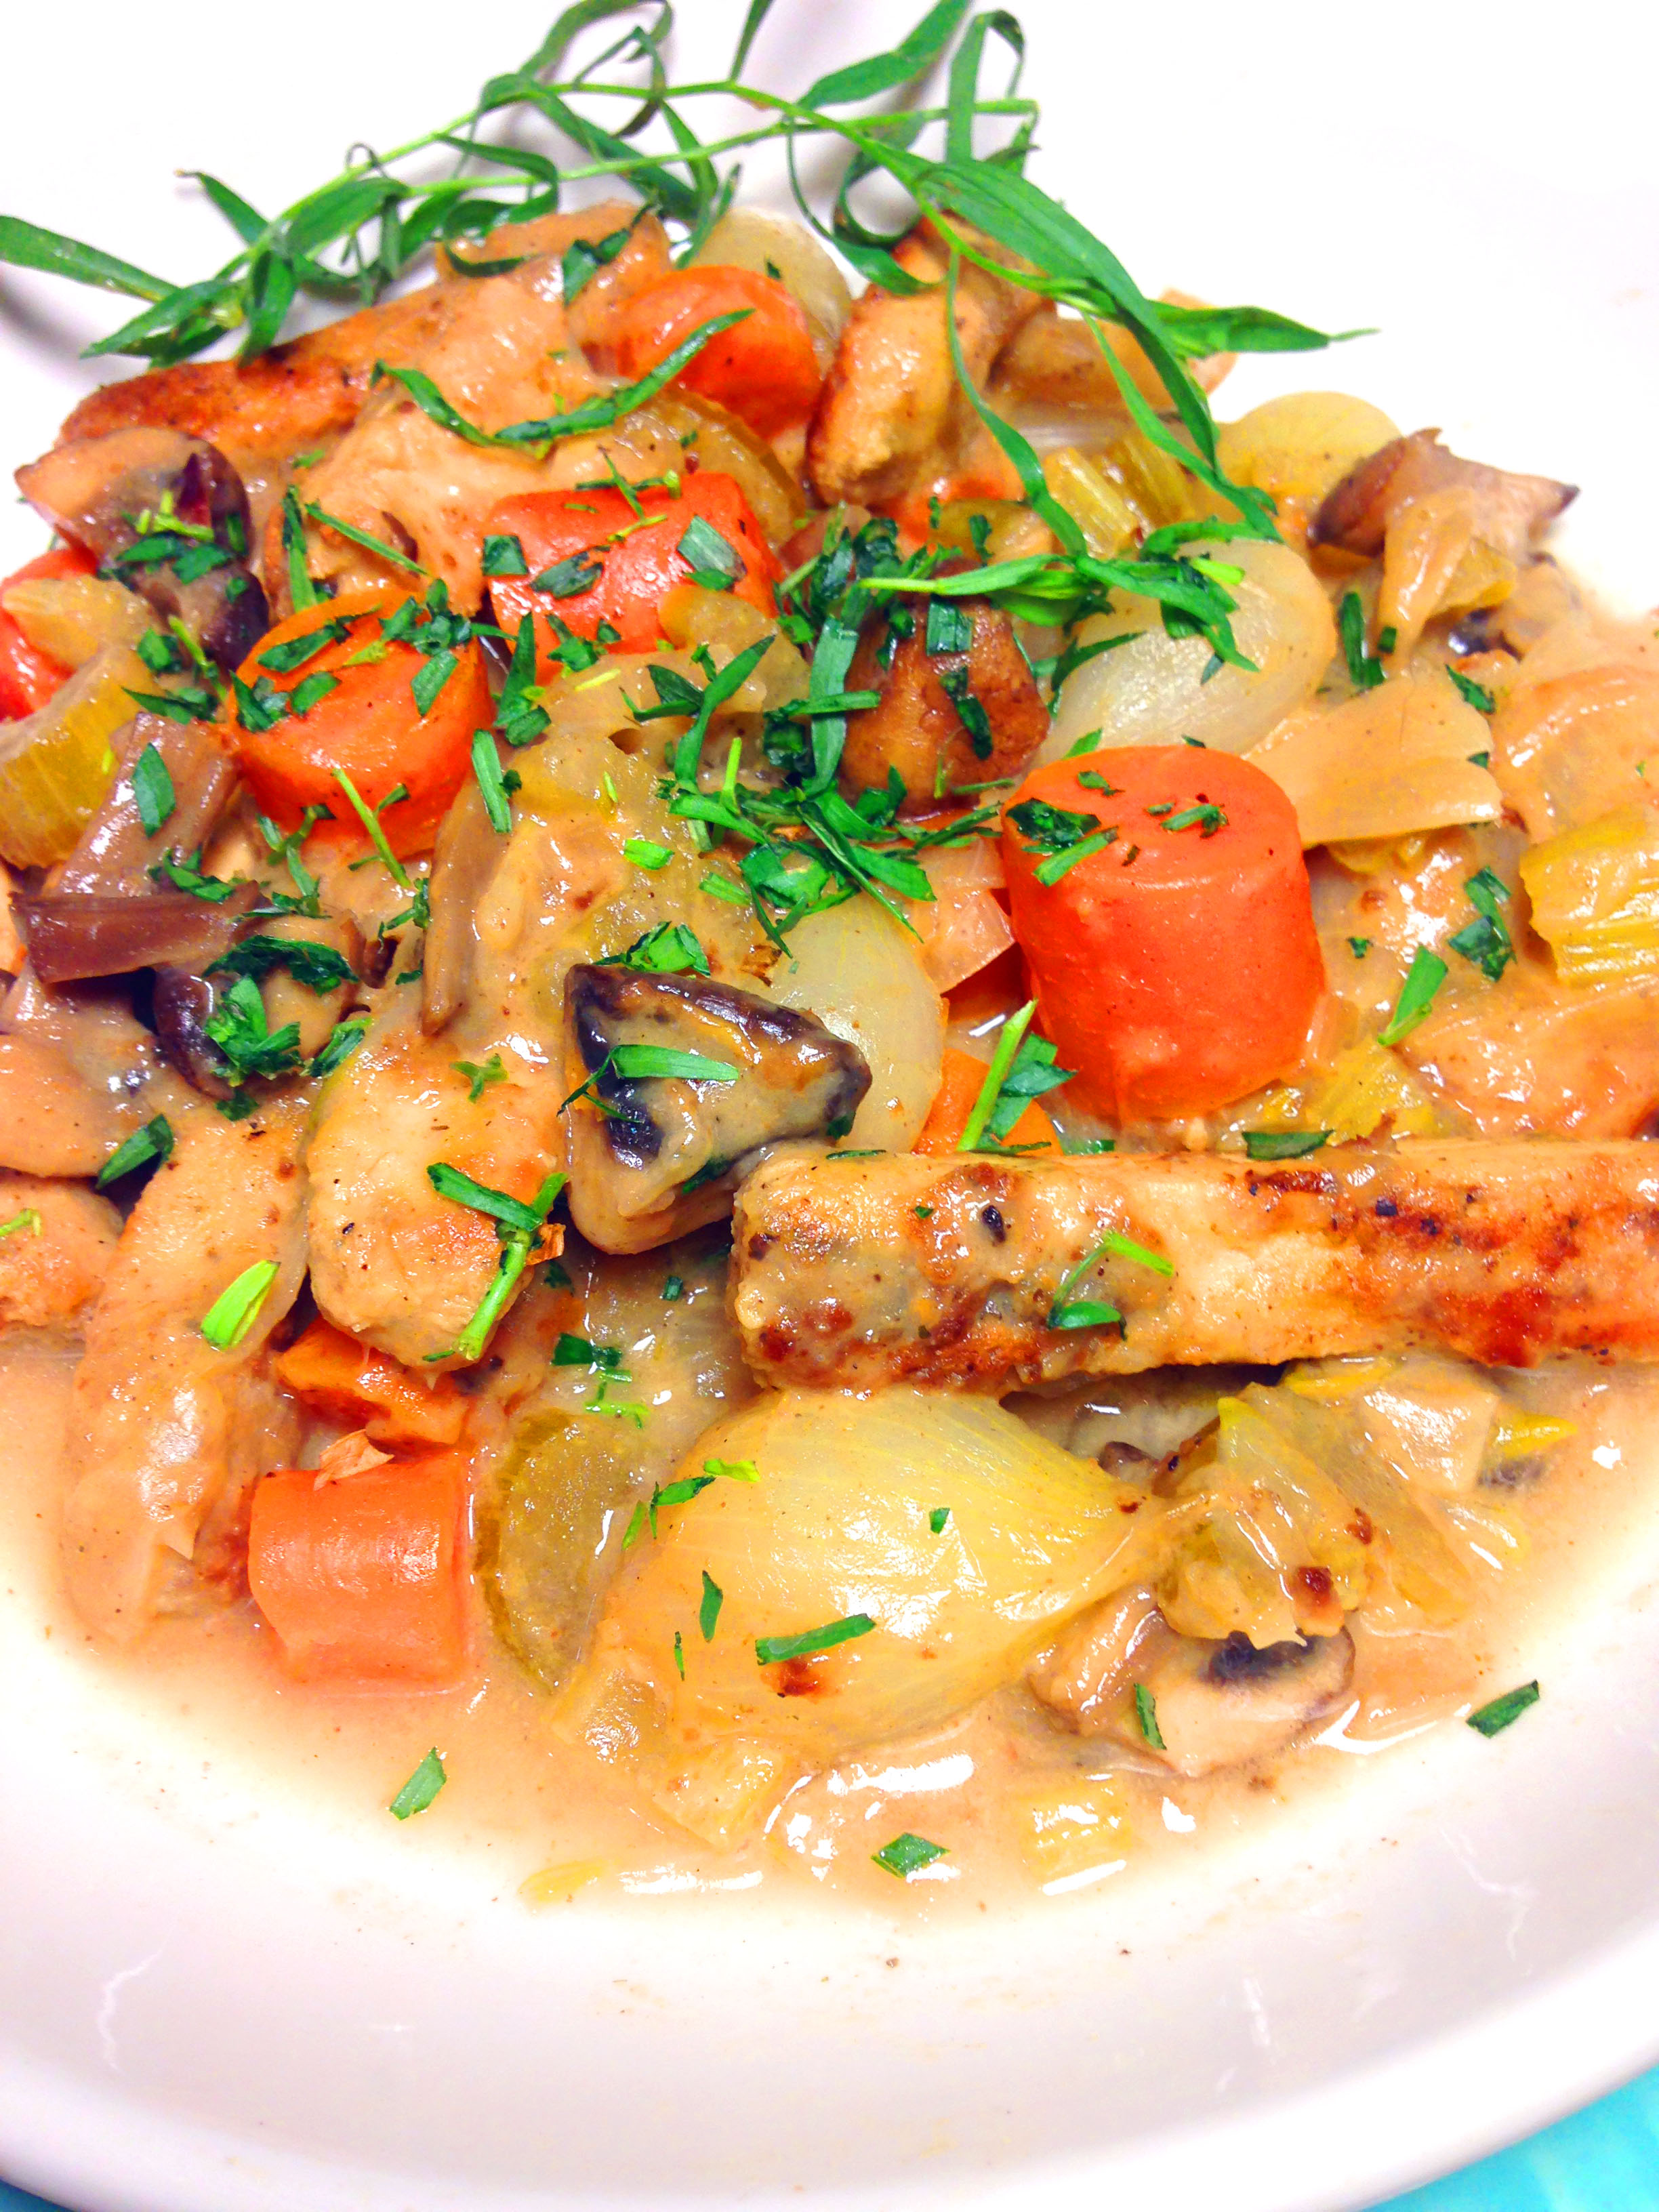
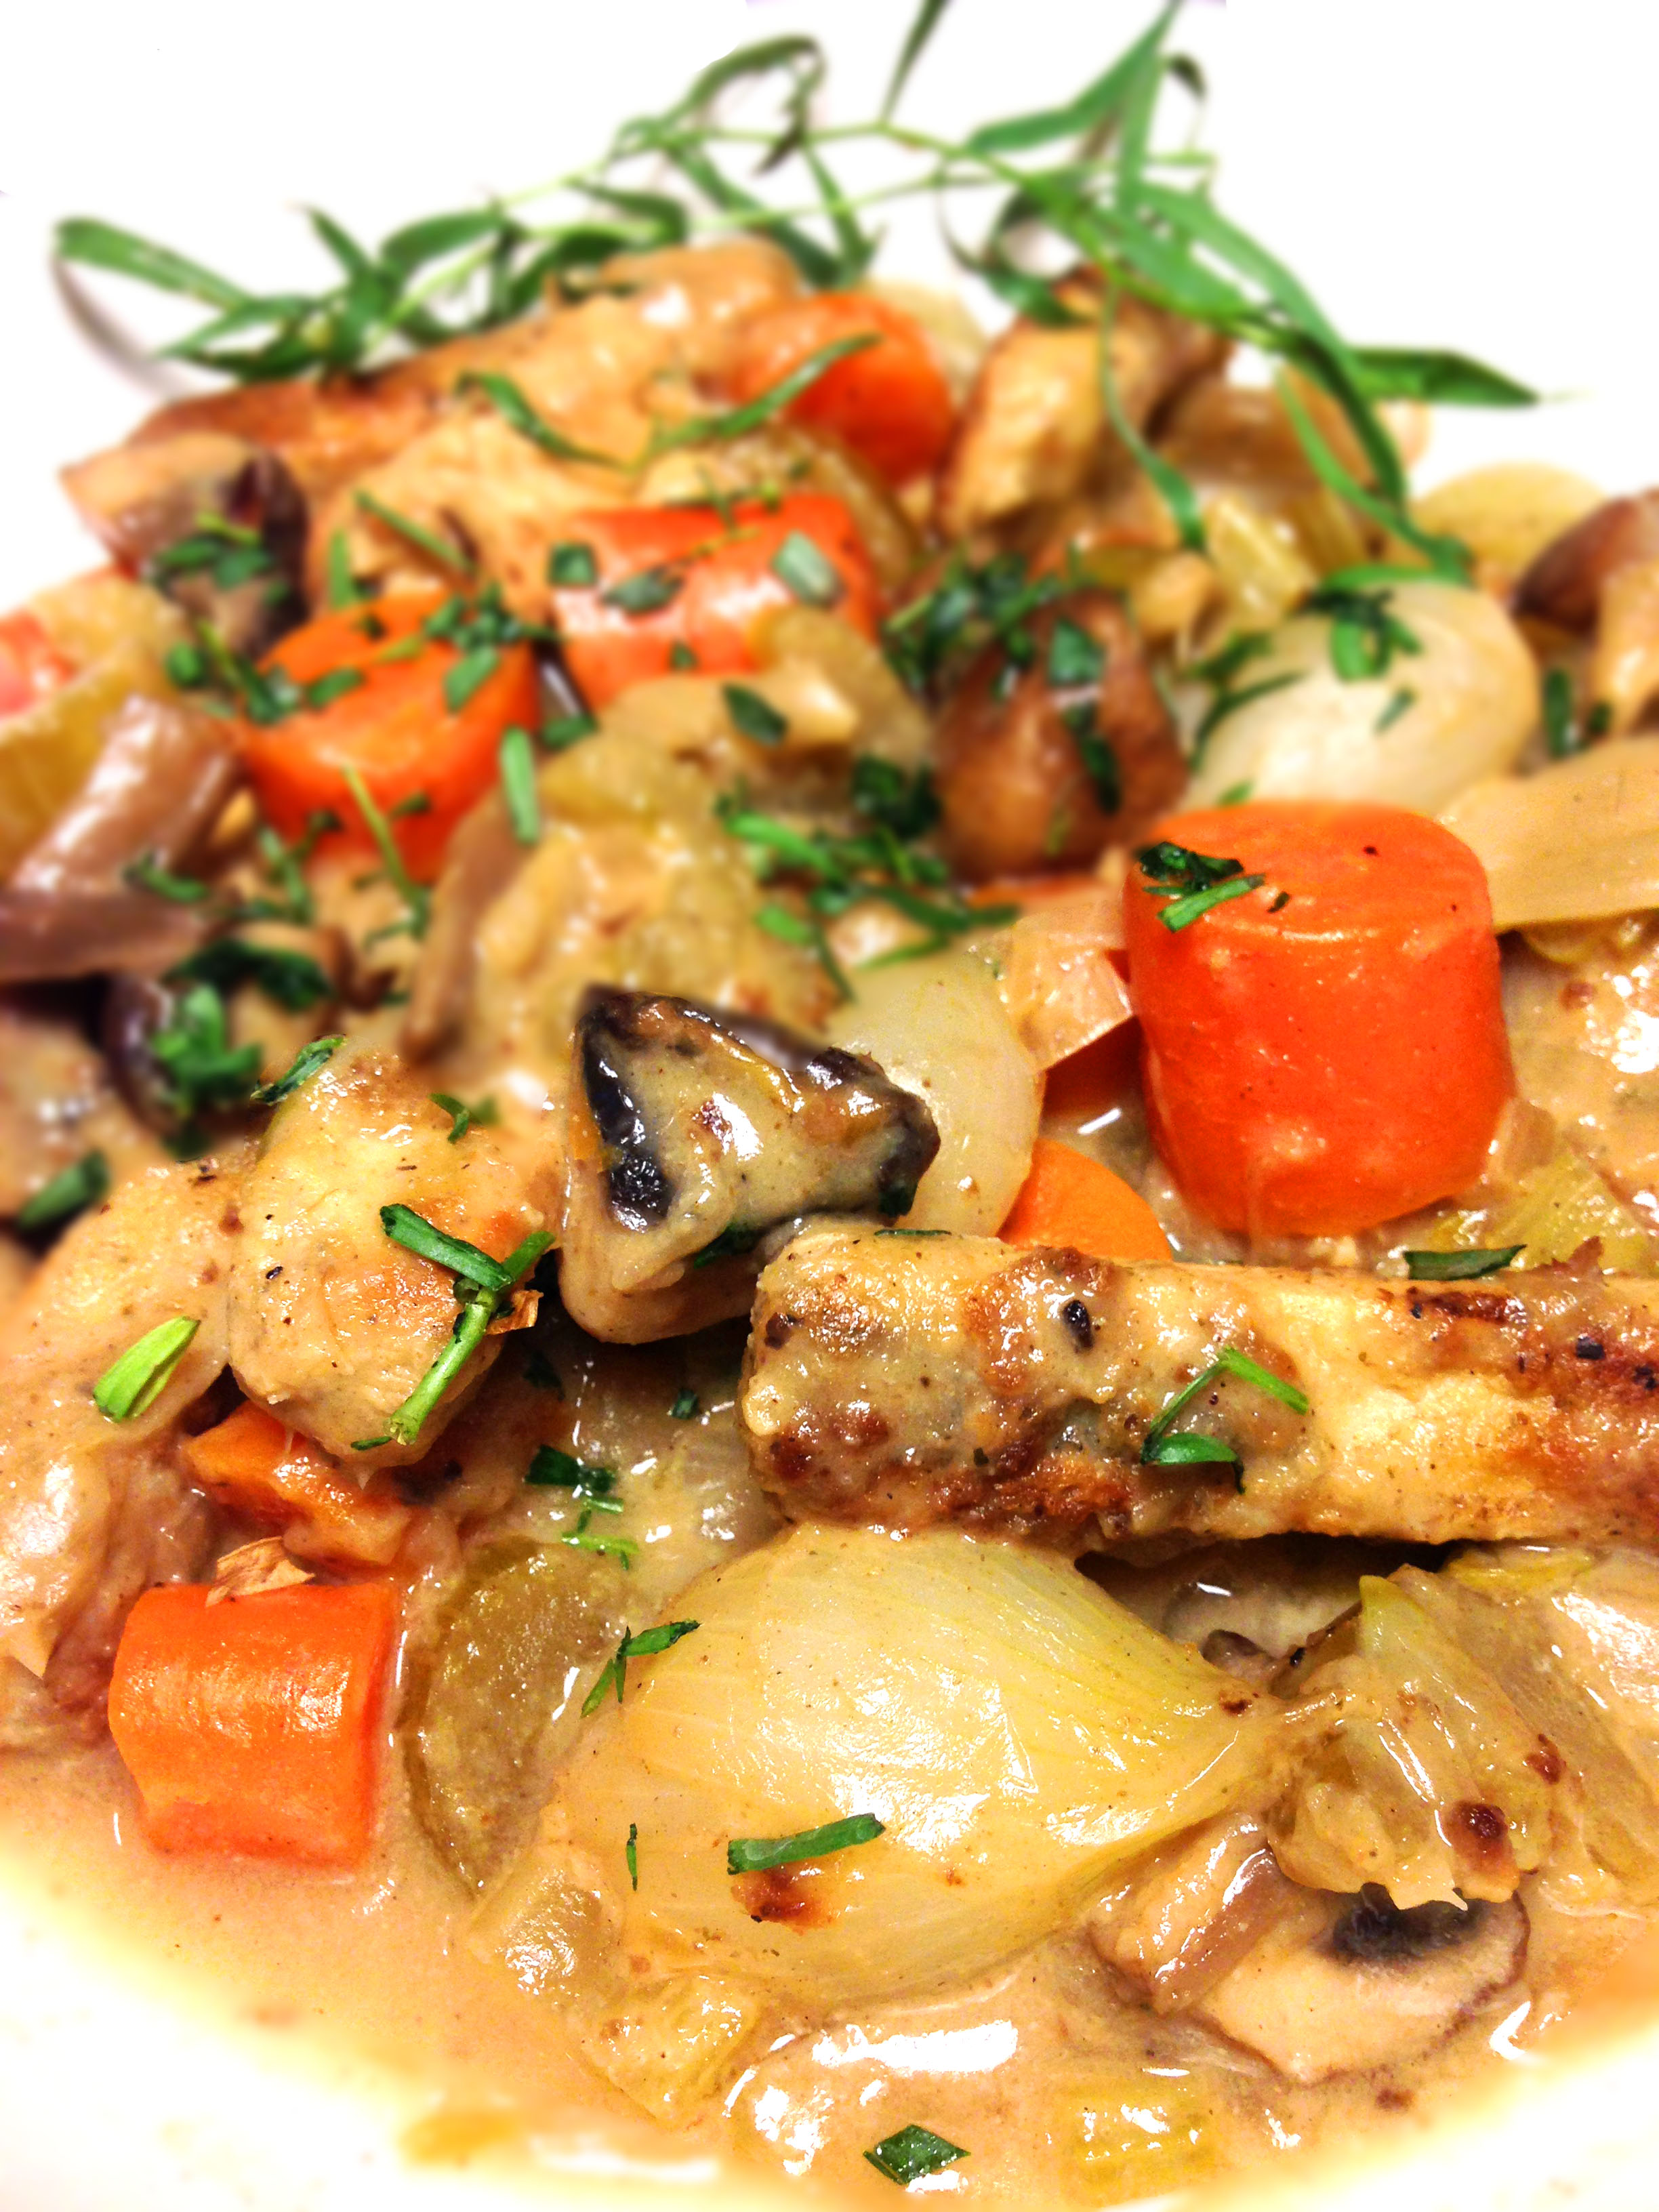
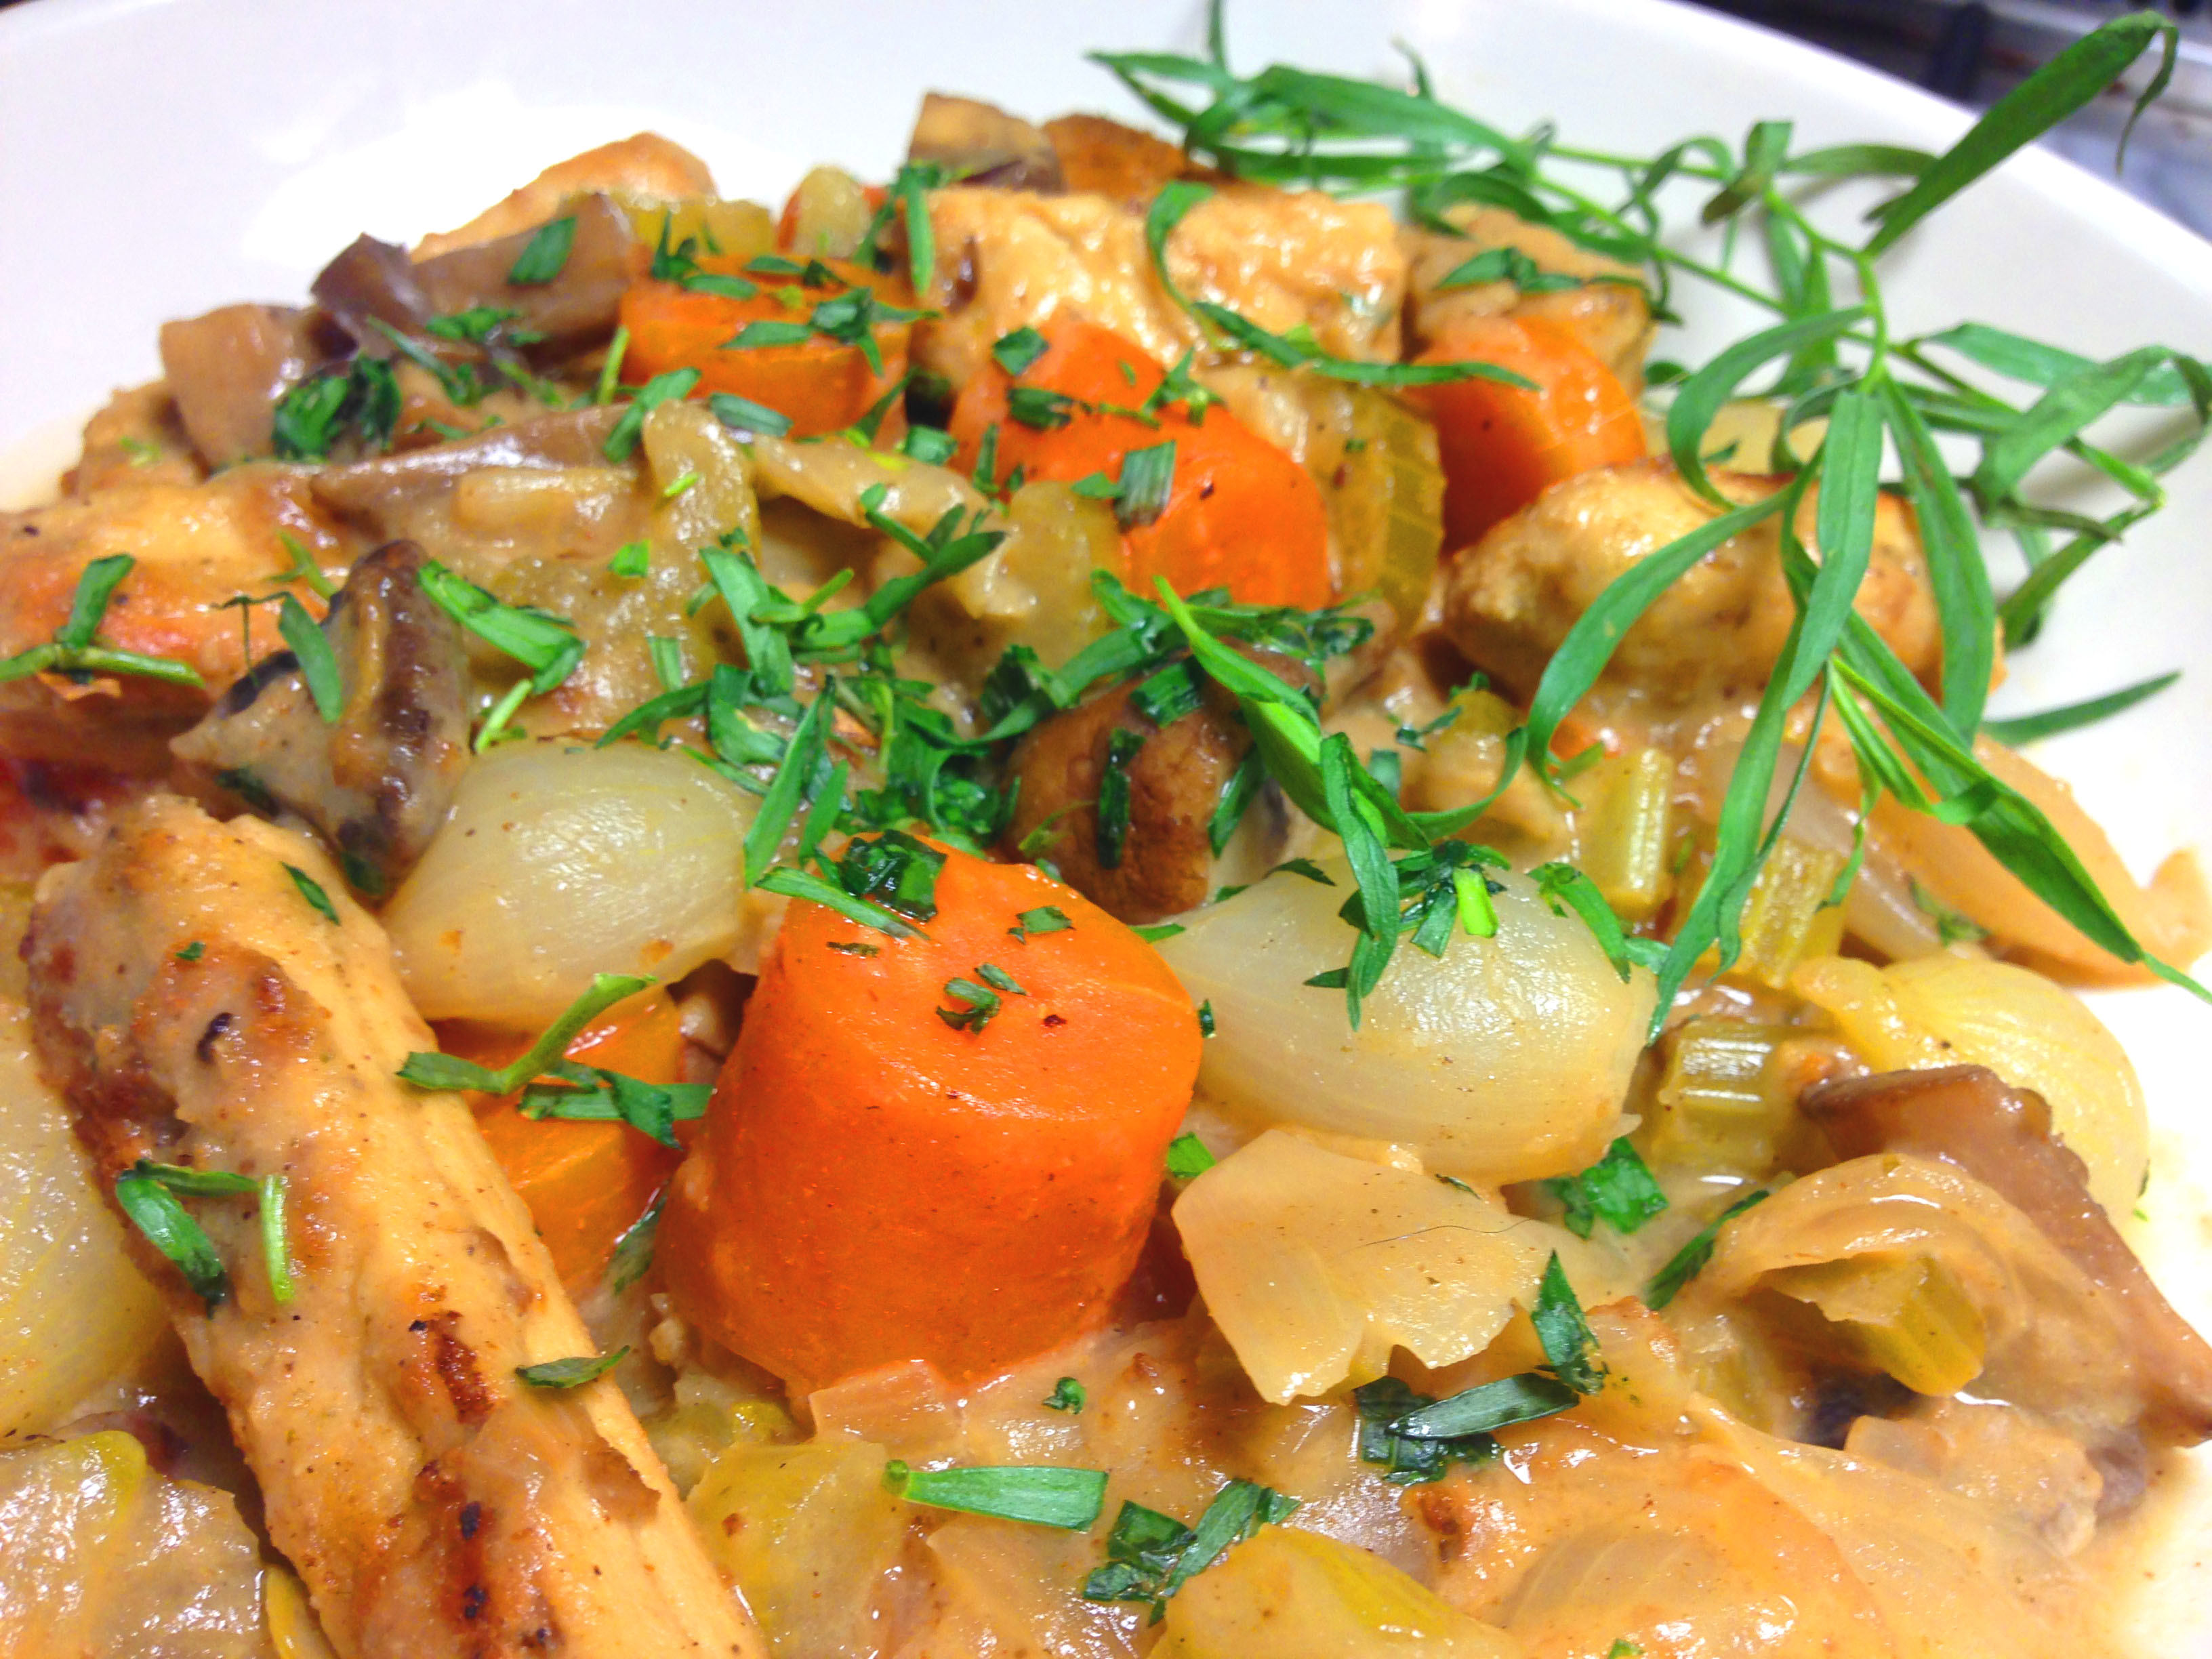
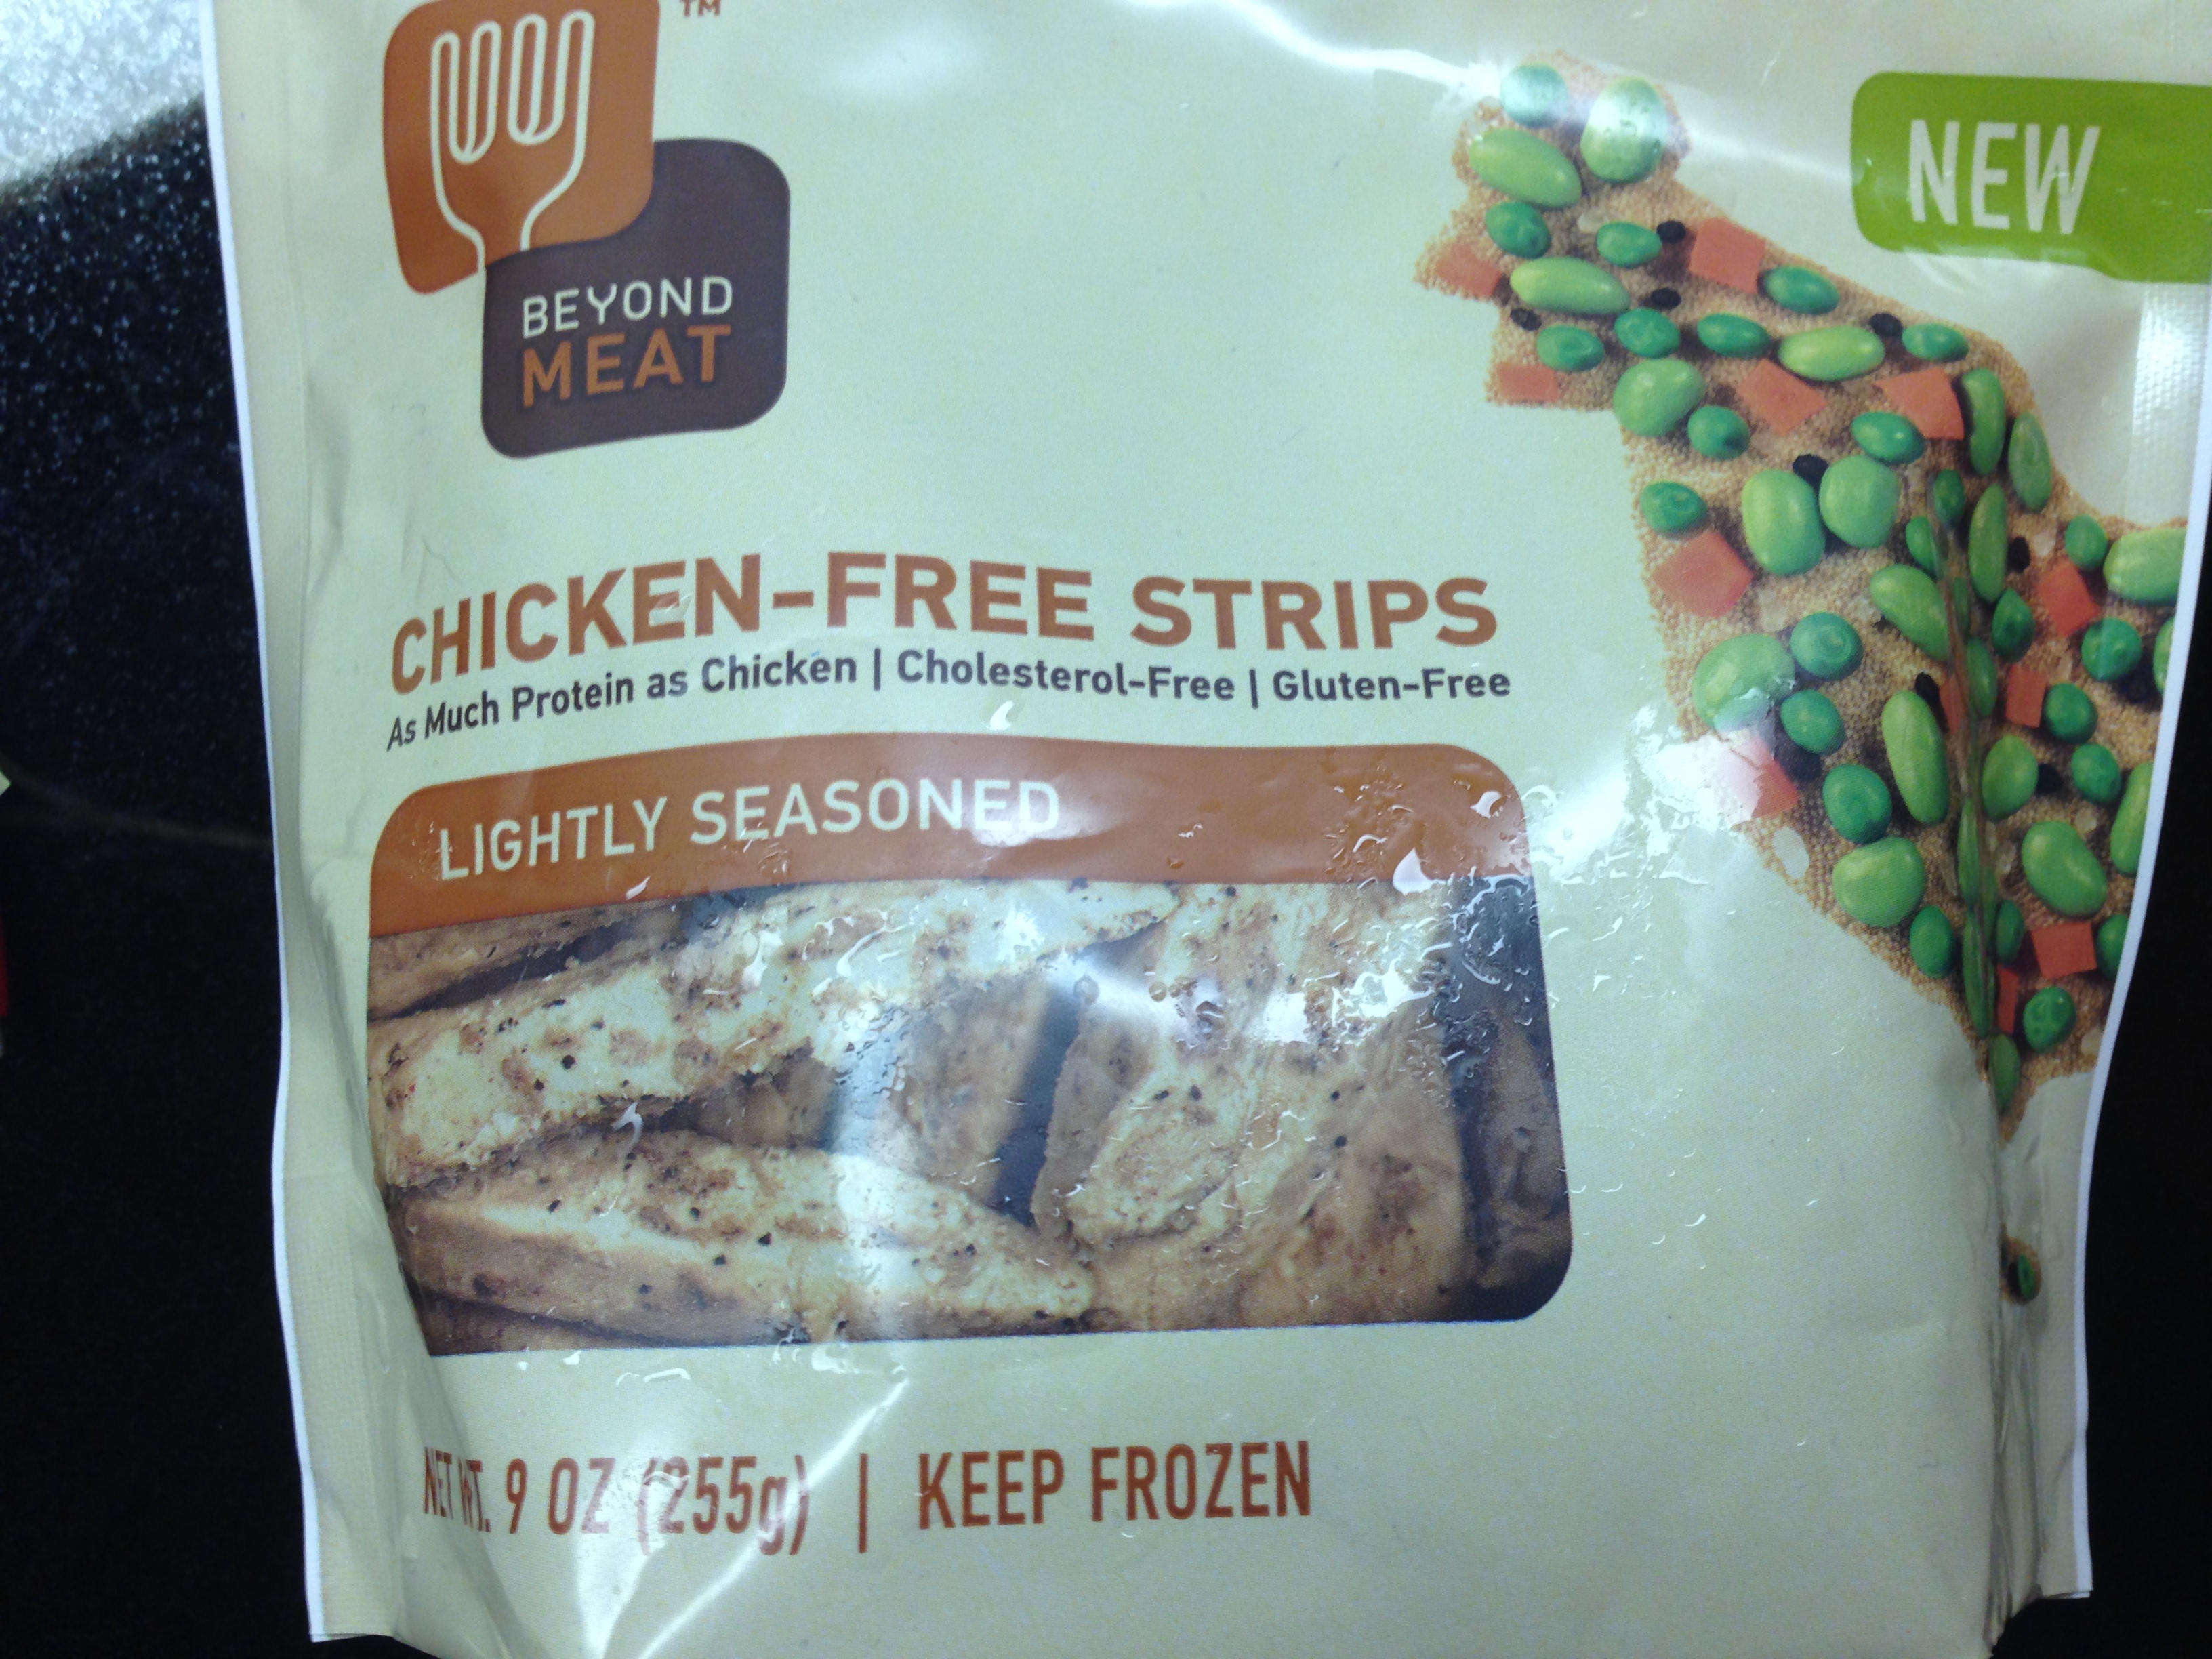
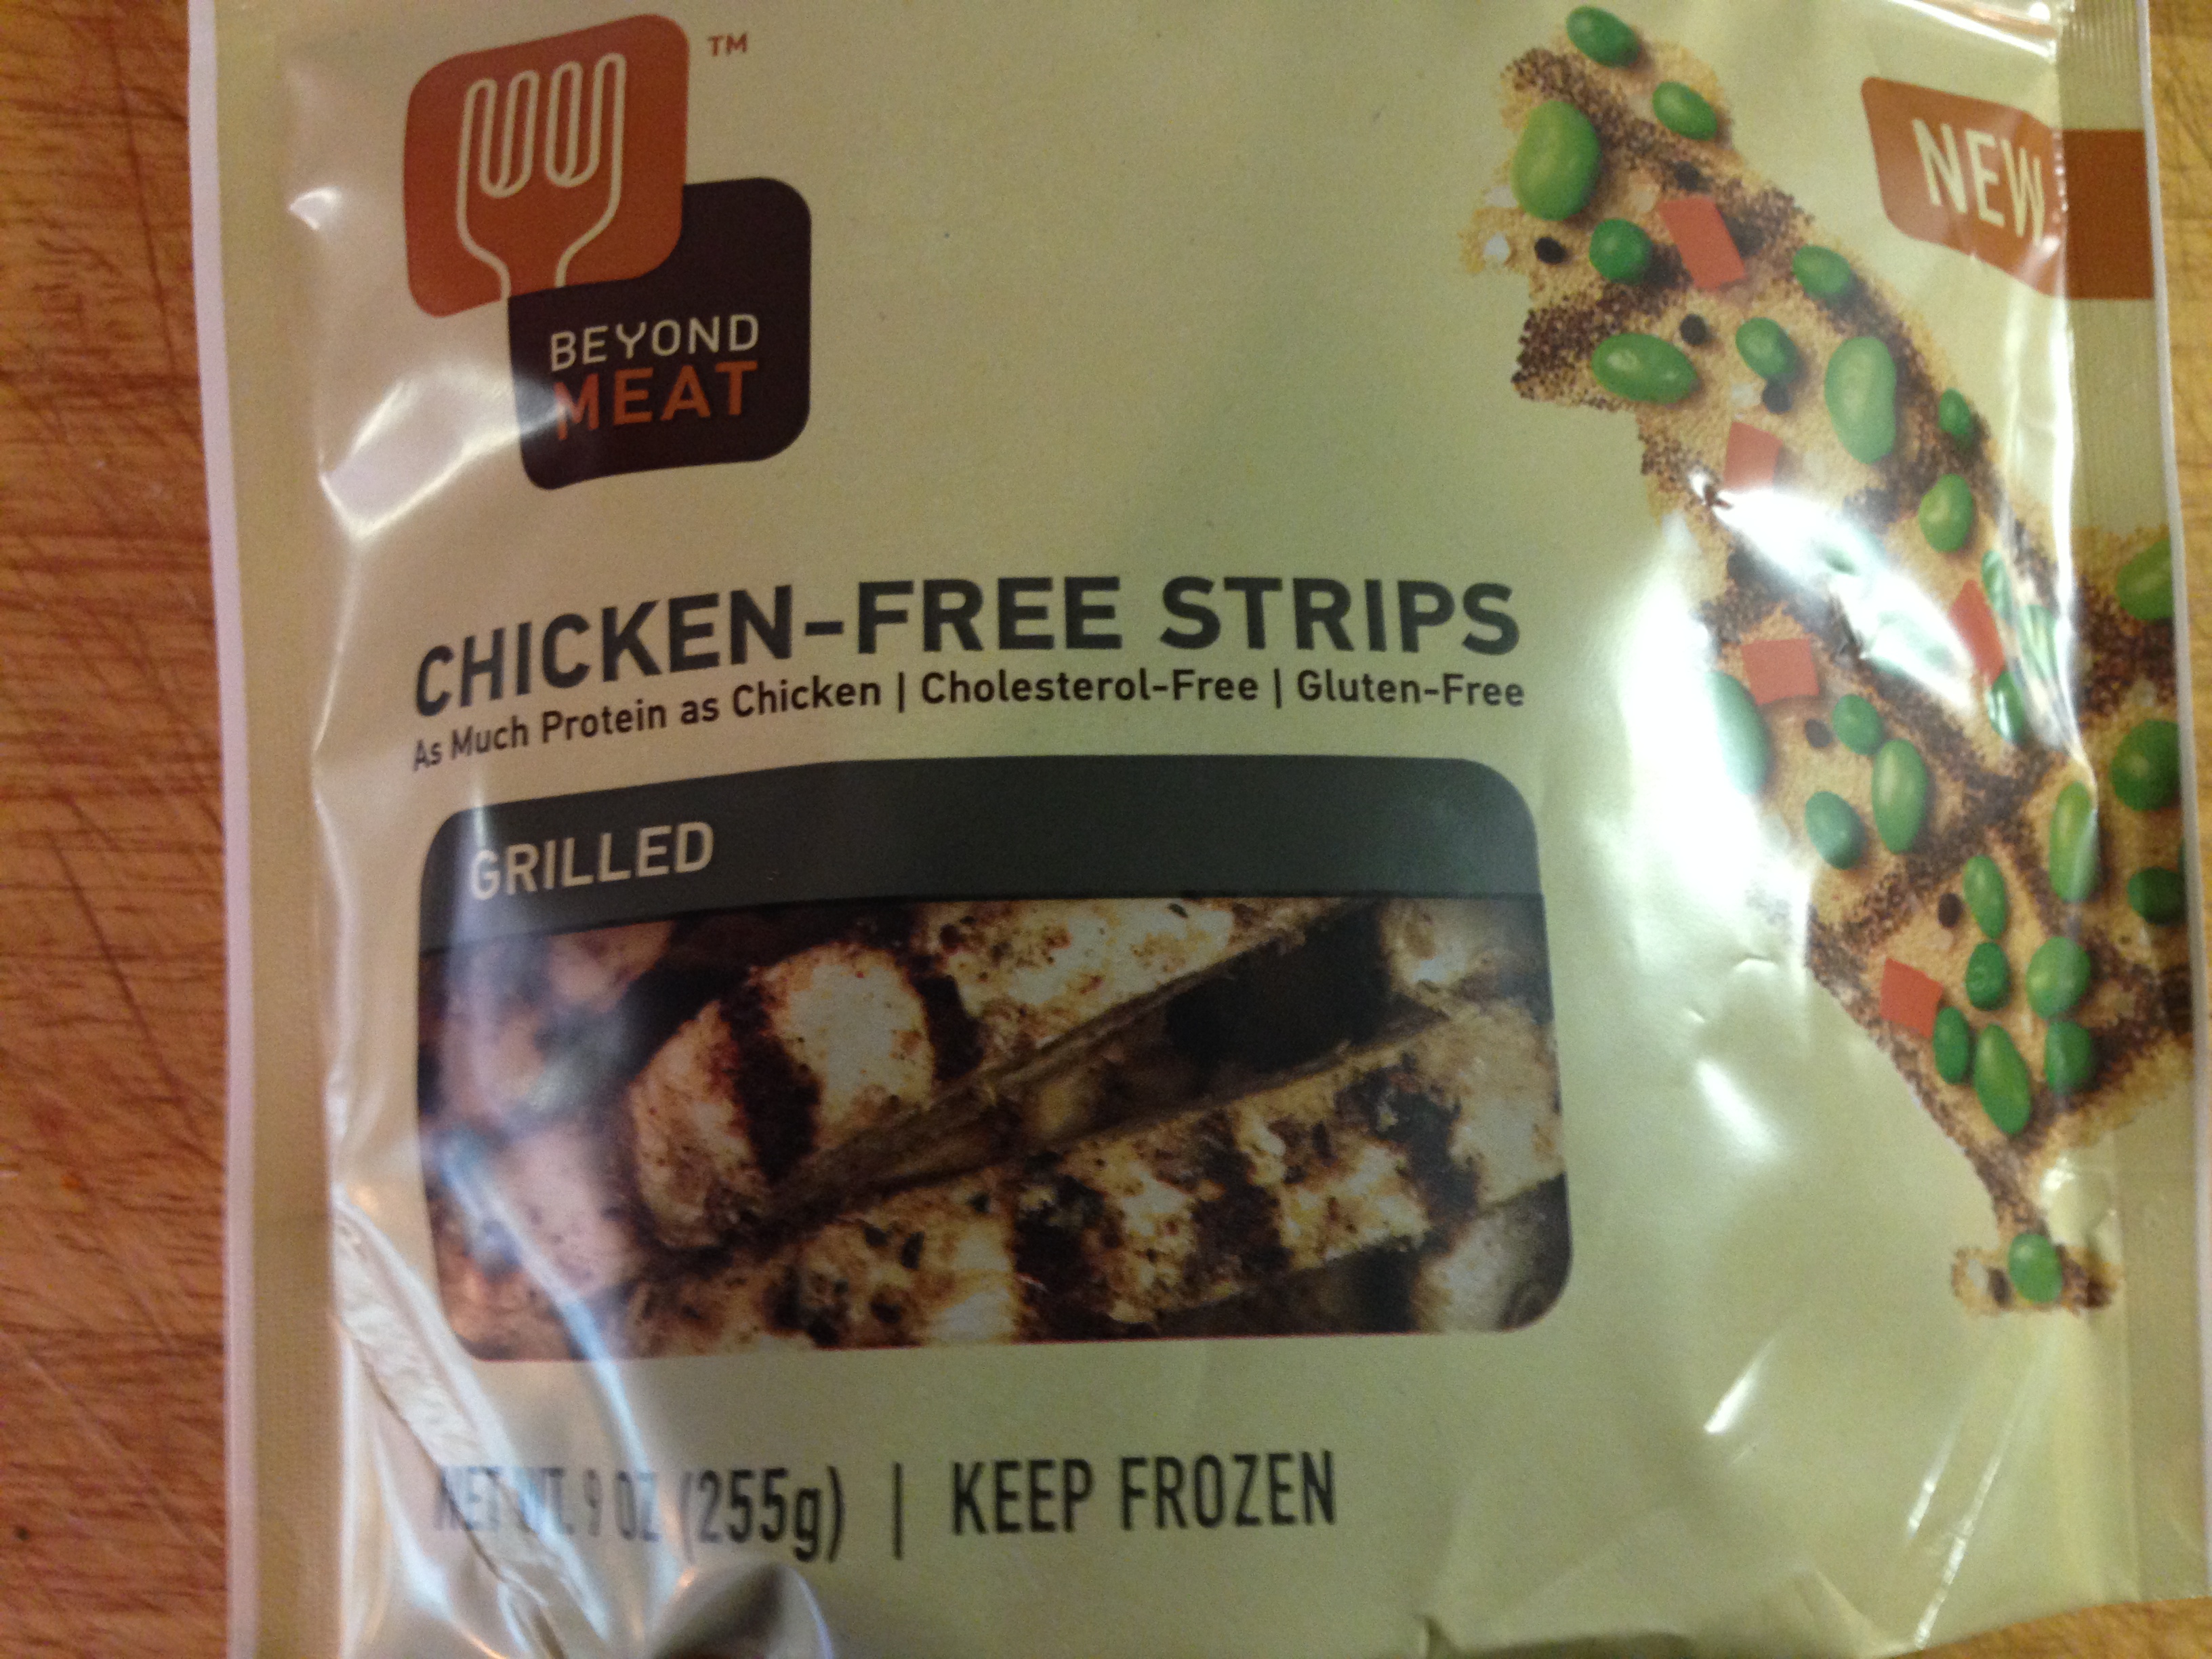
Ingredients & the ratio of them is up to you. If you want to add Mandarin orange slices or use a different nut – go NUTZ! I used this awesome vegan chicken & recommend it very highly. There is a coupon below to use until the end of the month.


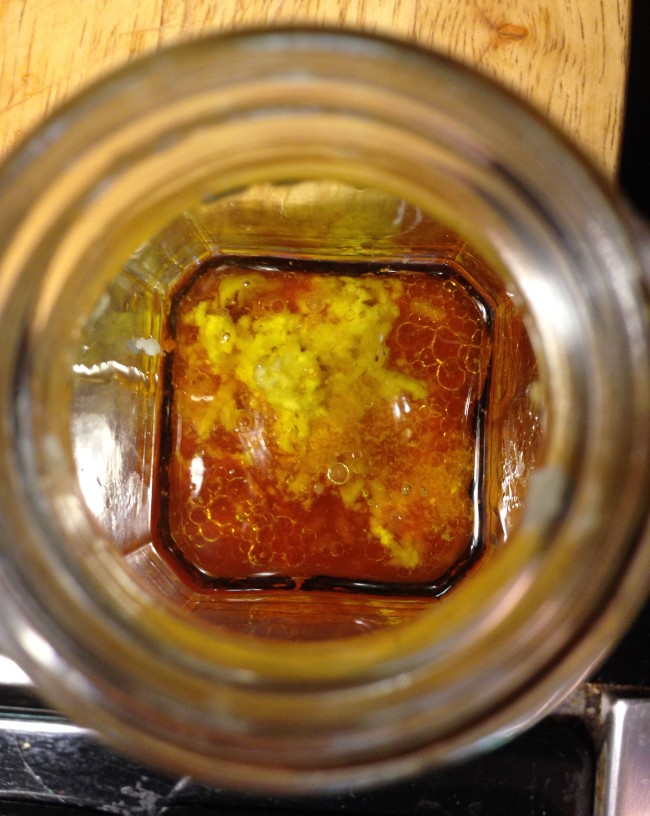
Spicy Asian Dressing
INGREDIENTS
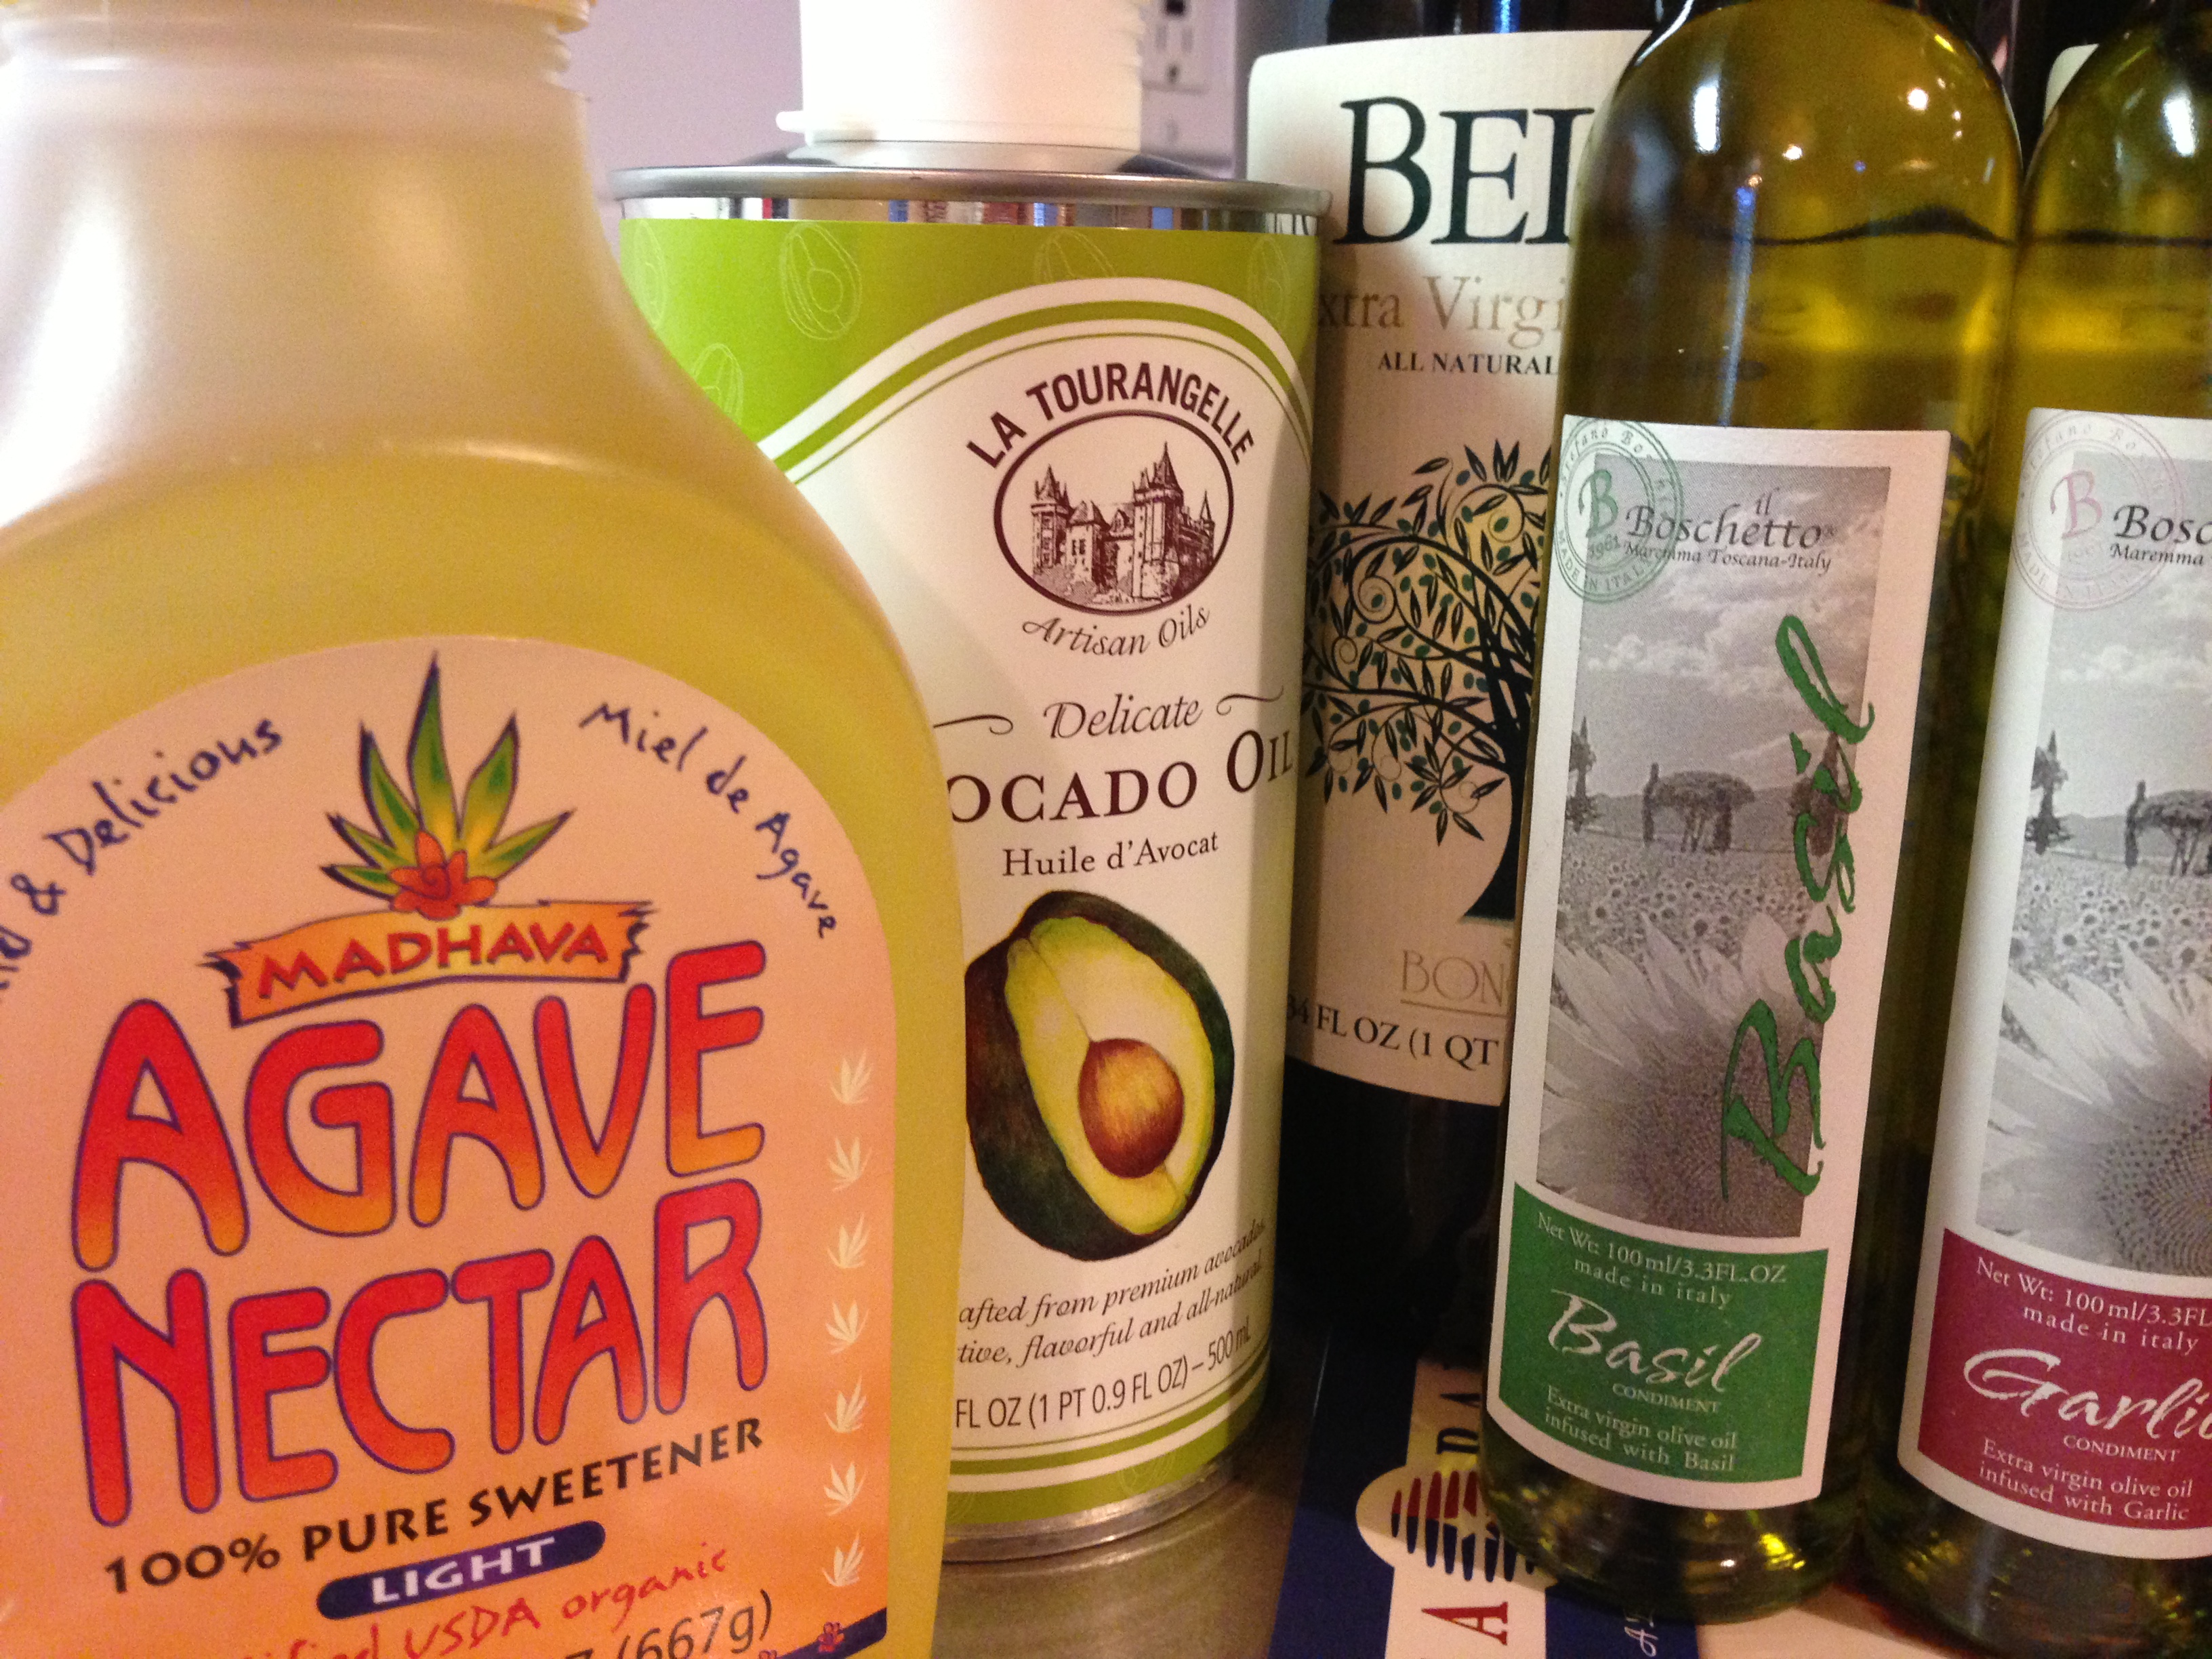
1/4 cup olive oil
3 TBS agave nectar (or honey – if you are not vegan)
2 TBS rice vinegar
1 TBS low sodium soy sauce
1 TBS fresh ginger – minced
1 garlic clove – minced
1-2 TBS sriracha (or chili paste) – or to taste
1 tsp toasted or regular sesame oil
1/4 lime – squeezed into the dressing
DIRECTIONS
Whisk together or – put into a salad dressing container & shake it up. Add S&P if you want. This will make more dressing than you will likely need – so – don’t go dumping it all over your salad. Dress the salad only right before you eat it & only dress the part you are going to eat. The remaining salad will keep a day or so – as long as it has not yet been dressed.
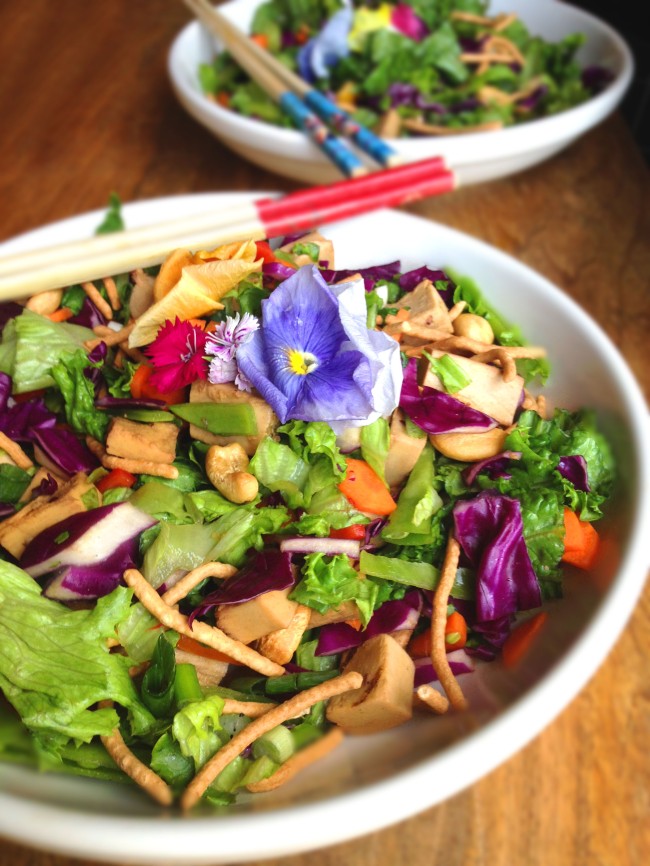
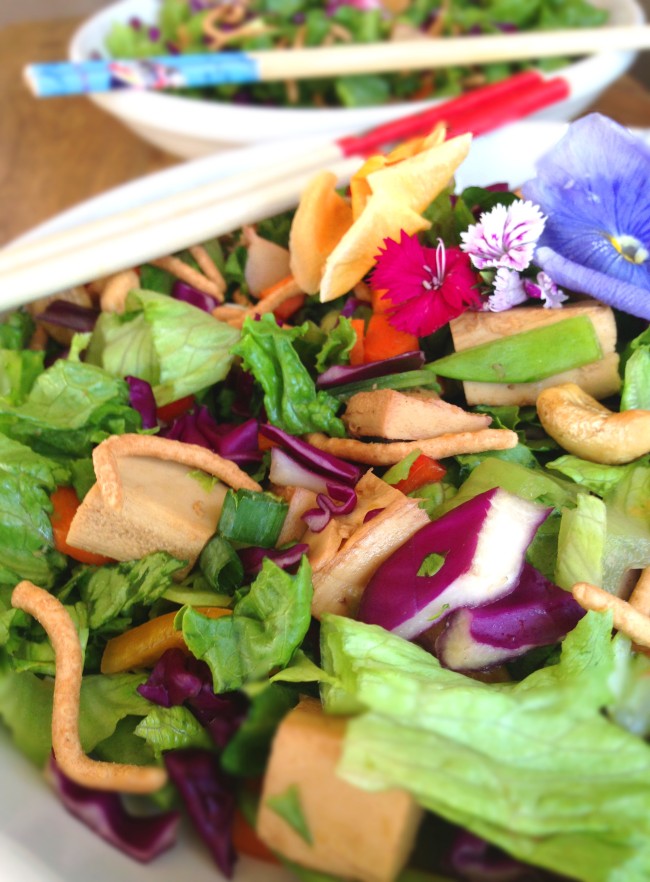
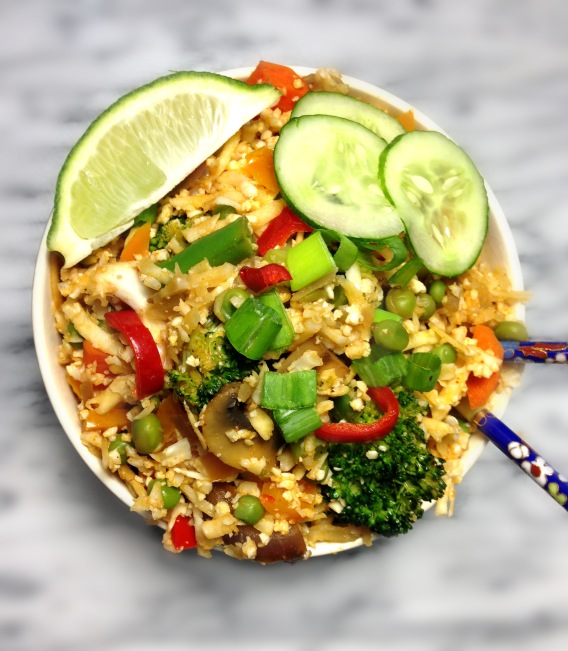
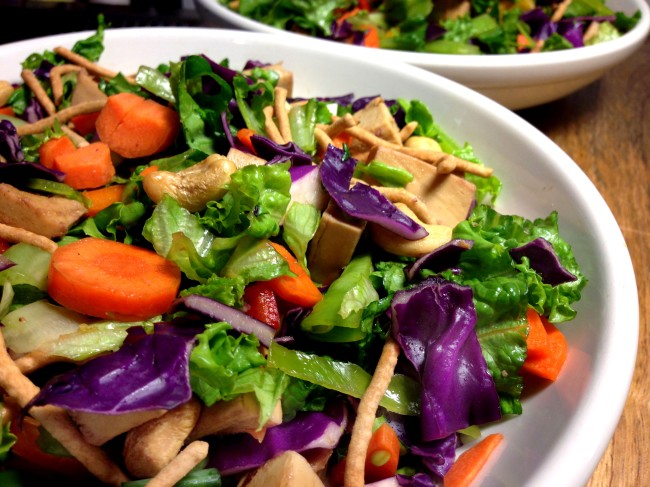
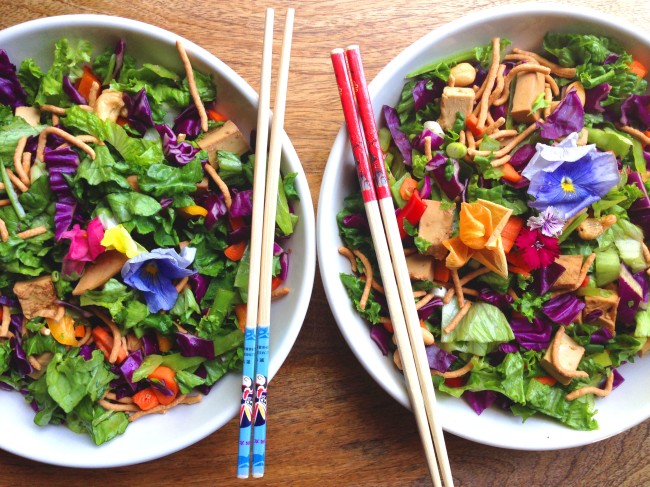
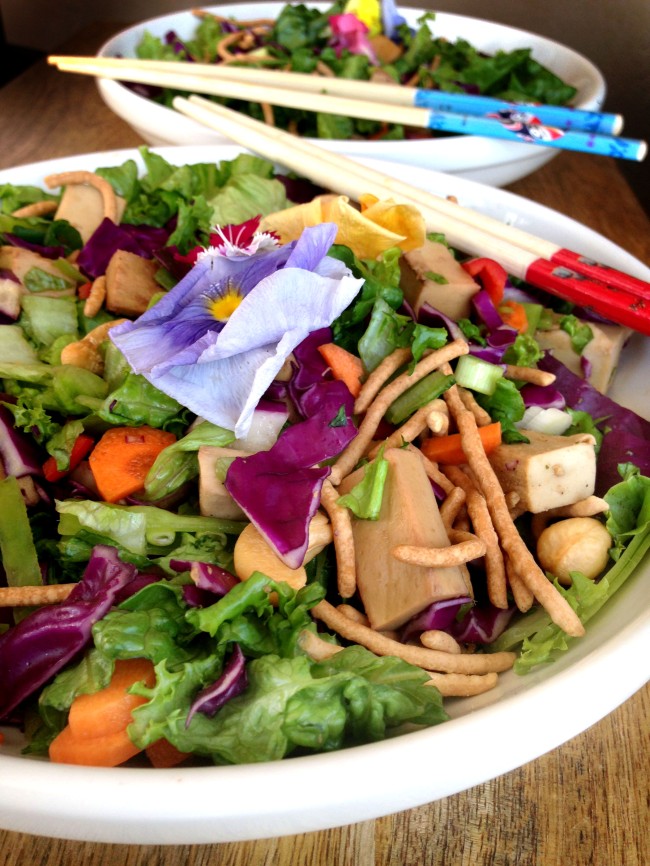
Healthy Vegan Chinese Chicken Salad
Depending on how much of each ingredient you use – feeds TWO very well for dinner
INGREDIENTS
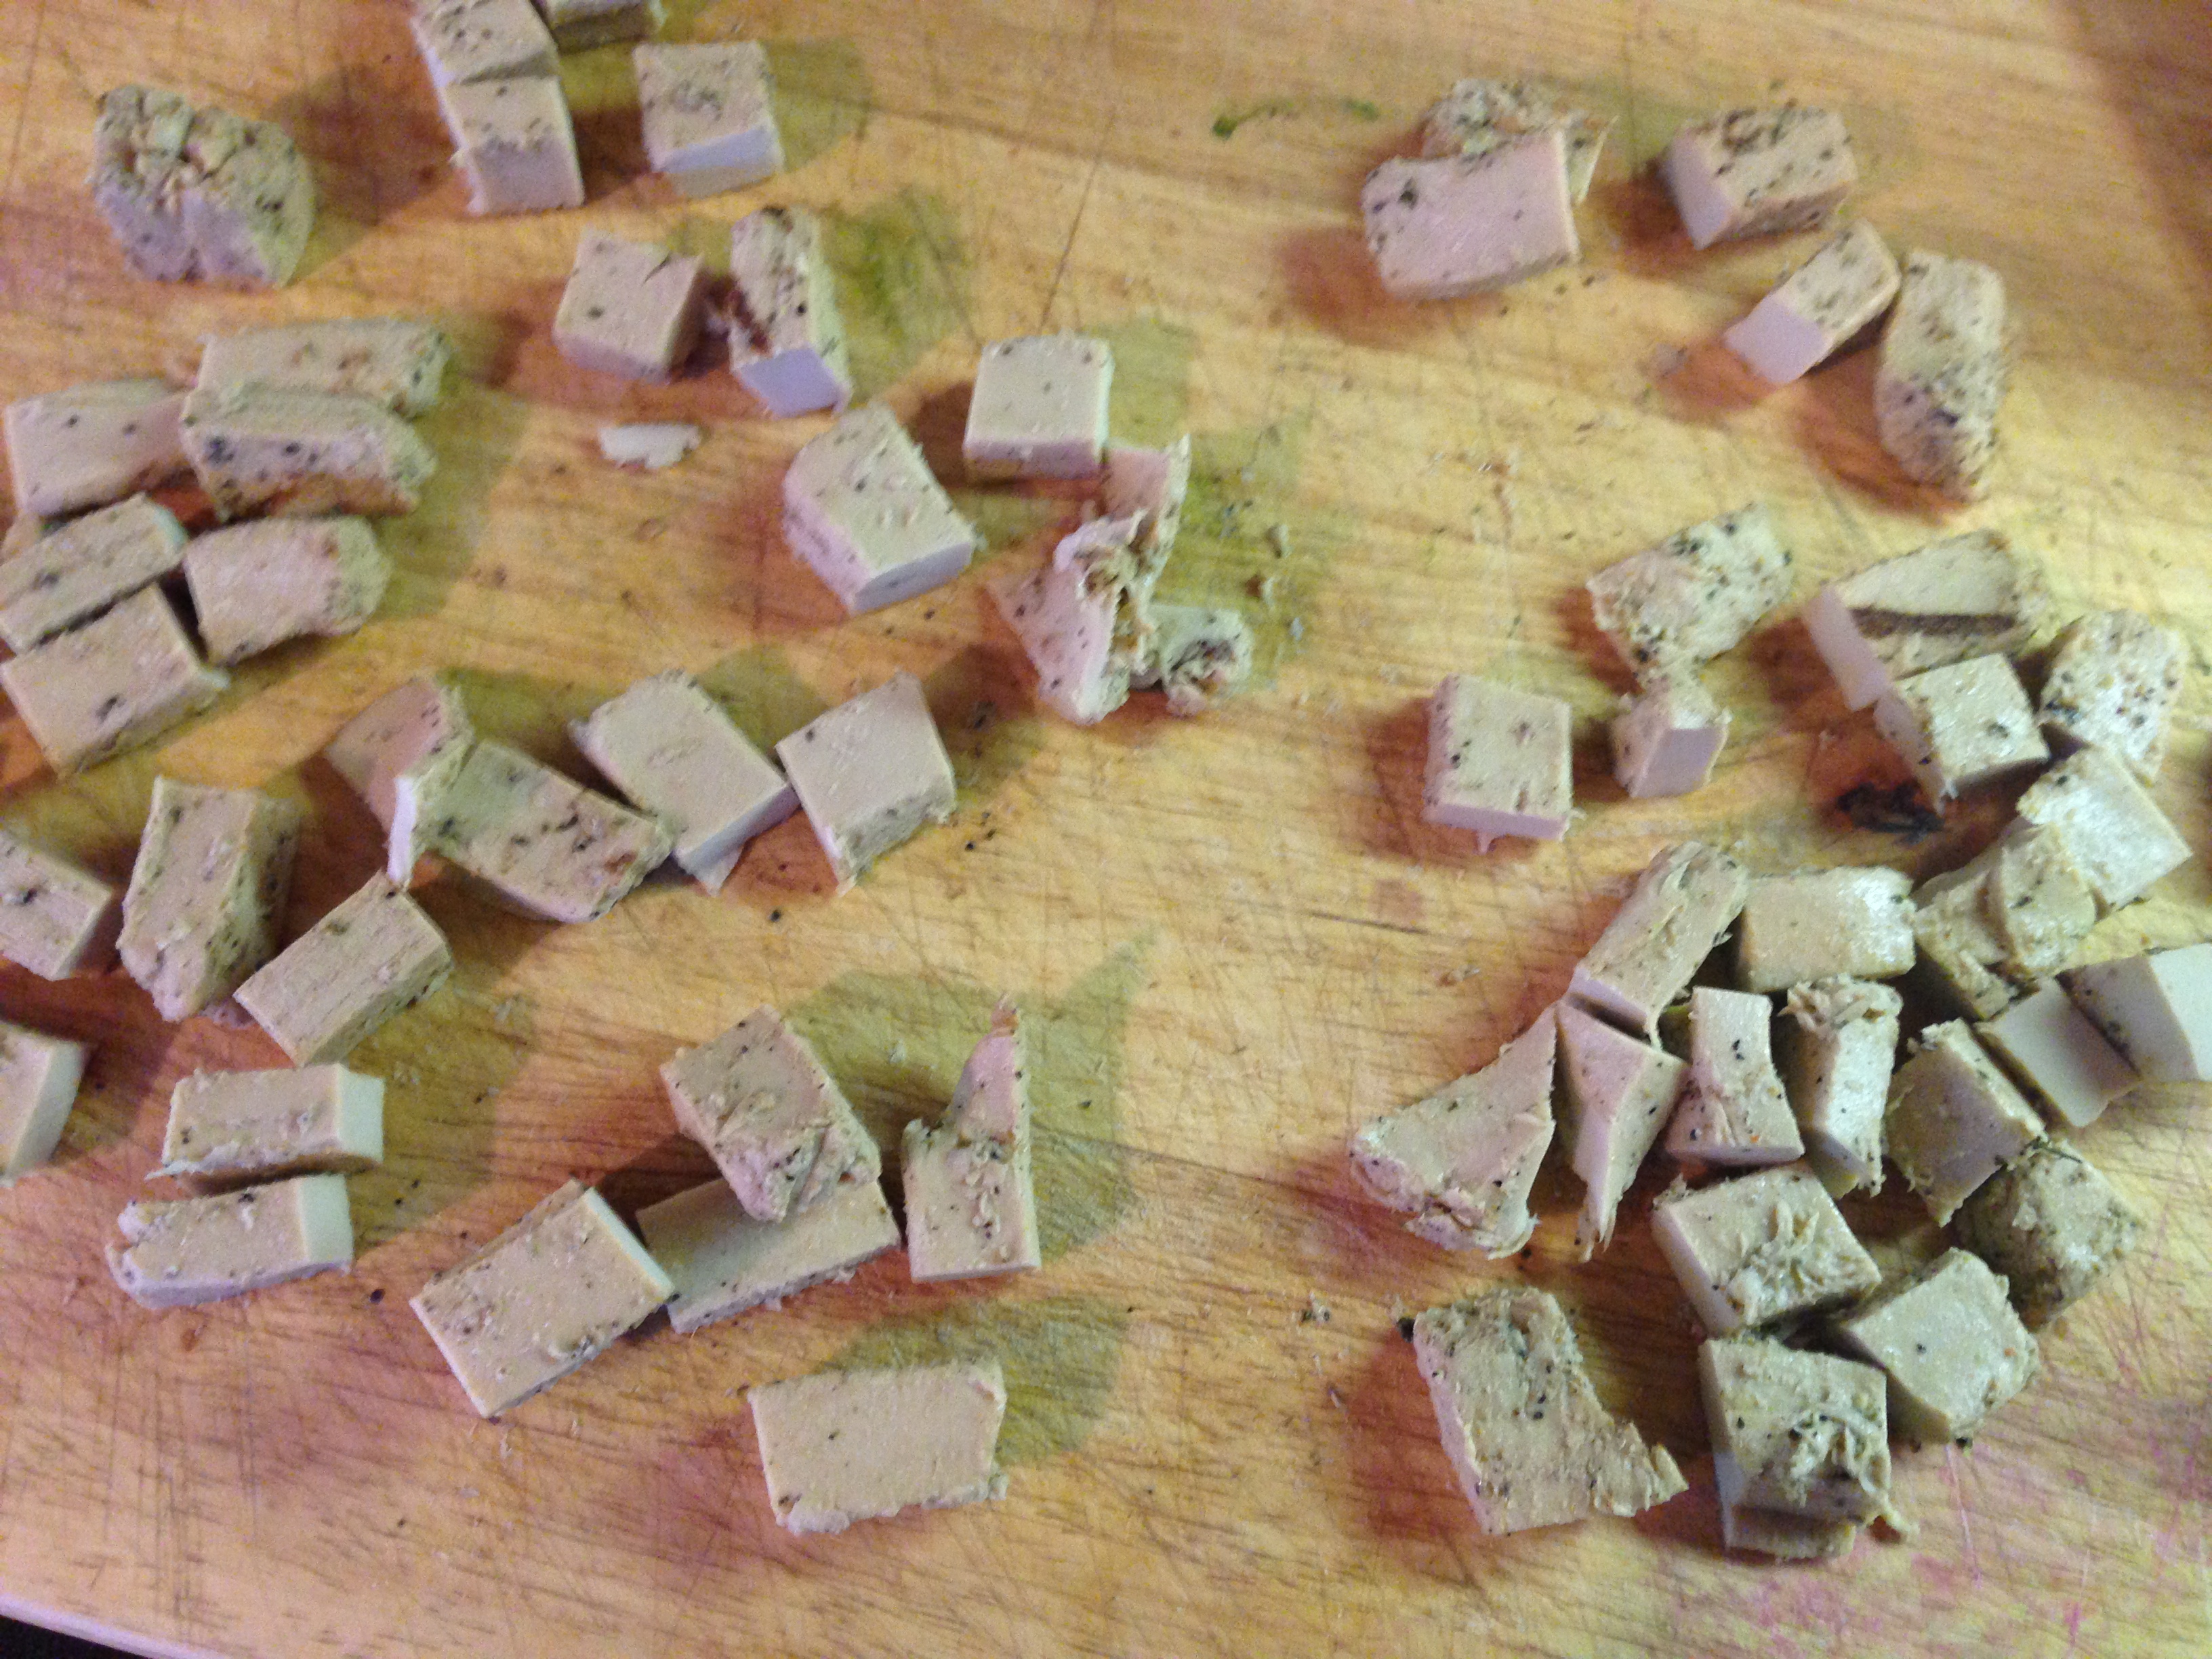
9 oz vegan chicken (or cooked real chicken) – thawed
3 TBS low sodium soy sauce
2 TBS rice vinegar
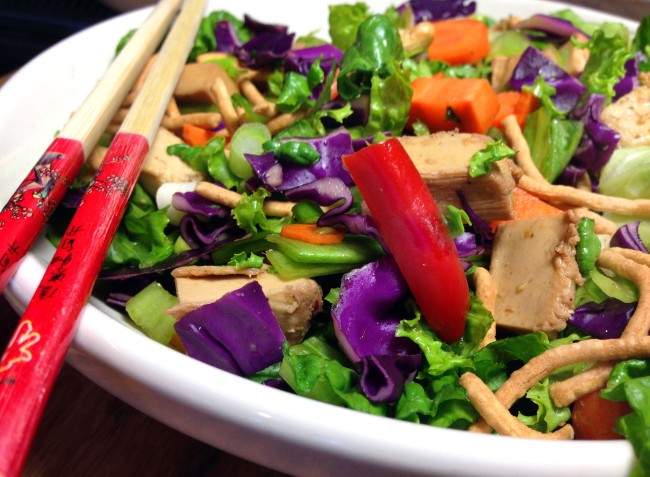
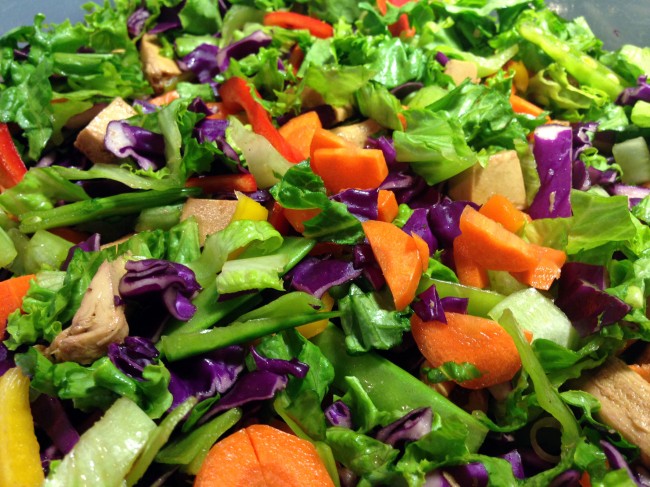
1/2 – 1 head lettuce (romaine is great – but I had a head of green leaf & it was delightful) – washed & chopped
1-2 cups purple cabbage – chopped
Chow mein noodles – use sparingly – unless you have a massive hole in your heart (like I do) – then self-medicate with these. FTW!
3 carrots – chopped or grated
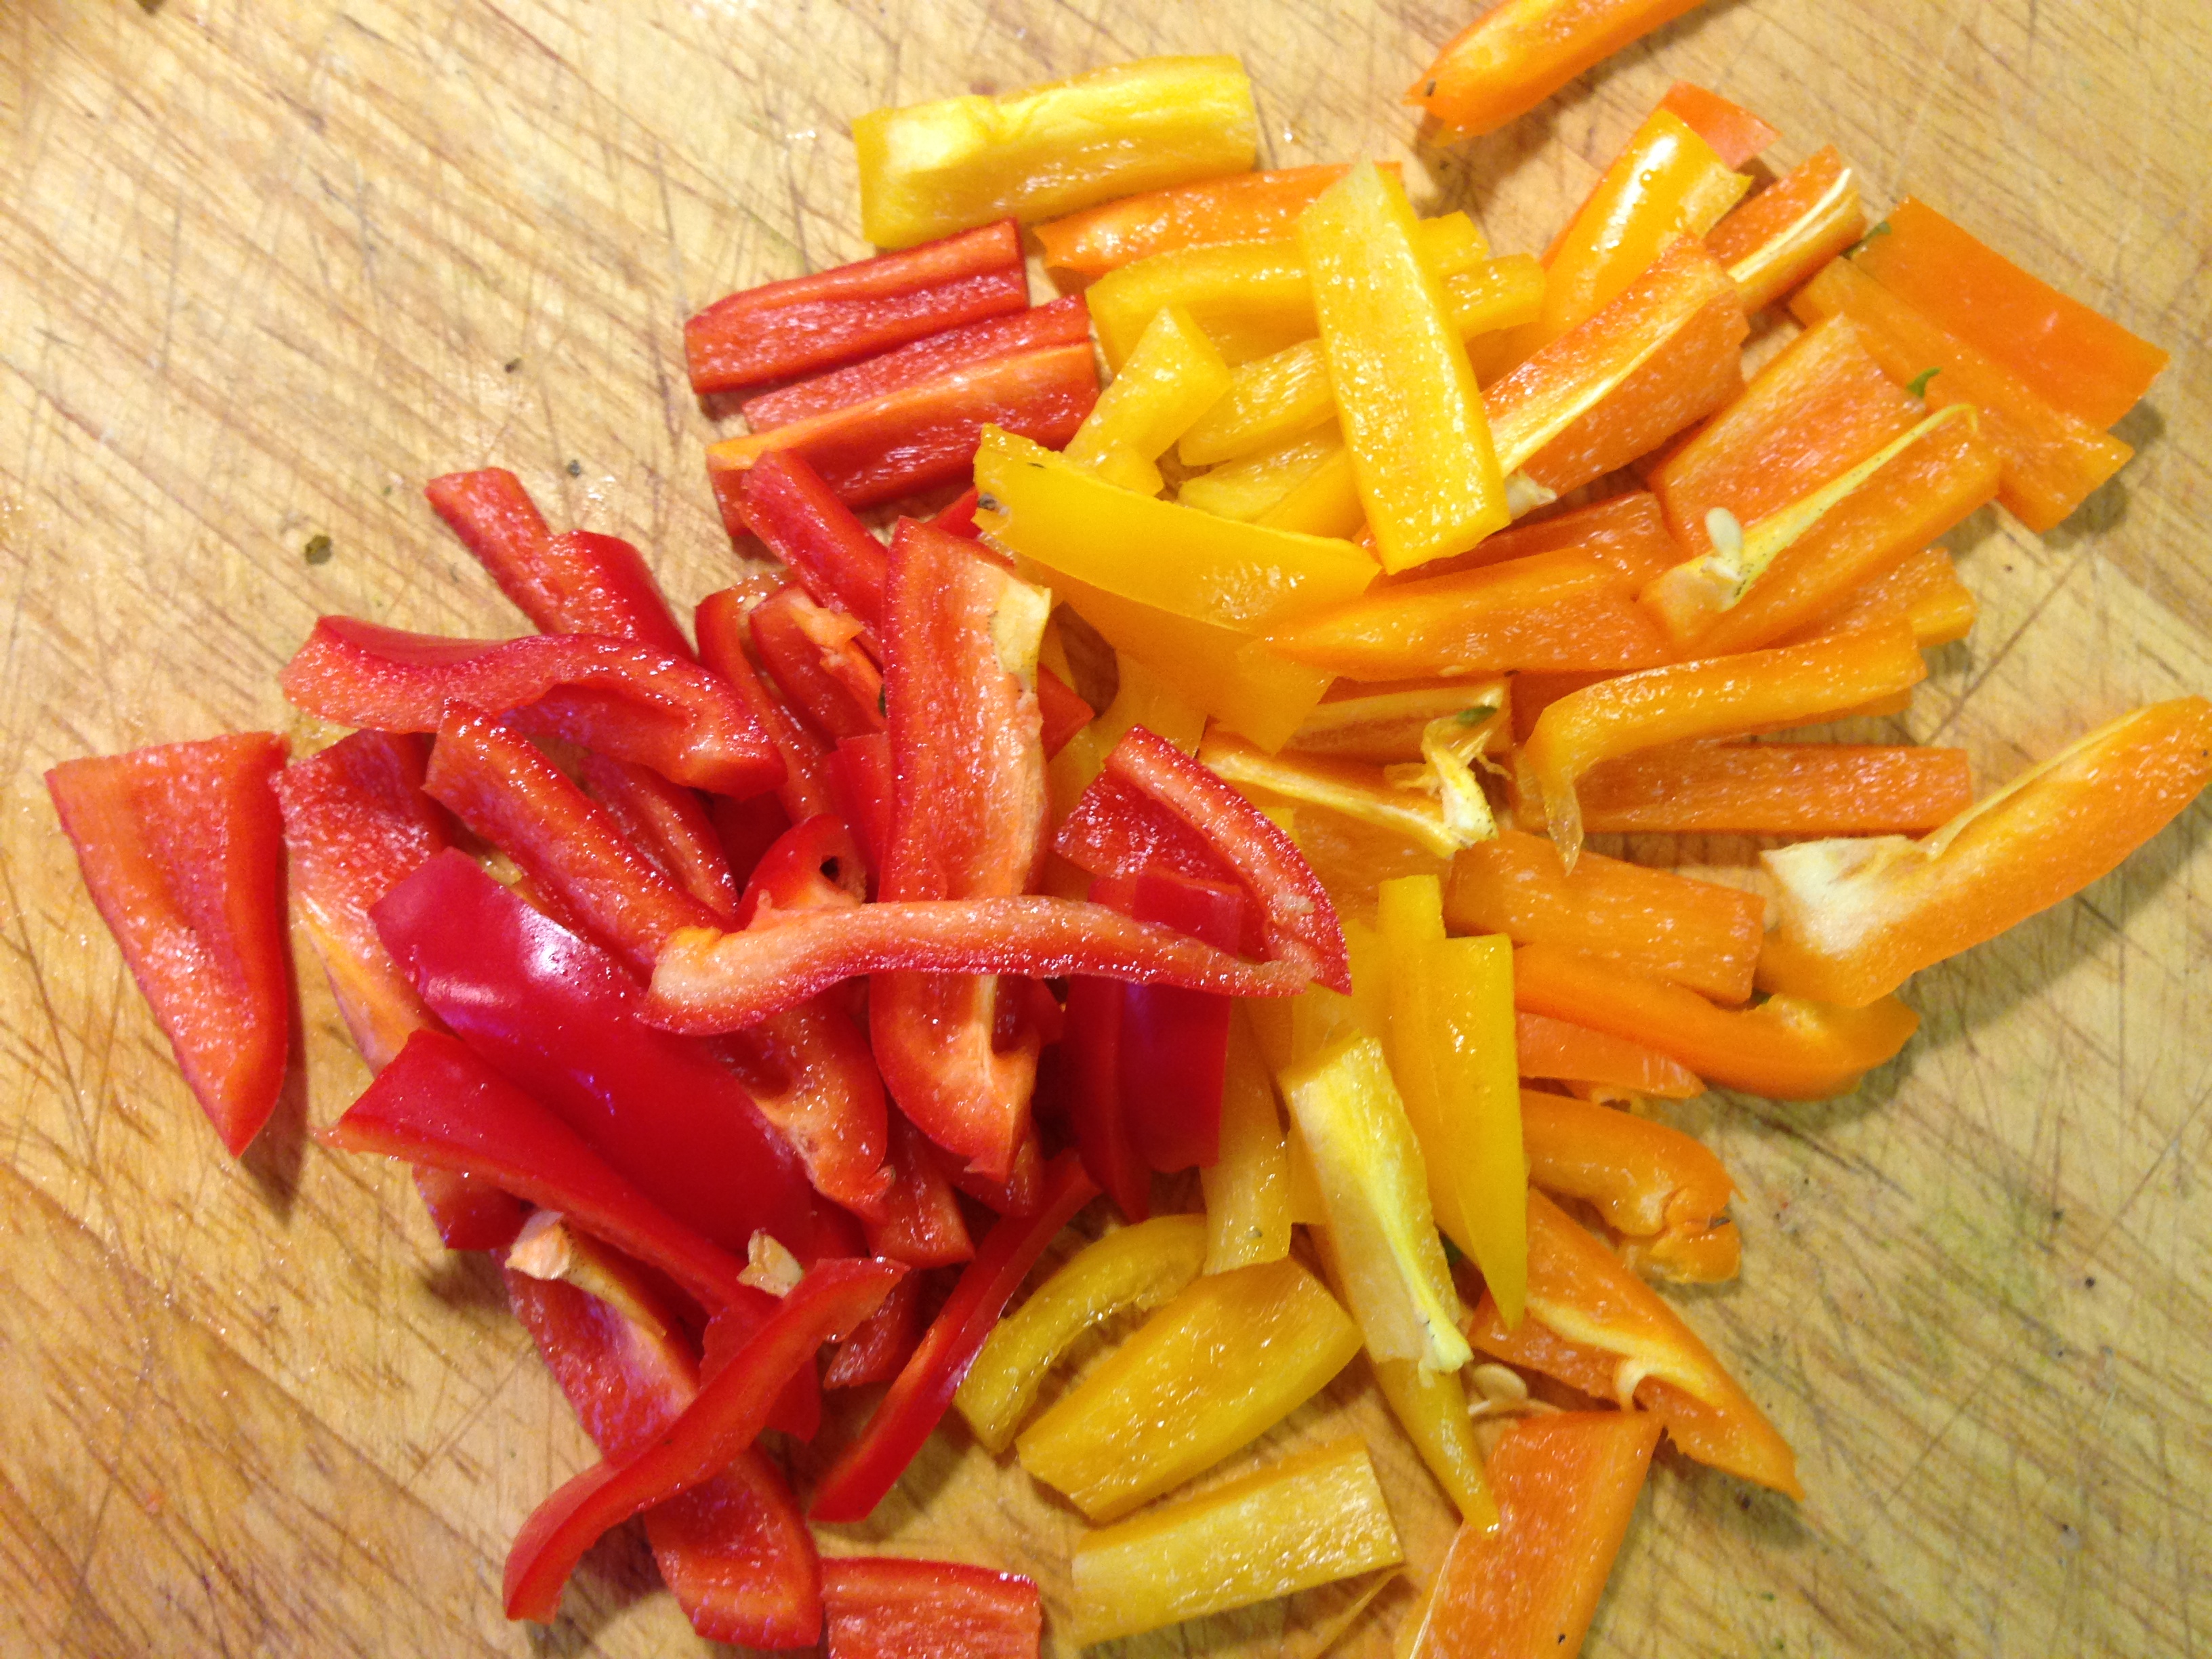
3 mini peppers or 1/2 bell pepper – cut into strips (the mini ones are nice because you can mix up the colors)
Edamame – optional
12+ snow peas – trimmed & cut into thin strips
1 scallion – sliced
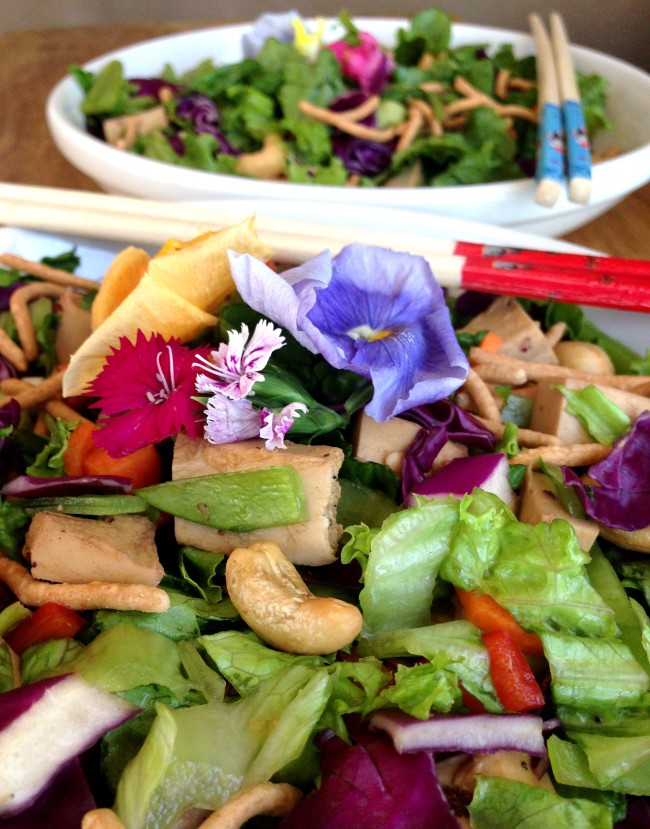
1/2 cup cashews (or sliced almonds or toasted peanuts or whateverthefuck you like – just know these are fatty, too.)
Edible flowers – (again – not required but very pretty & sometimes you gotta buy yourself stupid things for no reason)


DIRECTIONS
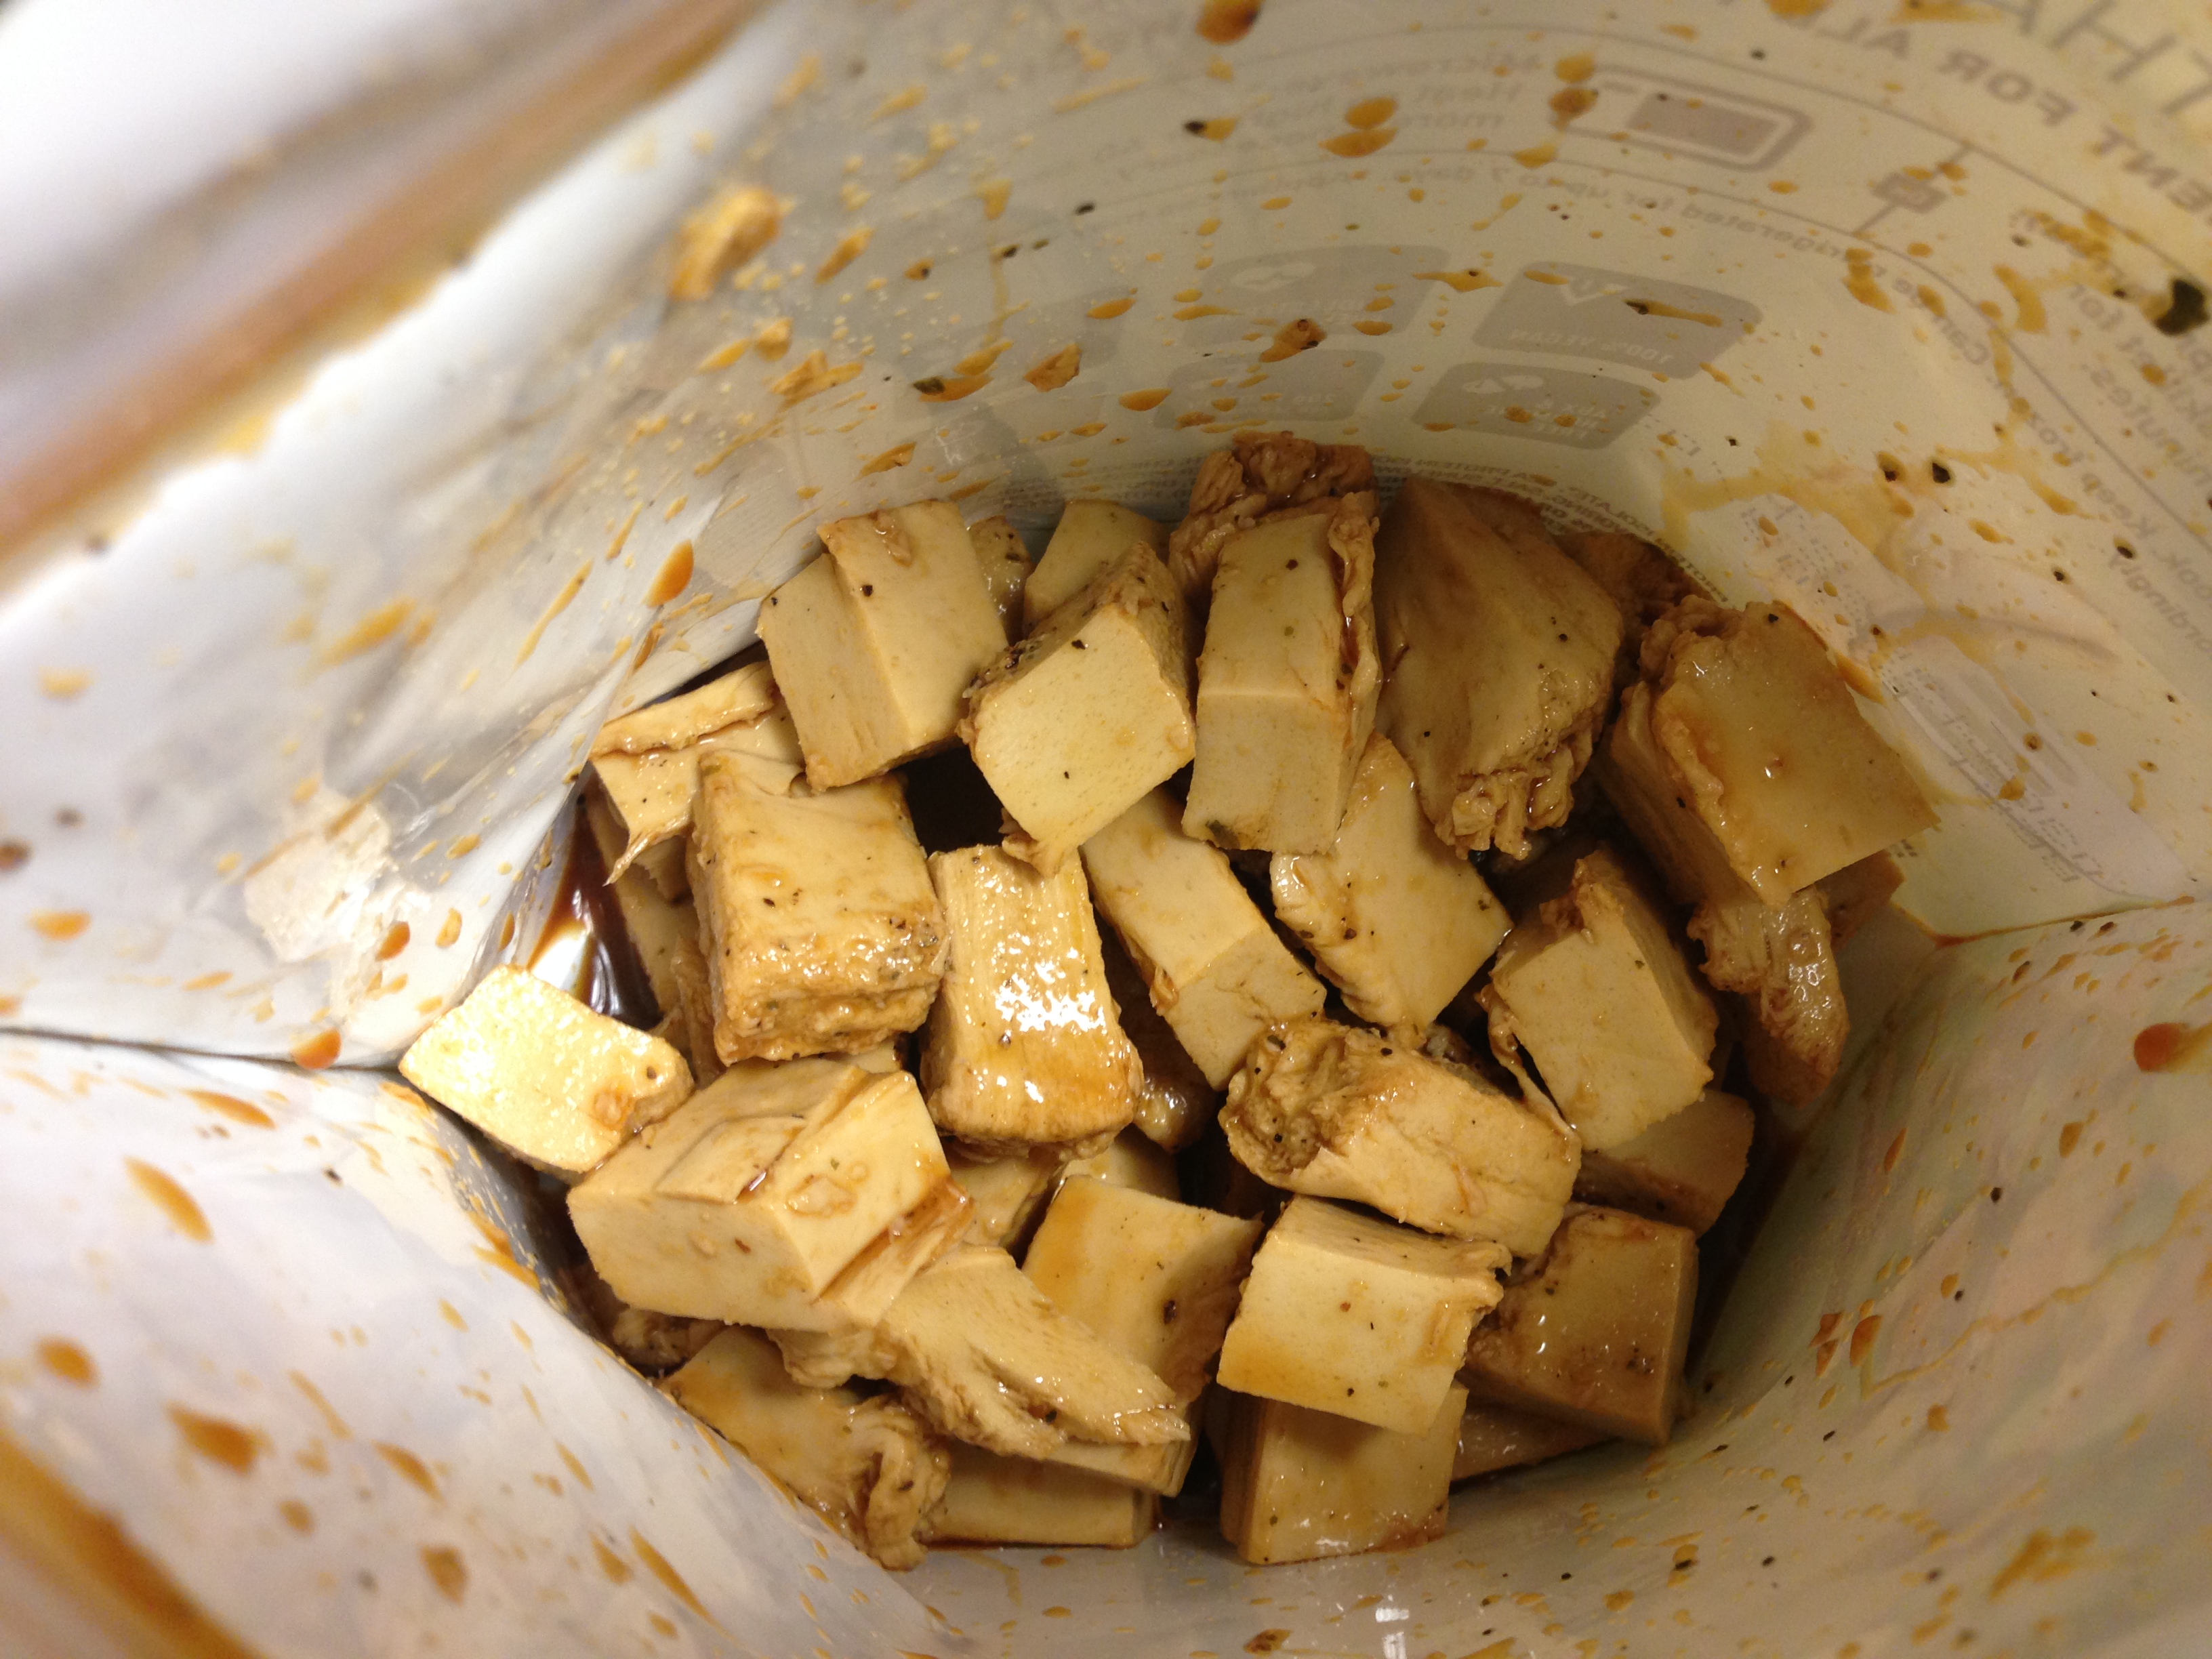
I cut the chicken into cubes & then put them back in their bag with the 3 TBS soy sauce & 2 TBS rice vinegar. I shook it up & let it marinate while I prepped the other veggies.
When ready to eat – toss the prepped vegetables & top with edible flowers – that is – assuming you are as full of self pity as I am & require such things to make life worth living.
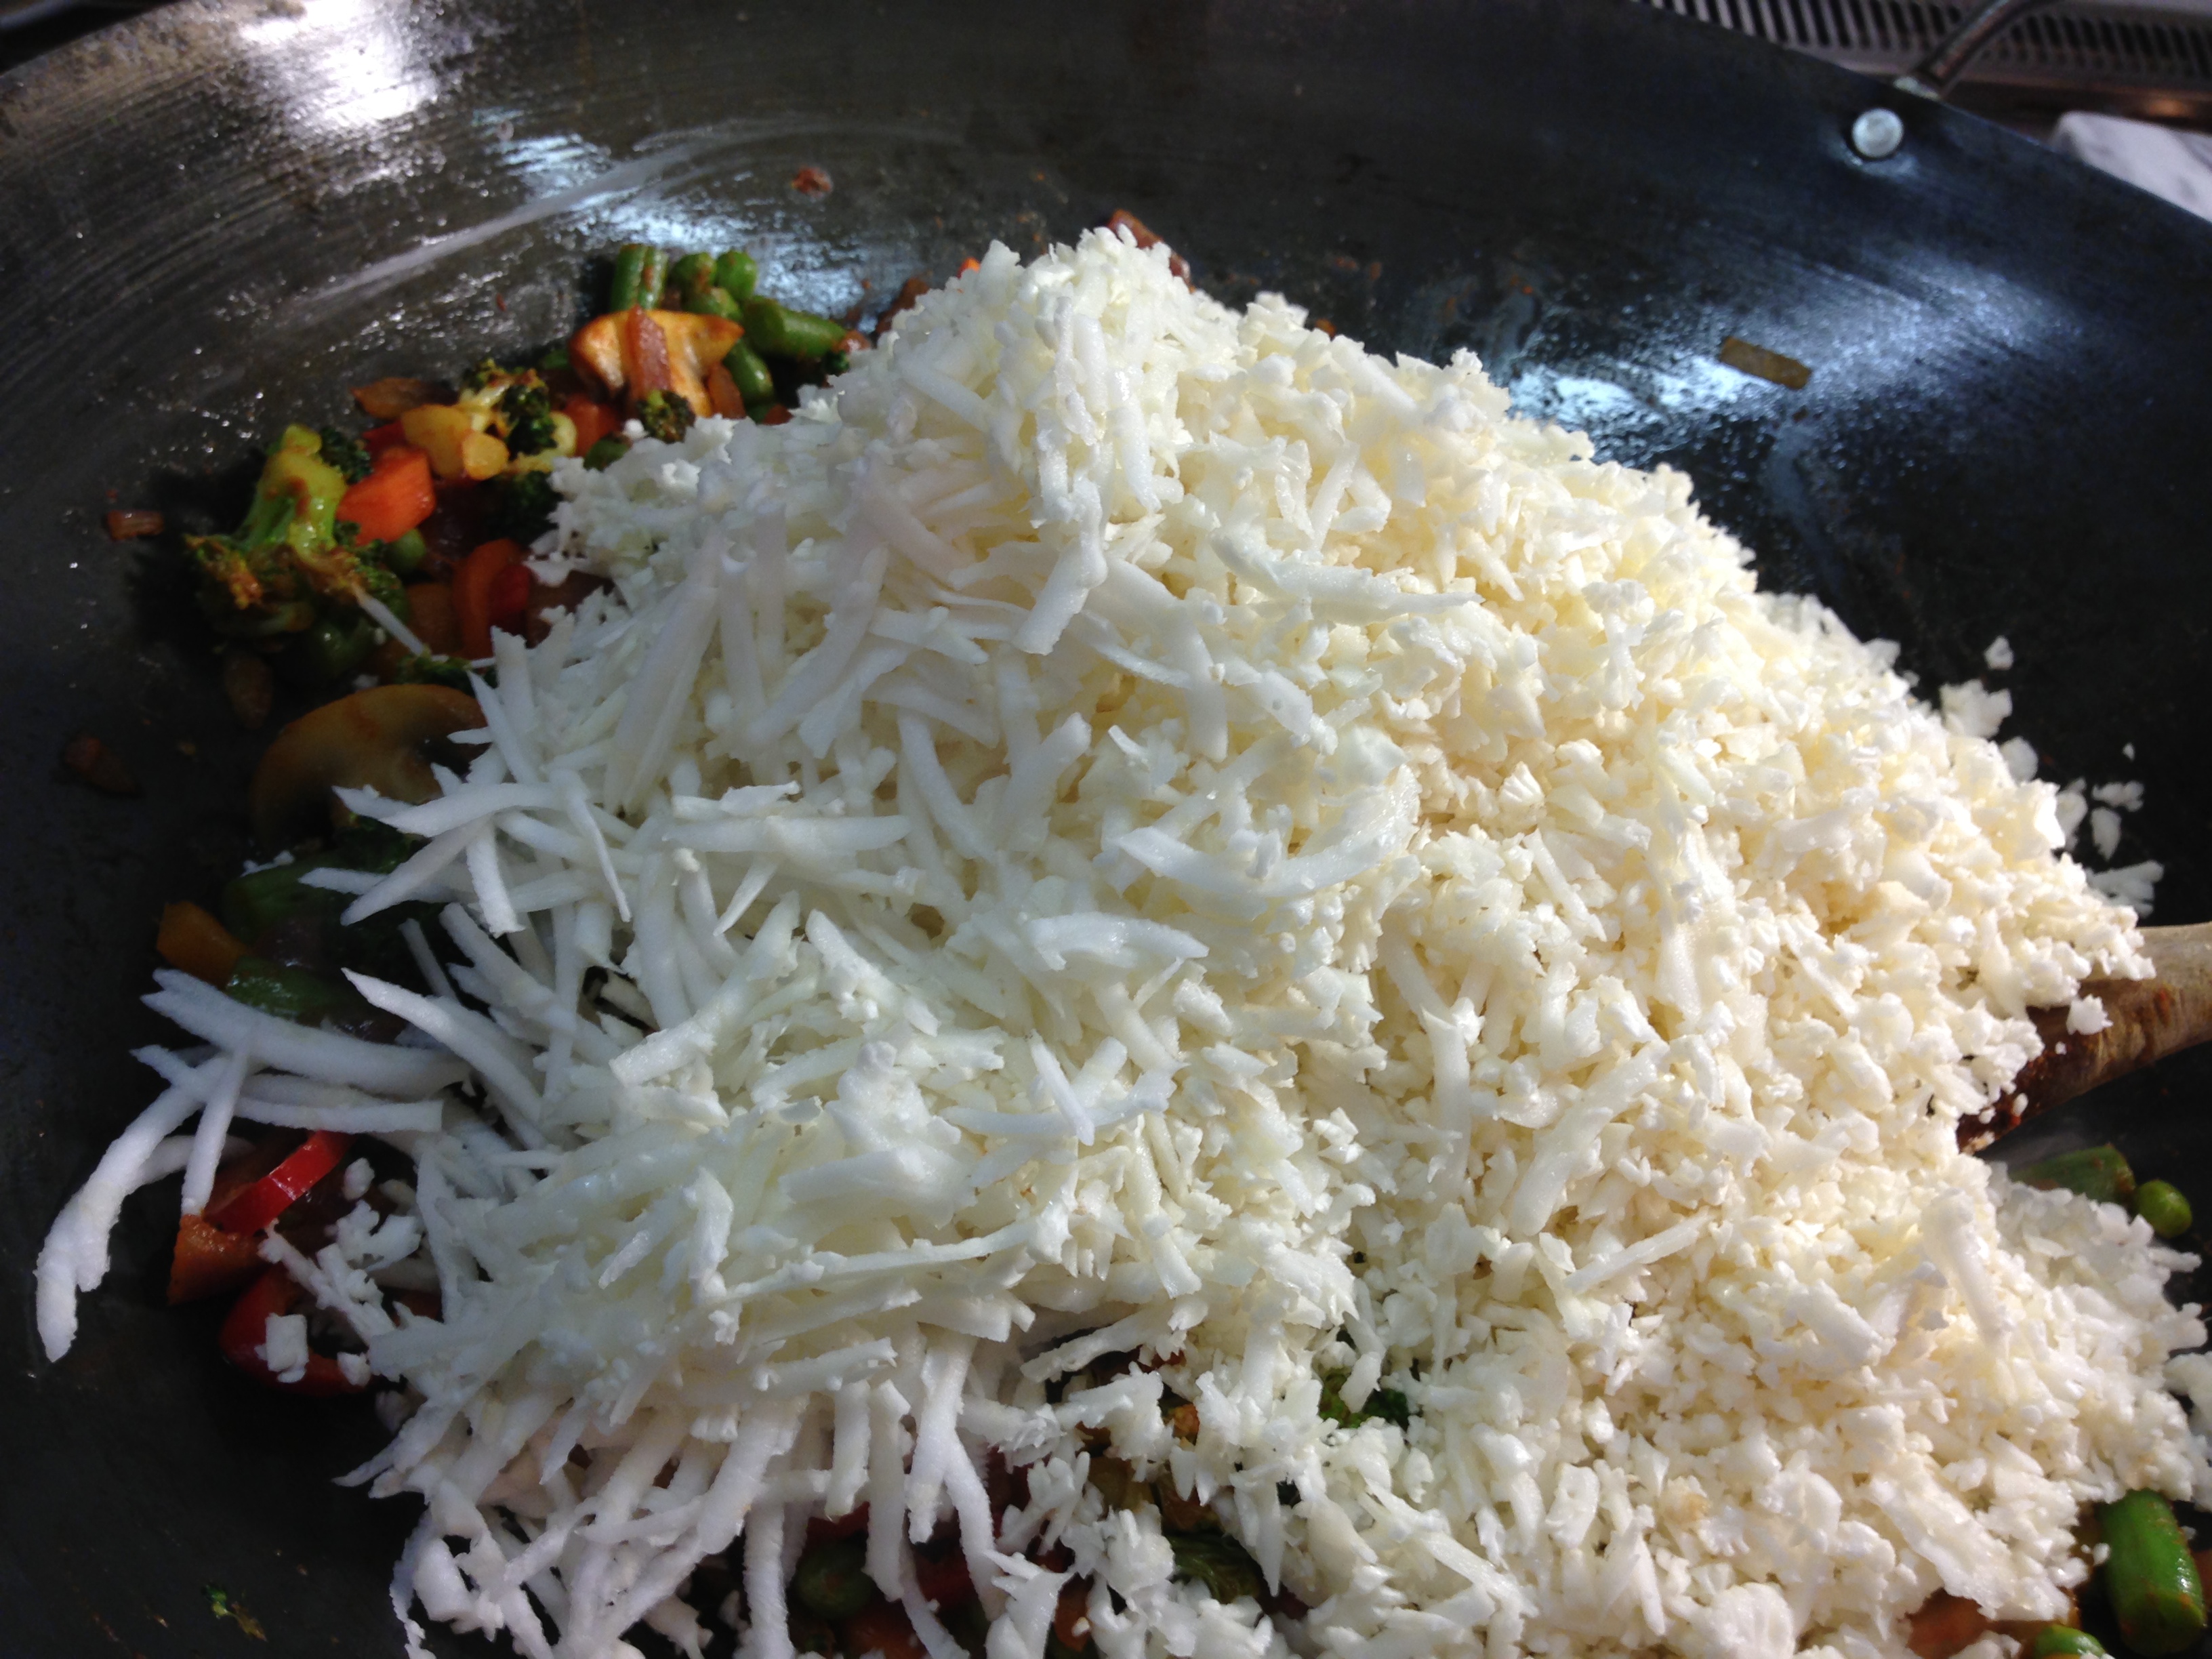
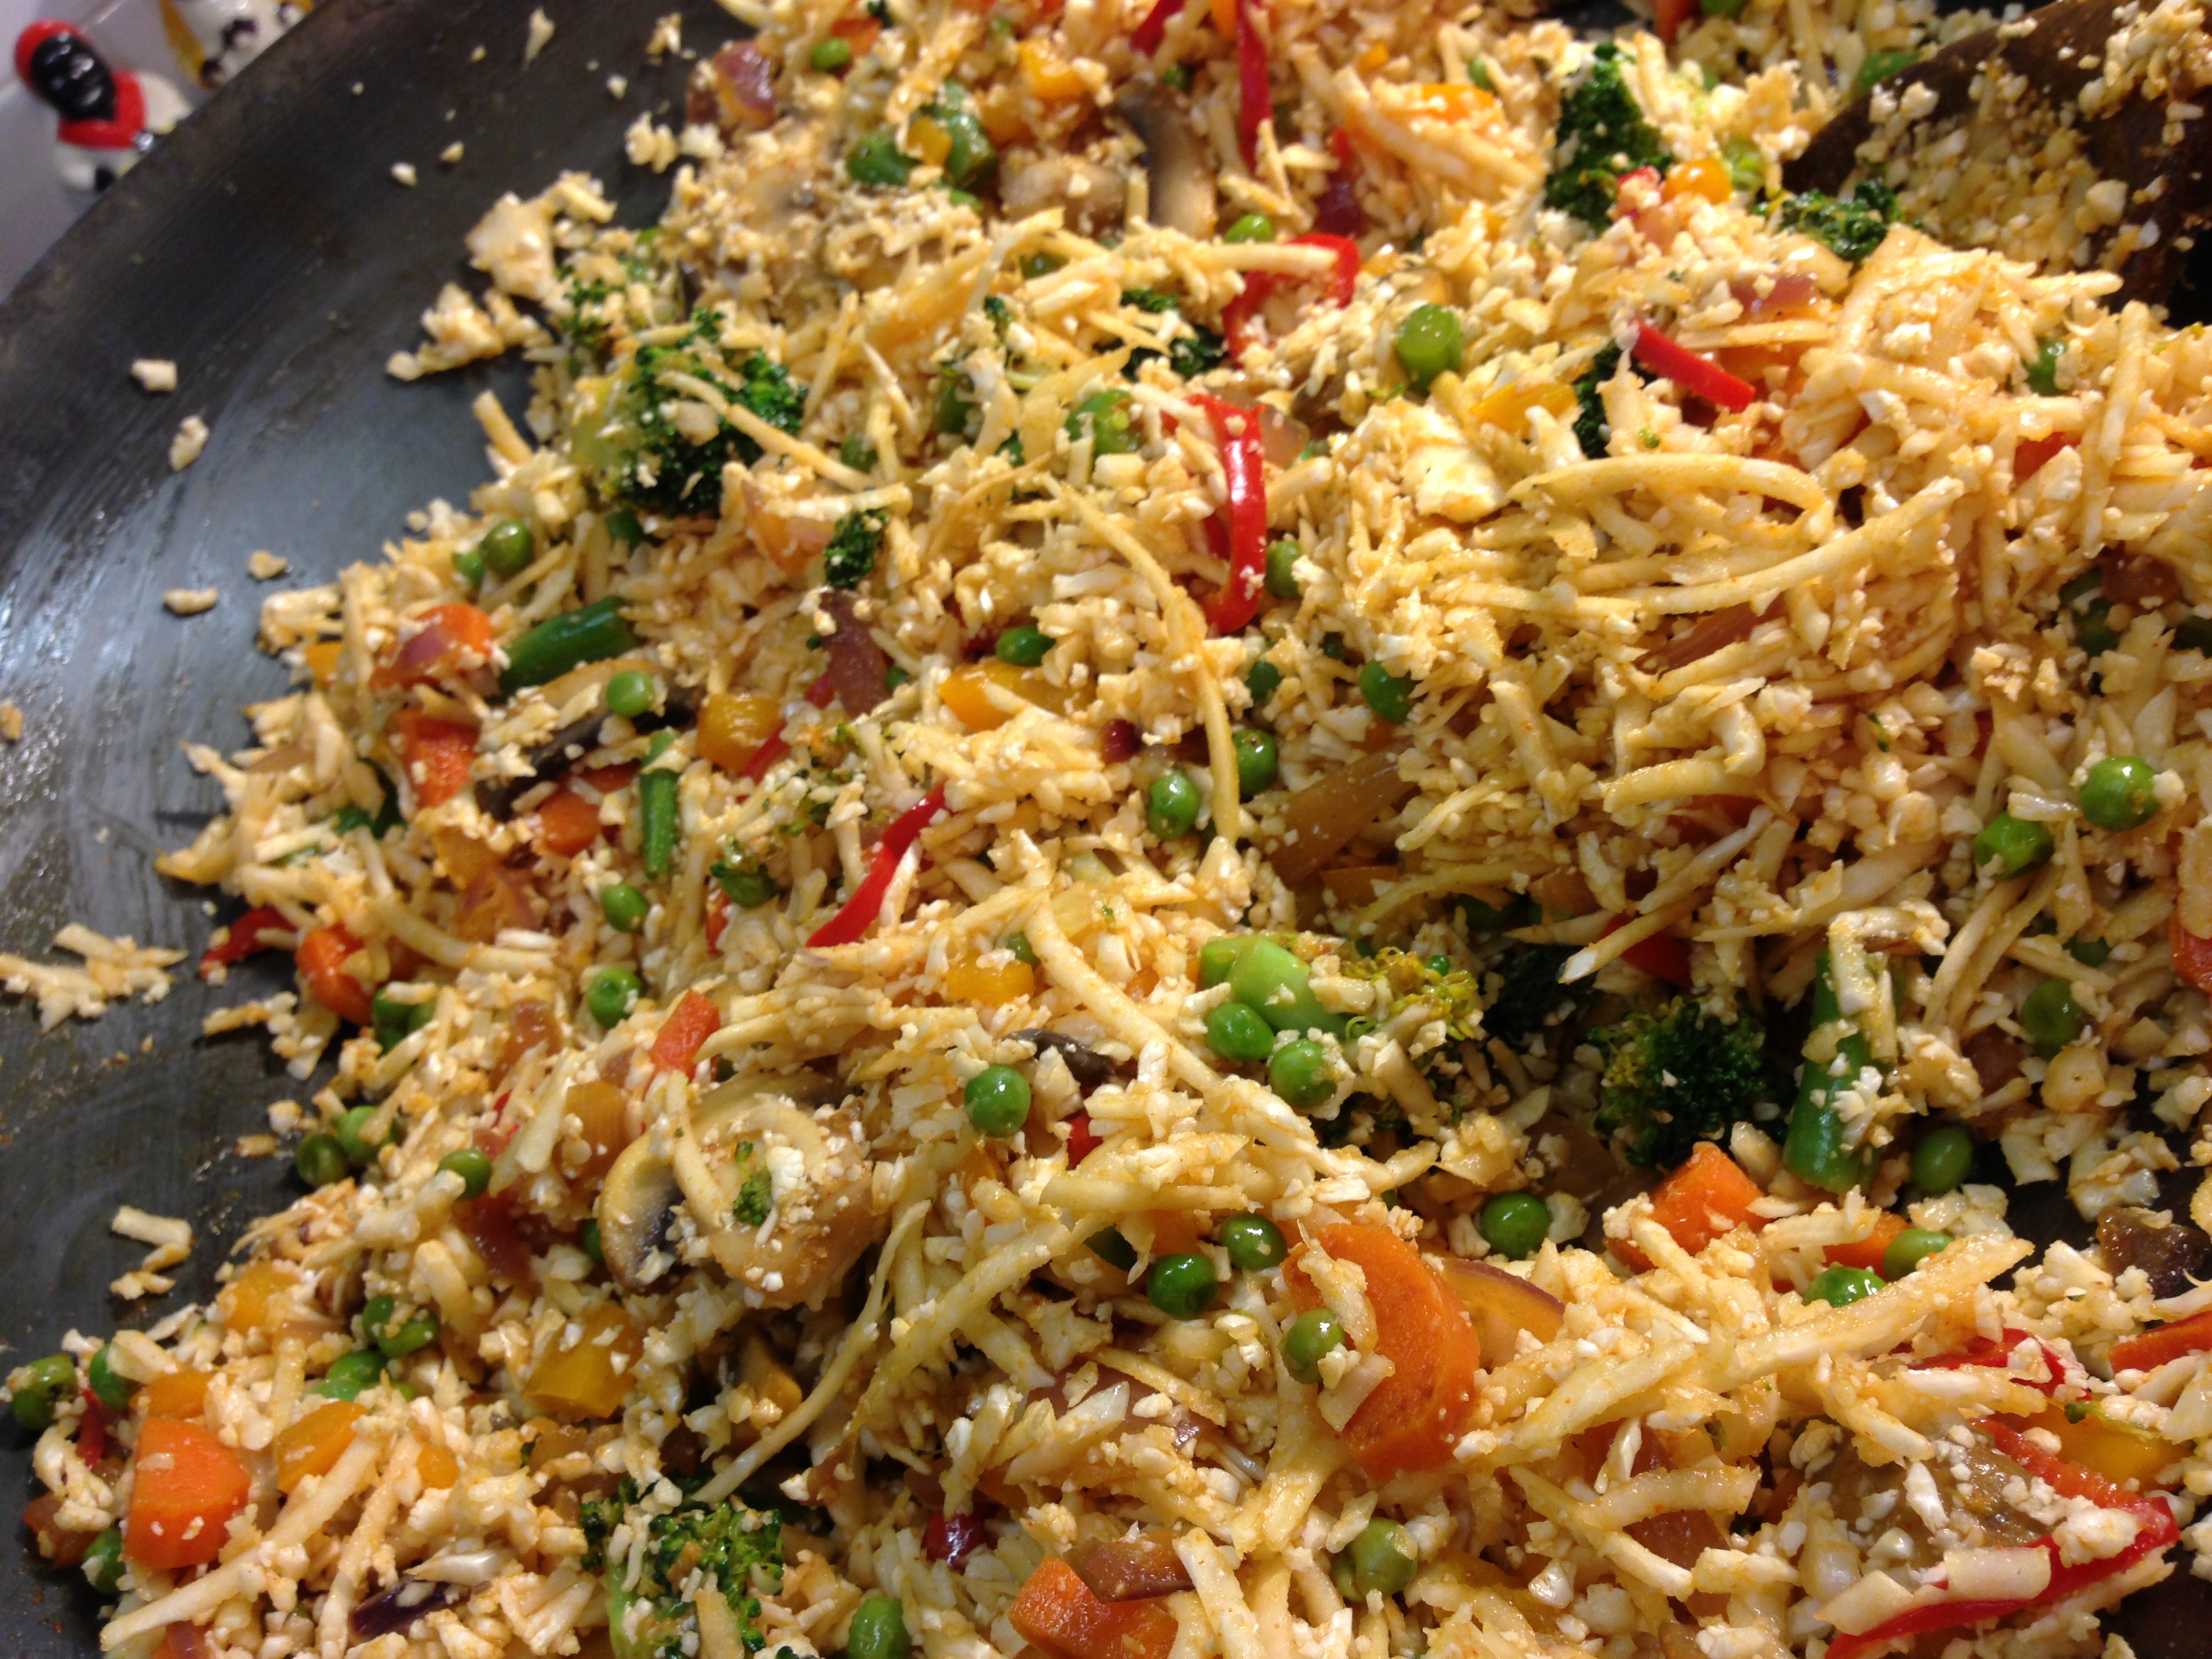
Add the chow mein noodles & don’t kid yourself how bad they are for you when you do this. What you do – after you have read the label on the can – is up to you. But don’t go eating the whole can & then coming knocking on my door with your newly fattened ass to bitch me out. I’m barely treading water as it is out here – and I warned you.
I will add – that if you intend to drink as much cold, white wine with this salad as I do – you might want to skip the chemical-ridden chow mein noodles & save them calories for the likker. Like a good little alchorexic. 🙂 Skip the nuts in the salad & go for the entire box of wine. The person eating across from you will be getting as drunk as you are. Who are THEY to judge?
Only add dressing to the portions of the salad actually served – that way – if there is salad left over – it will keep a day or so – as long as it isn’t soggy with dressing.
Cheers!