Brown Rice & Quinoa Risotto with Arrabiata & Shrimp

2 Comments

All Photos © Christine Elise McCarthy 2013

To see images of my past posts & get links to the recipes – look on my Pinterest board – HERE.

~

This is kinda outrageously good.  I began by trying to just use the brown rice but I got impatient waiting for it to get creamy so I added some cooked quinoa which magically did the trick.  This can be used like any risotto & you could add anything your imagination comes up with.  I had leftover, frozen arrabiata, so I used that.   The shrimp can easily be omitted.  Vegan cheese could be used to make the dish vegan.

As an aside – NEVER buy this stuff:

Image

At the risk of sounding like a commercial, I thought I’d save a dollar or two & buy the cheap stuff but that was a mistake.  First of all, it foams up like a bubble bath creating a Lucy moment of a bubble lava torrent spilling out of the dishwasher.  And – not only were most of the dishes not clean at the end of the cycle – but all clear glass came out looking frosted.  Just the worst.

2-1-13 UPDATE – I just noticed thus says “gentle on hands.”  Haha!  It sucks as a dishwasher detergent because it ISN’T a dishwasher detergent.  It if for hand washing.  So- nevermind what I just said above.

Anyway – this dish is really yummy & endlessly customizable – so – get creative!

PRINT THIS RECIPE

Brown Rice & Quinoa Risotto with Arrabiata & Shrimp

INGREDIENTS

1 lb shrimp – peeled & cleaned

olive oil

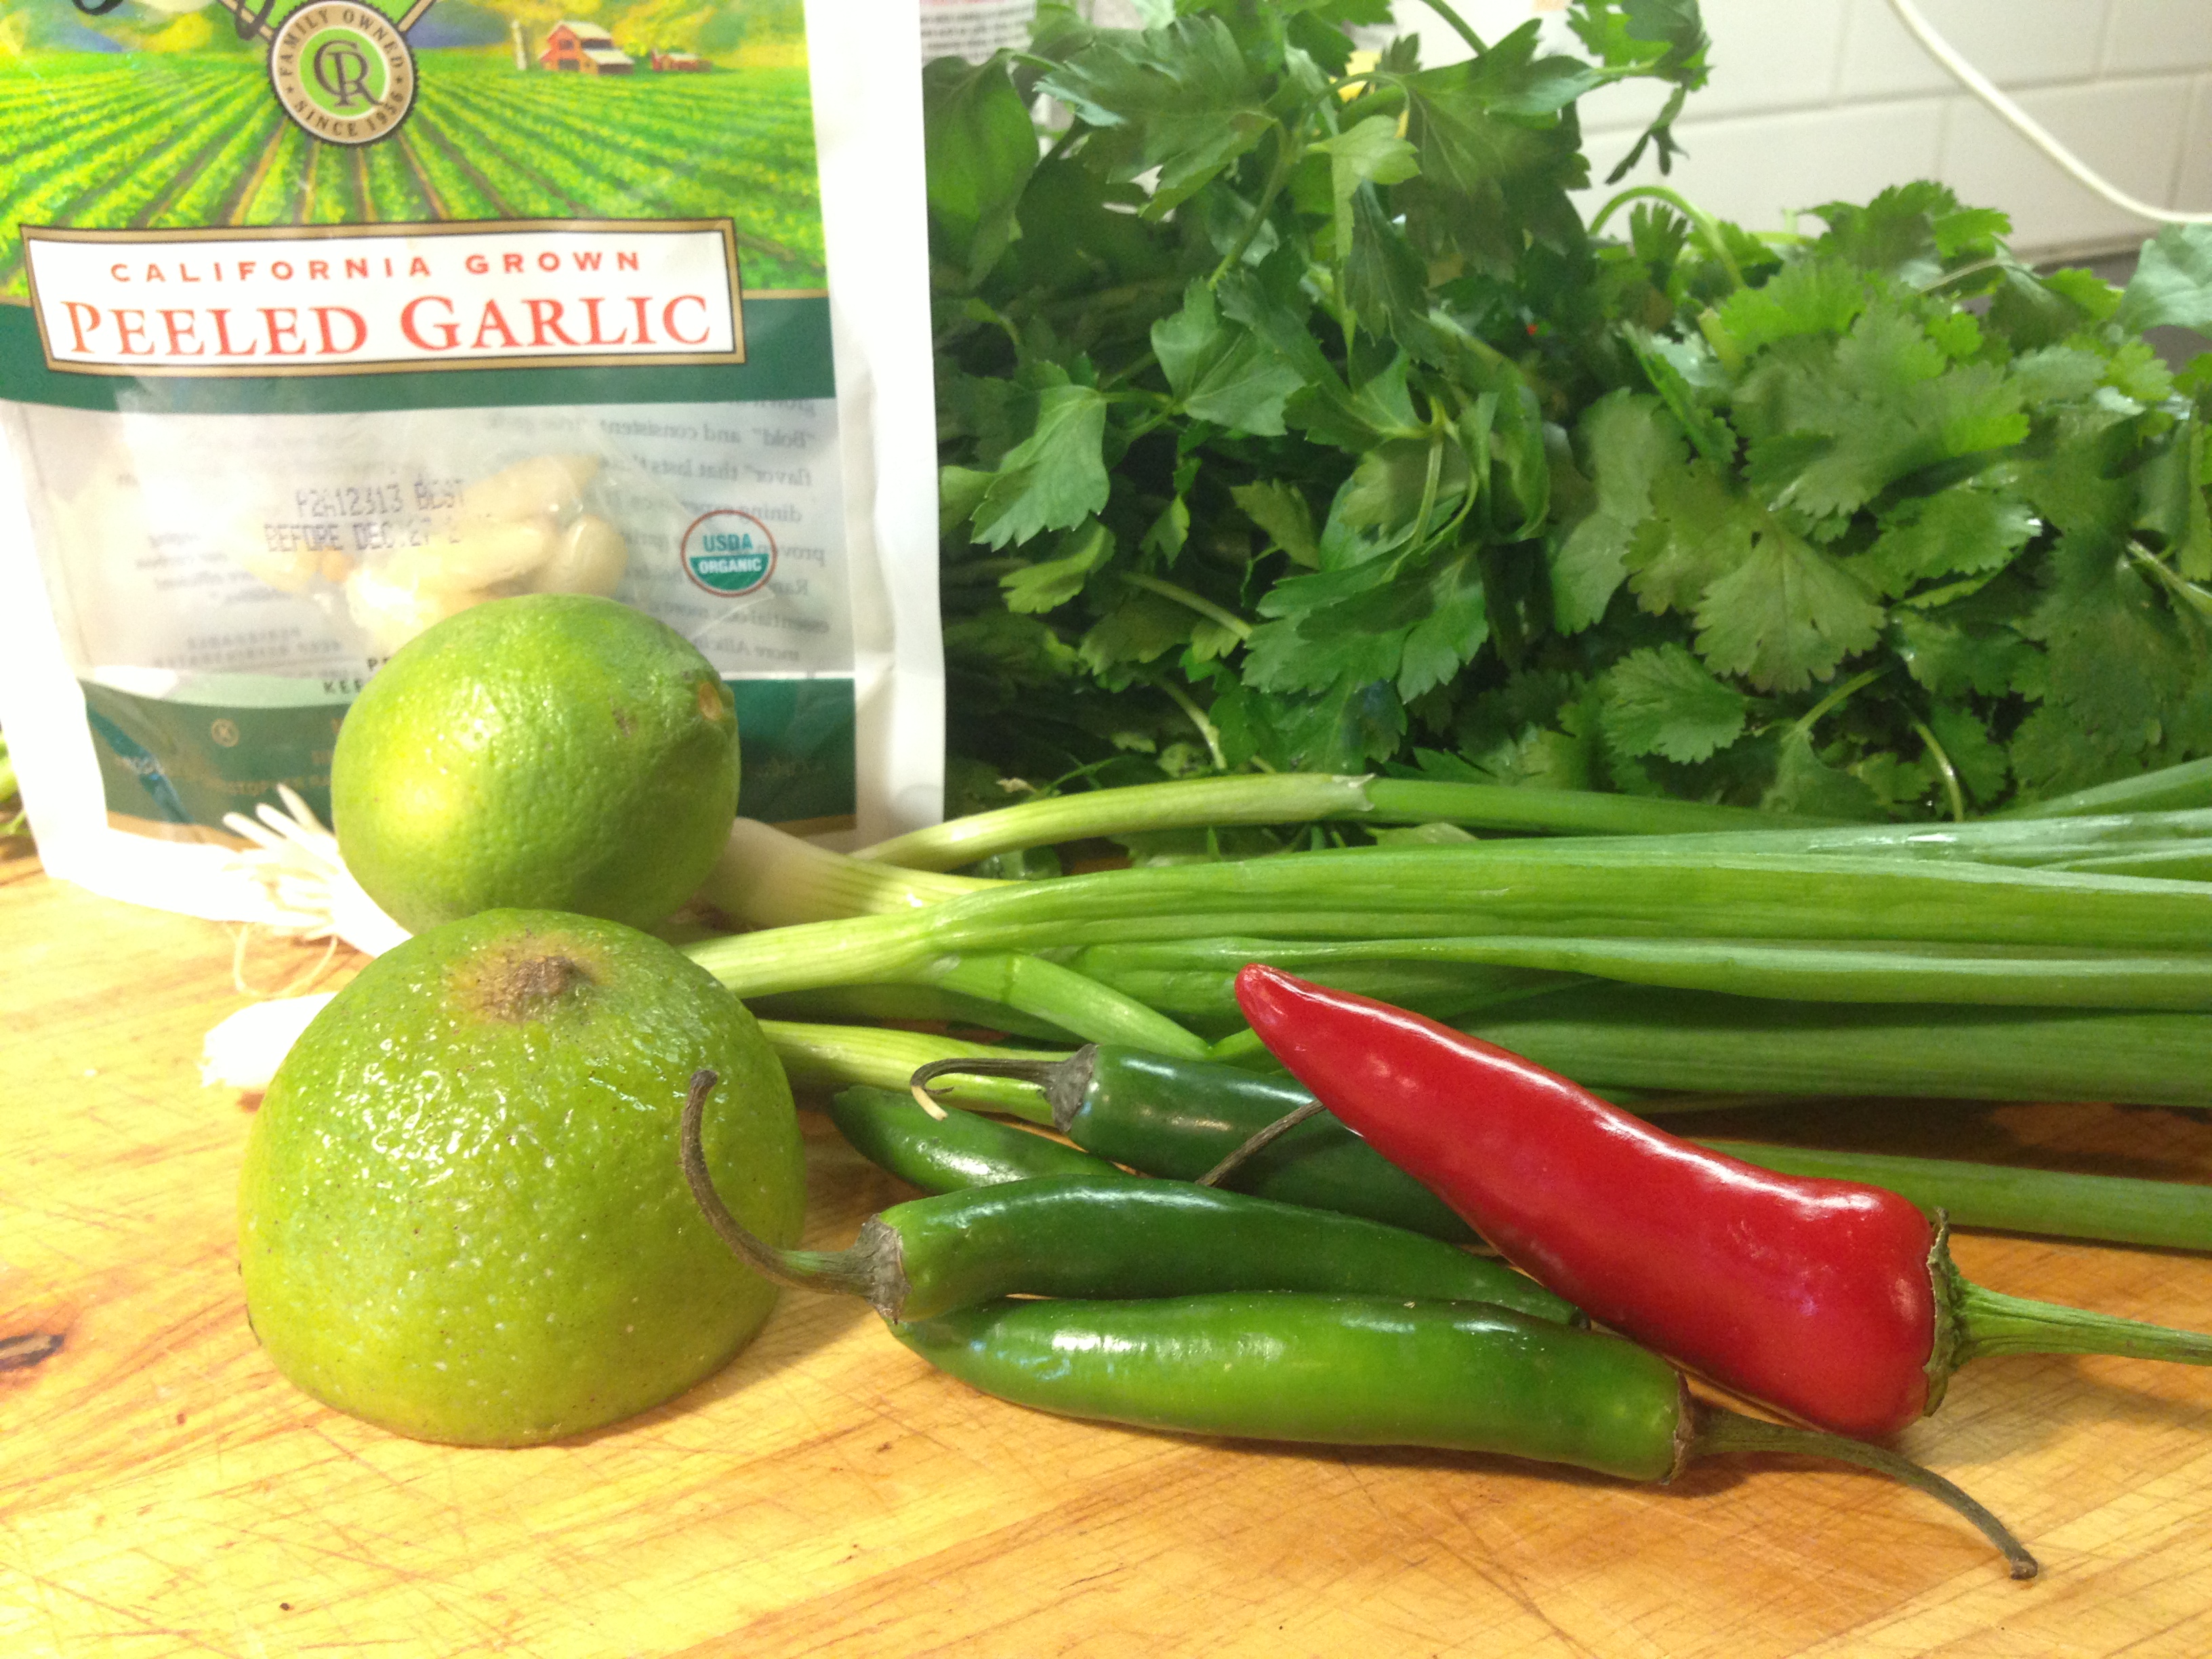
4 garlic cloves – minced

1 tsp crushed red pepper

S&P to taste

4 shallots – diced (or a small onion)

6+ cups stock (I used frozen, homemade shrimp stock)

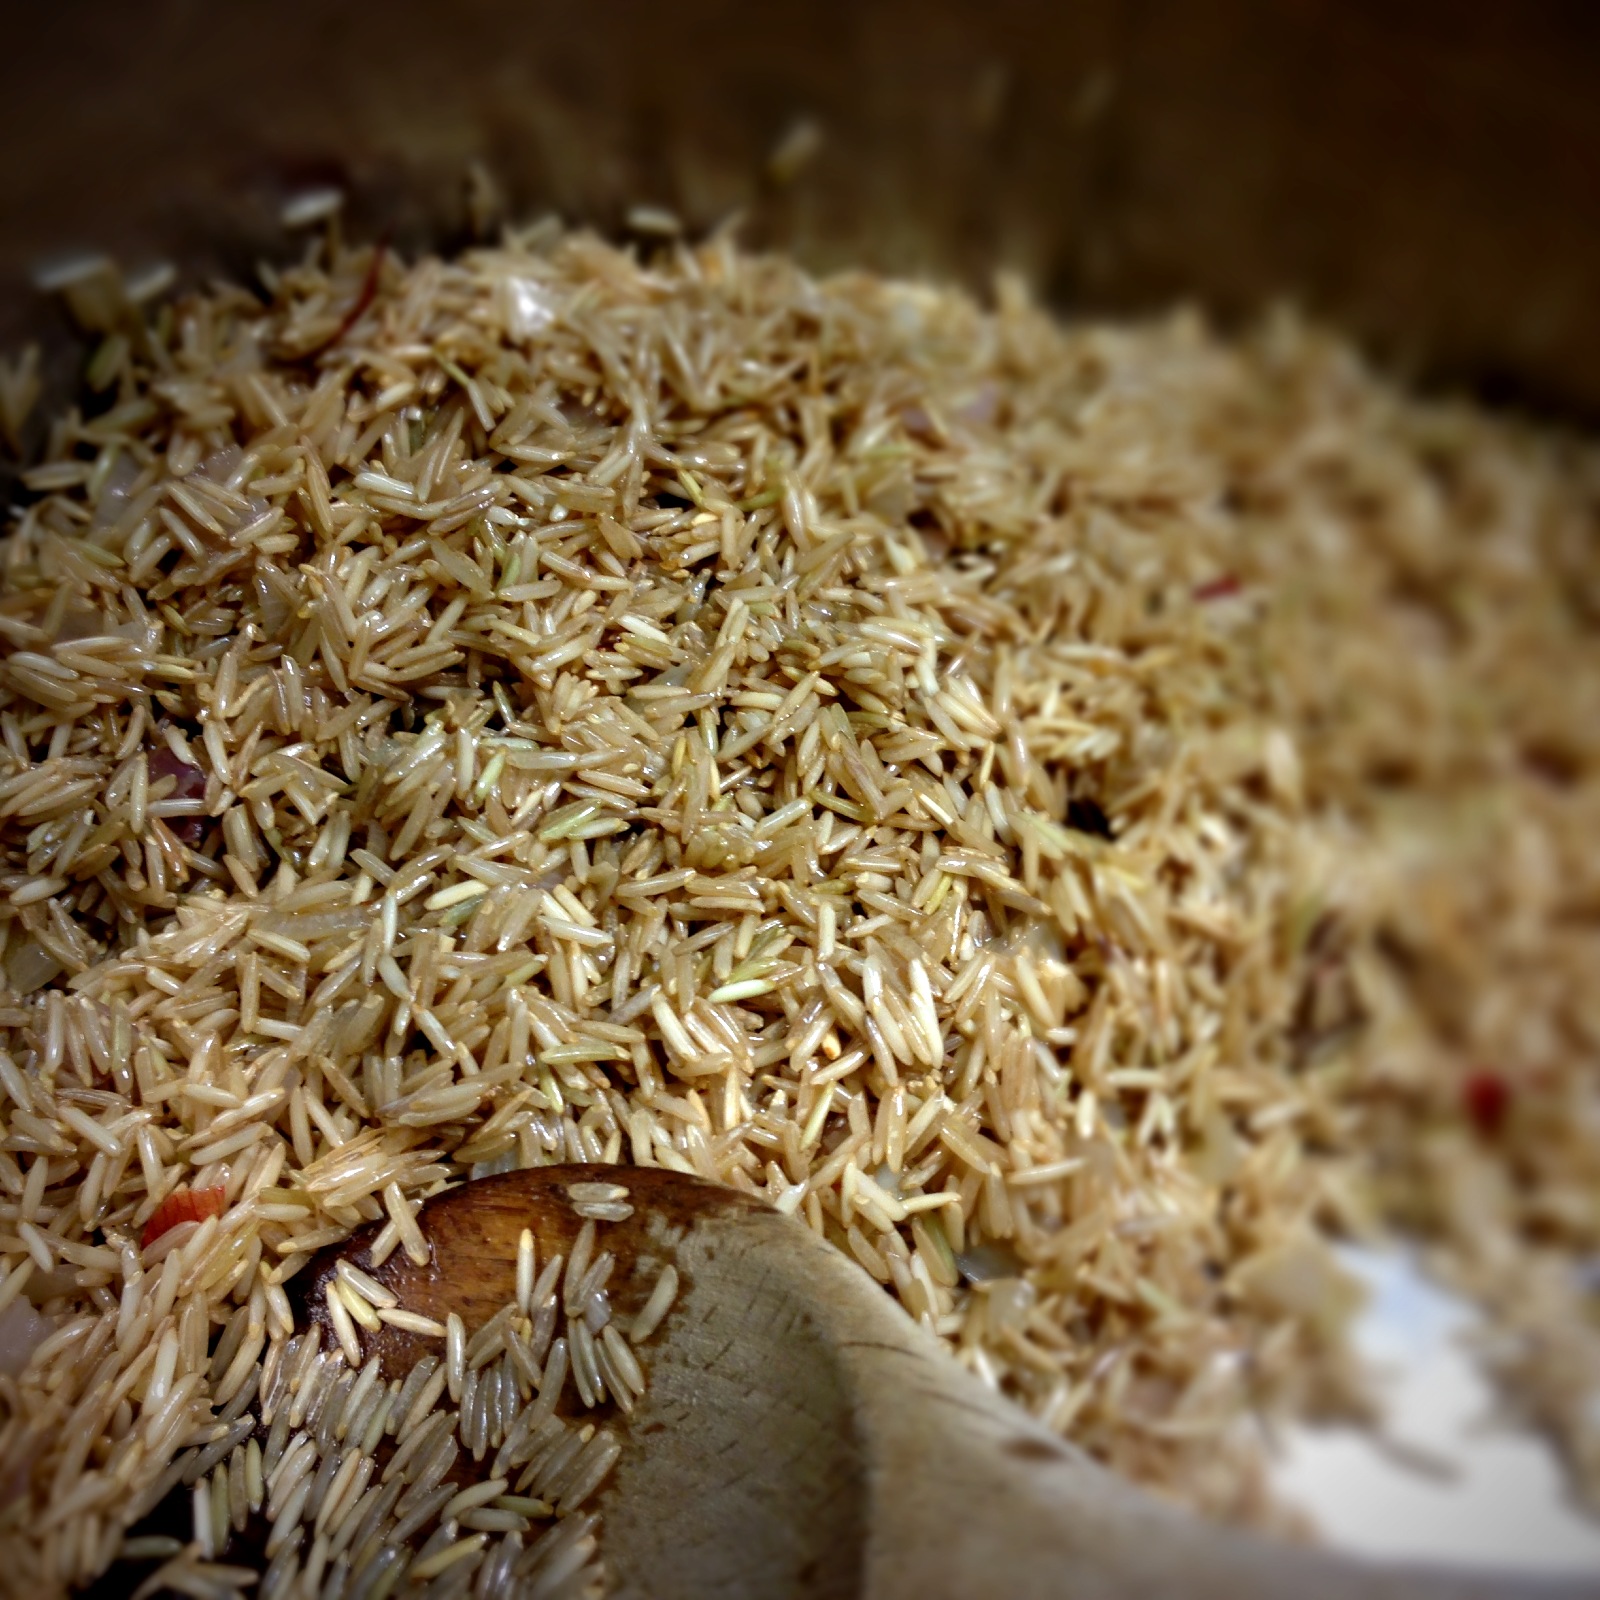
2 cups uncooked brown rice

2+ cups pasta sauce (I used arrabiata)

2 cups cooked quinoa

1+ cups grated parmesan

1 tsp oregano

1 tsp dry basil

1 tsp parsley

fresh parsley

2 tomatoes – diced

DIRECTIONS

Cook your quinoa (in vegetable stock).  Set aside.

ImageImageImage

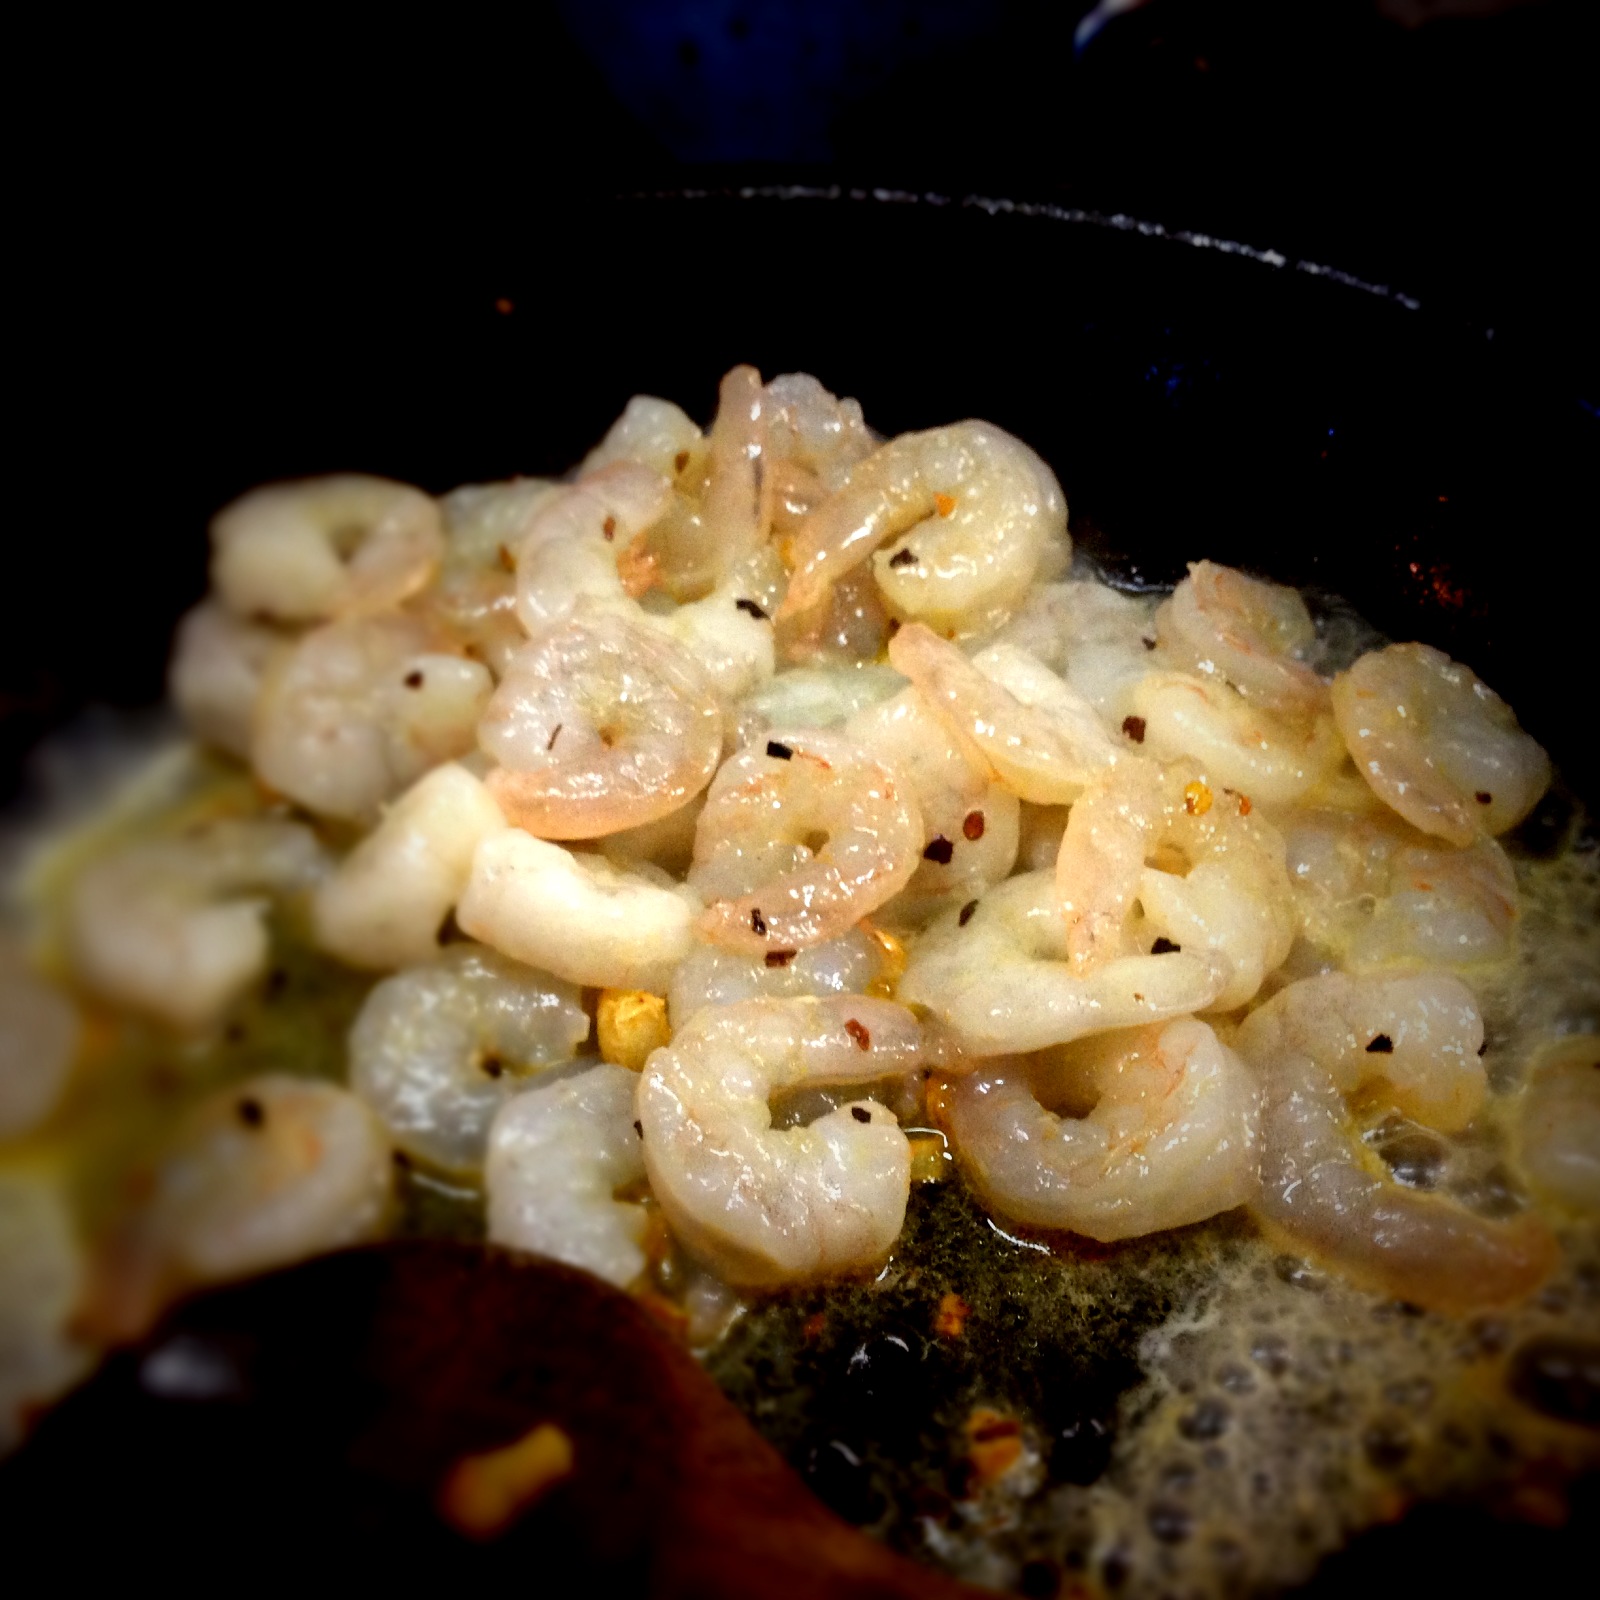
Heat 2 TBS olive oil in a frying pan.  Add the minced garlic & the crushed red pepper and after about a minute.  Add the shrimp & cook until just pink.  Undercooking is OK as they will cook further on their own & even more in the warm risotto.  Set aside.

Heat your 6+ cups of stock in a pan & let it simmer.

Heat 2 TBS olive oil in a large stock pot.  Add the shallots (or onion) and the brown rice. Fry the rice for 2-3 minutes.  The rice should become a little aromatic.  Lower heat to medium and add the dry oregano, basil & parsley.  Add one cup of the simmering stock & cook it off, stirring the whole time.  Add another cup of stock & repeat.  At this point – I got restless & added all the remaining stock, brought it to a boil, reduced the heat to low & let it simmer, covered, for 20 minutes.   Check to see if your rice is tender – erring on a tad overcooked rather than under.  If it is still al dente – add more water & steam it until it is cooked.

Image

Image

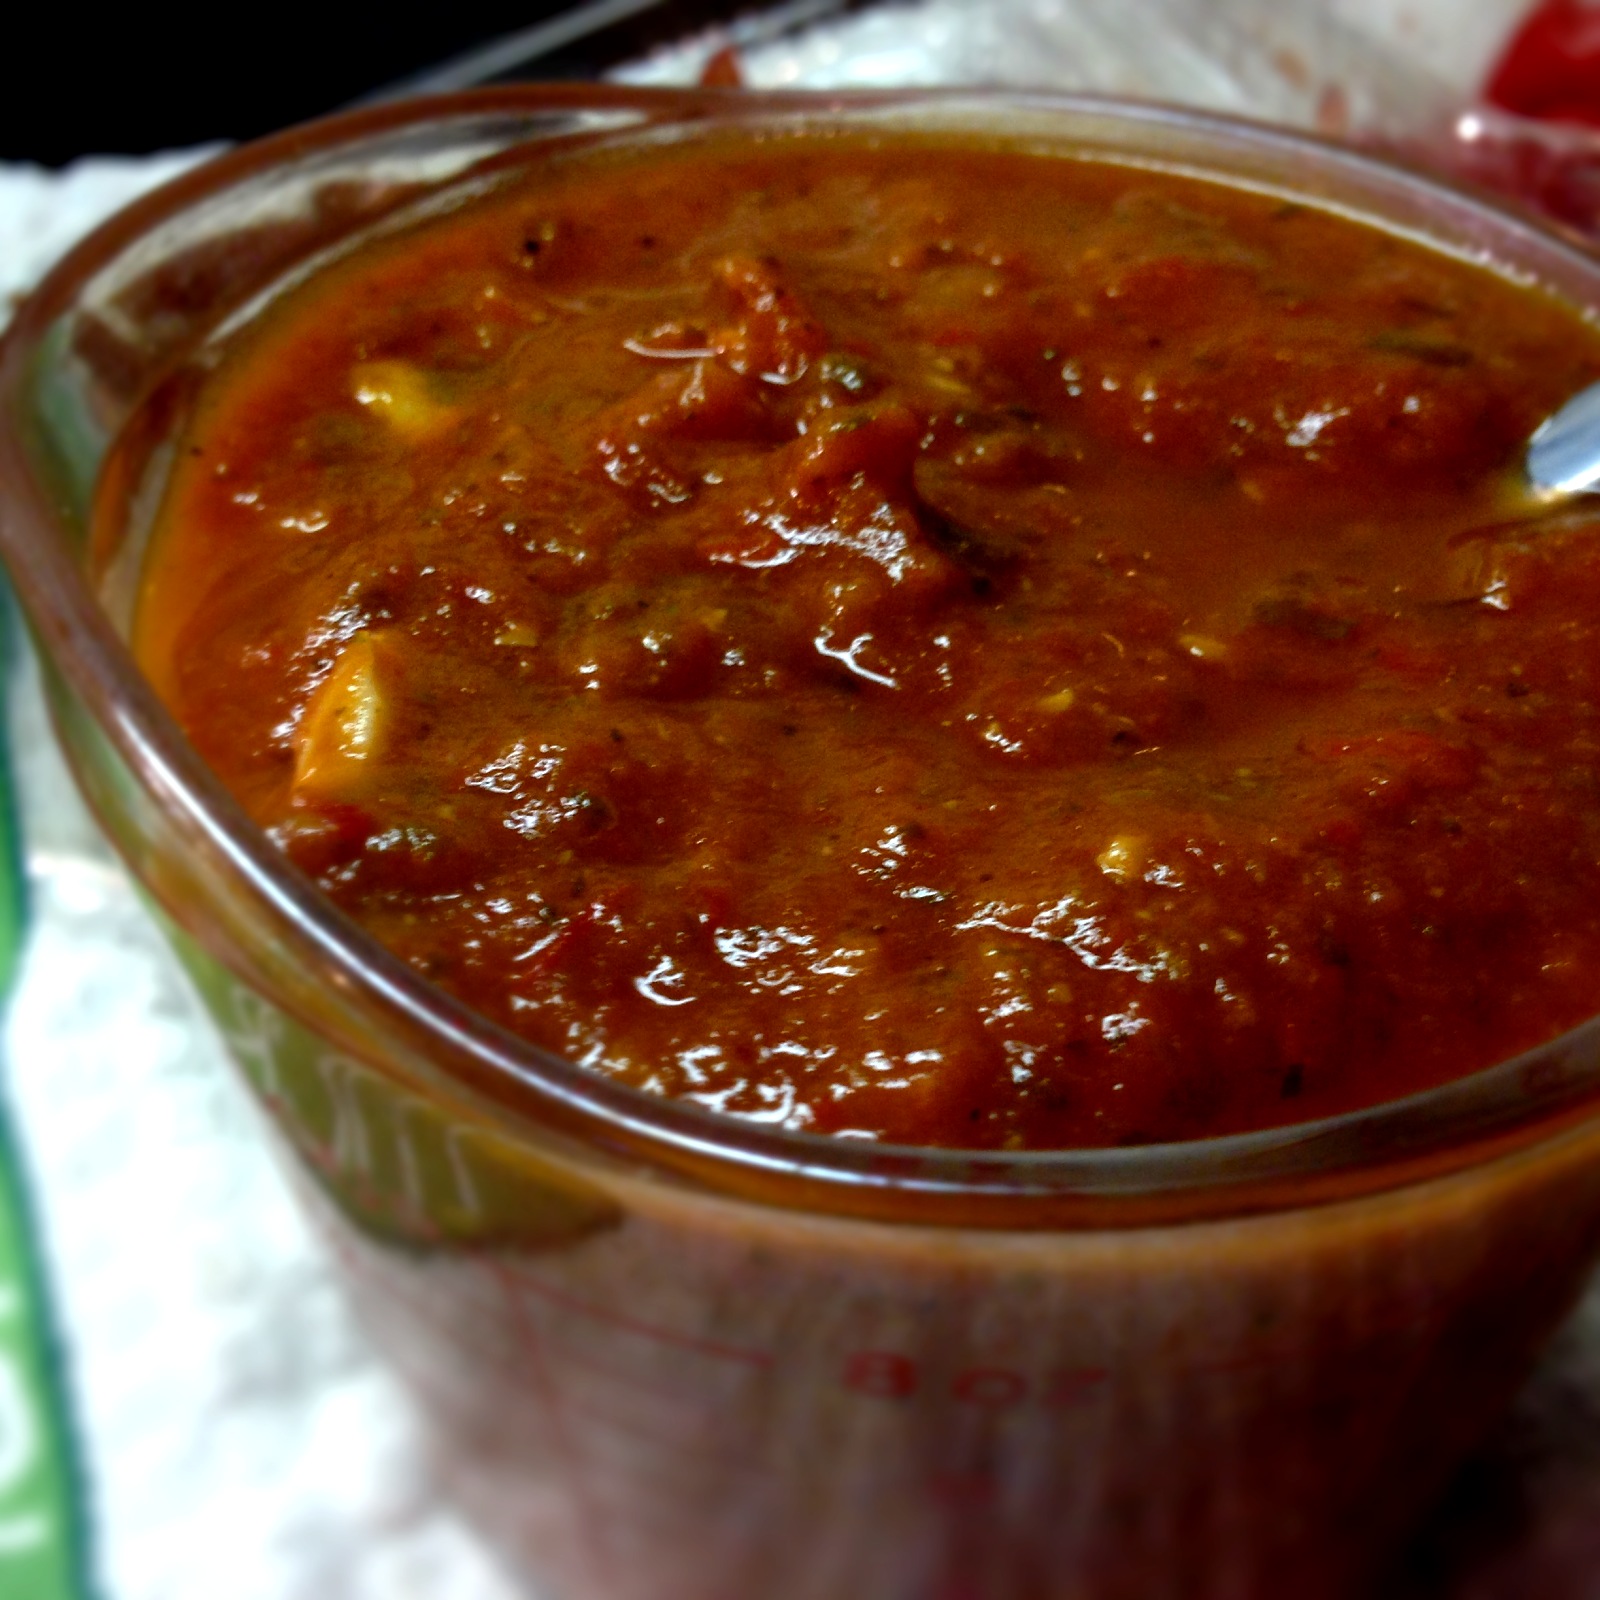
Add the cooked quinoa & the tomato sauce (arrabiata), the grated Parmesan & the shrimp.  Blend.  Heat it through & serve with fresh diced tomatoes, fresh chopped parsley & more grated Parmesan on top.

PRINT THIS RECIPE

Image

Quick & Easy Quinoa Pizza Dough (Gluten Free)

11 Comments

All Photos © Christine Elise McCarthy 2013

To see images of my past posts & get links to the recipes – look on my Pinterest board – HERE.

~

vromans front vromans back

Hey!  It’s my book!  Why not read it?  It is HILARIOUS – I promise!

Fair warning – this recipe is definitely a work in progress but, I feel, it was successful enough to post the early results.

As is often the case with me, recipes are born of what I had handy.  In this case – I had a ton of cooked quinoa.  I eat way too much pizza and finding a less guilty version of it is always my goal.  Why not make a pizza crust from this quinoa, I thought.  Why not, indeed.  I Googled recipes for it and they were all so complex, requiring 8 hour soaking of dry quinoa (that ship had sailed – as mine was cooked) or sorghum flour, tapioca flour or nutritional yeast.  I was frustrated by the ingredients or the process (or both) in each case so I decided just to wing it.

But first – what is quinoa, you ask?  Here is an explanation:

What is quinoa?
While quinoa is usually considered to be a whole grain, it is actually a seed, but can be prepared like whole grains such as rice or barley. Try a quinoa pilaf salad recipe, or serve a vegetable stir-fryover cooked quinoa instead of rice. Quinoa is my favorite whole grain for three reasons: First, it takes less time to cook than other whole grains – just 10 to 15 minutes. Second, quinoa tastes great on its own, unlike other grains such as millet. Add a bit of olive oil, sea salt and lemon juice and – yum! Finally, of all the whole grains, quinoa has the highest protein content, so it’s perfect for vegetarians and vegans. Quinoa provides all 9 essential amino acids, making it a complete protein. Quinoa is a gluten-free and cholesterol-free whole grain, is kosher for Passover, and is almost always organic.

Secondly – how the frig do you pronounce it?  Keen-wah.

OK – so, my finished dough had a set Jello consistency when raw – and it jiggled if you shook it.  It was also VERY sticky.  Most recipes described their dough as pourable – like pancake batter.  That seemed odd to me so I chose to thicken my dough with potato flour.  Having cooked one from this jello dough – I found the edges crisped but the center stayed sorta soft.  Perhaps the pourable dough lets go of its moisture better while cooking.  I will experiment & report back.   Either way – this was a fairly decent success & I would not dissuade you from attempting it.  One note – this definitely works as a pizza base but it is NOT bready.   This pizza dough is to traditional pizza dough what a Gardenburger is to a hamburger – a decent substitute.  Do not expect an old school New York slice from this dough.  That said – I found it quite delicious!

Image

PRINT THIS RECIPE

Quick & Easy Quinoa Pizza Dough (Gluten Free)

INGREDIENTS

2 cups quinoa – already cooked in vegetable stock

1/4 tsp each (optional) of: oregano, parsley, thyme, basil, rosemary, garlic powder

1 tsp each of salt & pepper

2 TBS olive oil

3/4 cup water

1/2 cup (or less) potato flour

ImageImageImage

DIRECTIONS

Blend all ingredients (except potato flour) in a food processor until very smooth – maybe 1-2 minutes.  Add the flour slowly using as much as you care to.  I used the whole 1/2 cup of potato flour.  I then rested the sticky dough on a sheet of wax paper greased with cooking spray & covered it with plastic wrap also greased with cooking spray.  I let it rest all day – but only because I made this midday & I was using it for dinner.  You could just proceed immediately.

ImageImage

Be sure your oven is pre-heated to 450 degrees and that the oven has reached that temperature.  I greased a small pizza pan with cooking spray (greased parchment paper might help here, too) & spread 1/2 my dough on it with my palm – wetting my hand under running water after each pass.  Wet hands keep the dough from sticking to you.  I pressed it as thin as I could manage & baked it about 15 minutes.

1-28a-13 (22)

Image

ImageImageImage

I then took a larger pizza pan, topped the smaller one and, wearing oven mitts, flipped the dough from the smaller pizza pan to the larger.  You could try just flipping the dough with spatulas, too.  I baked the second side 10-15 minutes – until it looked sorta golden.  I flipped it again & topped the pizza (in this case with: red pepper-tomato sauce and a grated cheese blend) and baked it until the cheese began to brown – maybe another 10-15 minutes.

ImageImage

I removed it from the oven & topped this with chopped, fresh grape tomatoes & sliced fresh basil.  I ate it.  I enjoyed.

PRINT THIS RECIPE

ImageImage

Grilled Artichoke with Lime, Cilantro & Jalapeno Aioli

1 Comment

Image

All Photos © Christine Elise McCarthy 2013

To see images of my past posts & get links to the recipes – look on my Pinterest board – HERE.

~

Nothing complicated about these.  And they are crazy good.  I quartered one & halved the other.  I recommend cutting the artichokes in half as the quartered one fell apart a bit.

Image

PRINT THIS RECIPE 

Grilled Artichoke with Lime, Cilantro & Jalapeno Aioli

INGREDIENTS

Artichokes

lemon (or lime)

garlic

olive oil

ImageImageImage

DIRECTIONS

Trim the small, lower leaves from the artichokes & cut in half.  Scoop out the hairy choke & the sharp-tipped inner-most leaves & discard.  Squeeze lemon (or lime) on the cut side to stop the artichokes from browning.

Boil about an inch of water in a deep soup pan & place the artichokes in upright, stems down and cover.  Steam (making sure you do not, as I did, boil all the water away & burn the outer part of your artichokes) for about 20 minutes or until tender.  Remove & let cool.  Gently squeeze any excess water out.

Image

My artichokes look already grilled here because I burned them a bit by mistake – by letting the water they were steaming in boil away.  If this happens to you – be more concerned about your PAN than the vegetables.  These guys were still VERY tasty!

ImageImage

Pour some olive oil in a dish & mix in some minced garlic and S&P.  Coat the artichokes with olive oil & garlic & simply grill them on a grill or on a grill pan until you achieve the desired level of charring.  Serve with Lime, Cilantro & Jalapeno Aioli.

Image

Image

PRINT THIS RECIPE

Lime, Cilantro & Jalapeno Aioli

INGREDIENTS

1/2 cup mayonnaise (I used half regular & half low fat)

2 garlic cloves

1 TBS Dijon

pinch of salt

2 tsp lime juice

1/4 cup cilantro

1 TBS diced jalapeno (optional)

DIRECTIONS

Blend until smooth.   Garnish with lime zest, cracked pepper and/or more jalapeno.

Proceed to slather this all over anything in the house – not excluding the dog – and lick, devour or otherwise ingest it – casting all dignity aside.

PRINT THIS RECIPE

Image

Lime, Cilantro & Jalapeno Aioli

3 Comments

All Photos © Christine Elise McCarthy 2013

To see images of my past posts & get links to the recipes – look on my Pinterest board – HERE.


vromans front


vromans back

~

Easy.  Easy.  Easy.  Got a blender or food processor?  Then you are good to go.

PRINT THIS RECIPE

Lime, Cilantro & Jalapeno Aioli

INGREDIENTS

1/2 cup mayonnaise (I used half regular & half low fat)

2 garlic cloves

1 TBS Dijon

pinch of salt

2 tsp lime juice

1/4 cup cilantro

1 TBS dice jalapeno (optional)

Image

DIRECTIONS

Blend until smooth.   Garnish with lime zest, cracked pepper and/or more jalapeno.

Proceed to slather this all over anything in the house – not excluding the dog – and lick, devour or otherwise ingest it – casting all dignity aside.

PRINT THIS RECIPE

Image

Slow Cooker Chipotle Chicken Tacos

Leave a comment

All Photos © Christine Elise McCarthy 2013

To see images of my past posts & get links to the recipes – look on my Pinterest board – HERE.

~~~~

I don’t eat chicken so this is a rare post for me.  My boyfriend was in town for his birthday & I decided to bend the rules & make these especially for him.  If you have a slow cooker, this could not be easier.  If you do not have a slow cooker – I really recommend getting one.  Look HERE.  They can be had for as low as $10.  I paid $10 for mine at Menard’s in Michigan & it came in the thermal traveling case & everything.  It only has three settings (warm, low & high) but it is a really fun kitchen toy.  If you do not have a slow cooker, though, this could be done stove top very easily – you just cannot walk away & take a two hour Hollywood sign hike while it cooks – like I did.

Image

Image

At any rate – I couldn’t actually eat one of these tacos but they were a big hit.  I also served my Spicy Three Cheese Pinto Bean Dip with home fried corn chips, grilled avocado guacamole, Mixed Cabbage & Grilled Corn Slaw, Spicy Black Beans and Mexican Rice.  I made the beans the day before in my slow cooker & then left them on warm overnight.  They were incredible.  I made the slaw & rice on the day.  The chicken – 6 pounds of it – cooked in about 2-3 hours on high in the slow cooker.  That was faster than I expected.  I also made Grilled Tilapia Tacos – with tilapia marinaded in:

3 lbs tilapia

1/4 cup olive oil

1 tsp salt

zest of one lime

juice of 2 limes

1 TBS Sambal Oelek (chili paste)

1 tsp pepper

This tilapia was WAY more than I needed – as was the 6 pounds of chicken.  The next day, I added arrabiata (spicy tomato) sauce to both the leftover tilapia & some to some of the chipotle chicken & served this over pasta.  It was amazing.  Then, the next day, I used extra chipotle chicken on pizzas.  Again – delicious.  So – feel free to make too much & get creative with the leftovers.  You could make lasagna cupcakes or pizza cupcakes or even more tacos.

Also – the roasted (or grilled) jalapeno or Anaheim chilies are easy & a really nice touch.

ImageImage

Roast the jalapenos on a grill or in a grill pan or under a broiler (watching & rotating them very carefully) until they are blackened.  Place in an airtight container until they cool & then roll the skins off under running water.  Seed them & dice.

ImageImage

Image

ImageImageImage

PRINT THIS RECIPE

Slow Cooker Chipotle Chicken Tacos

INGREDIENTS

6 pounds boneless, skinless chicken breasts

24 oz hot (or otherwise) salsa

2 tsp chili powder

1 tsp ground cumin

1 tsp smoked paprika

1/2 tsp garlic powder

1/2 tsp onion powder

1/2 tsp crushed red pepper

1/2 tsp oregano

S&P

4 chipotle peppers in adobo – minced

1/4 cup water (if needed)

ACCOMPANIMENTS & GARNISHES – corn tortillas, chopped fresh cilantro, grilled corn, tomatillo salsa, sliced scallions, diced tomato, diced red pepper, roasted jalapenos or Anaheim chilies (recipe HERE), pico de gallo, Mexican crema, shredded cheese, salsa, avocado or guacamole,

ImageImageImage

DIRECTIONS

Place all ingredients in slow cooker on high for three hours.  When the chicken is cooked, shred it all up by using two forks.

Grill the tortillas over your stove top burners until they just begin to get grill marks & keep warm.

Serve with a combination of the accompaniments & garnishes listed above.

PRINT THIS RECIPE

Image

Spicy Three Cheese Pinto Bean Dip with Grilled Jalapeno

1 Comment

All Photos © Christine Elise McCarthy 2013

To see images of my past posts & get links to the recipes – look on my Pinterest board – HERE.

~~~~

I made this with dry pinto beans mostly because I am somehow more proud of myself when I do – but that is a completely unnecessary hassle.  In fact – I am going to pretend I did not – and post this recipe suggesting canned beans.  It is a surprisingly yummy dip – especially when served with the totally unnecessarily home-fried corn chips.  Store bought chips are perfectly fine.

Image

PRINT THIS RECIPE

Spicy Three Cheese Pinto Bean Dip with Grilled Jalapeno

INGREDIENTS

5 cups canned pinto beans – drained & rinsed

2 jalapenos – roasted, seeded & peeled

1 small onion – diced

1 cup cilantro

1 heaping tsp ground cumin

4 oz goat cheese

12 oz grated mozzarella

2 cups grated cheddar

S&P to taste

GARNISH OPTIONS – roasted tomatillo & jalapeno salsa, more chopped cilantro, diced pickled jalapenos or green chiles, pico de gallo, sour cream, hot sauces, grilled corn.

CHIPS!

ImageImage

DIRECTIONS

Roast the jalapenos on a grill or in a grill pan or under a broiler (watching & rotating them very carefully) until they are blackened.  Place in an airtight container until they cool & then roll the skins off under running water.  Seed them & dice.

Puree about 3/4 of the beans in a blender or food processor with enough water that they blend completely smoothly.  Add the onion, cilantro, grilled jalapeno & the cumin & puree completely.  Transfer the blended beans to a soup pot & add the remaining beans & all the other ingredients.  Heat until all the cheeses melt & everything is heated through.  This might require a bit more water to get the dip to a good consistency.  Taste it and add S&P to taste and maybe add a hot sauce if it isn’t spicy enough.

This is best served in a heated container – like a small, serving crock pot or chafing dish because it tends to set very thickly when it cools.  Or – serve a small quantity of it in a bowl while the remainder sits on very low heat on the stove.  Simply replenish the serving bowl as needed with warmed dip from the stove.  Garnish with something of your choice to make it look pretty.

The grilling of the jalapeno is nice – but not 100% necessary.  You could also do this with dried beans either soaked over night or quick soaked (allowed to sit off heat in boiled water, covered for an hour).  They will still require a few hours of cooking beyond this though before they are soft enough to blend.

PRINT THIS RECIPE

Image

Mixed Cabbage & Grilled Corn Slaw

1 Comment

All Photos © Christine Elise McCarthy 2013

To see images of my past posts & get links to the recipes – look on my Pinterest board – HERE.

~~~~

I made this slaw to go inside fish tacos but it is a great stand-alone slaw.  I grilled corn on the cob & used that in this – but not grilled is fine.

Easy, easy, easy.

Image

PRINT THIS RECIPE

Mixed Cabbage & Grilled Corn Slaw

INGREDIENTS

3 cups red cabbage – sliced thin

2 cups green cabbage – sliced thin

2 cups corn (2 ears grilled in their husks & cut from the cob or raw – or canned/frozen, in a pinch)

1/2 cup mayonnaise

1/4 cup Mexican Crema (or more mayonnaise)

1/2 red onion – sliced thin

1 tsp Old Bay seasoning

1 tsp ground cumin

1 tsp chili powder

2 limes – zest & juice

1 cup cilantro – chopped

Image

DIRECTIONS

Grill your corn still in their husks – rotating frequently.  After about 20 minutes – check to see if they are beginning to char (you want that).  When they are – give it 5 more minutes or so then let them cool.  Peel & cut the corn from the cobs.  Or – go raw or canned or frozen.

Mix the mayonnaise & crema (if using) with the spices & lime zest.  Blend all the ingredients (except cilantro) in a large bowl and chill for an hour or more.  Sprinkle with cilantro and lots of cracked pepper when serving.

PRINT THIS RECIPE

Image

Slow Cooker Mexican Spicy Black Beans for Your Vegan Crockpot

2 Comments

All Photos © Christine Elise McCarthy 2013

To see images of my past posts & get links to the recipes – look on my Pinterest board – HERE.

~~~

vromans front

vromans back

These can be done stove top – or with canned black beans (if you need these fast).  I cooked them all day & overnight in a slow cooker.  They are simple & easy & yummy.

Image

PRINT THIS RECIPE

Slow Cooker Mexican Spicy Black Beans for Your Vegan Crockpot

INGREDIENTS

1 lb dry black beans (or canned)

6 cups vegetable stock

1 small onion – diced

1 TBS cumin

1 tsp chili powder

3 large garlic cloves – minced

4 tomatoes – diced

GARNISH – with fresh cilantro, diced jalapeno, grilled corn or diced red onion & lime.  Homemade chimichurri or roasted tomatillo & jalapeno salsa – also delicious on these!

Image

DIRECTIONS

Quick soak the beans by covering them in a pot with water & bringing to a boil.  Remove from heat, cover & let sit for one hour.  Drain and rinse.  The drained bean water is very good for your outdoor plants – so feel free to capture it & spread the nutrients outside.

In a slow cooker – add all the ingredients and cook on high all day.  Additionally – I left mine on warm overnight.  If you cannot cook them this long – use two cups less stock & only add it as you need it to keep the beans covered.  They should be edible in six hours.  Canned beans will require very little stock & be done in less than an hour.

I haven’t done these stove top – but I imagine that after a quick soak – these should be done if left covered over low heat for six hours – stirring frequently & adding water as needed.

With canned beans – you will need less than 2 cups of water & they should be done in under an hour.

PRINT THIS RECIPE

Image

Mexican (or Spanish) Rice

1 Comment

Image

All Photos © Christine Elise McCarthy 2013

To see images of my past posts & get links to the recipes – look on my Pinterest board – HERE.

~

I am going to post a series of recipes today that will comprise a Mexican feast.  This rice, a black bean dish, a bean & cheese dip & chicken tacos.  All are very easy & some can be made the day before.  The beans are better if made the day before & the flavors are allowed to blend completely.  The chicken also matures very well.

The ingredients for everything in these recipes are very flexible.  They are the perfect dishes for you to get creative with by adding or omitting things and by eyeballing quantity rather than being anal & carefully measuring.  Only the rice/water ratio is sorta set in stone – but even that is customizable, based on wither you like a firm or softer rice.

PRINT THIS RECIPE

Image

Mexican (or Spanish) Rice

INGREDIENTS

2 TBS of either butter or olive oil

1 1/2 cups uncooked rice (I used brown)

Vegetarian or chicken stock (in the quantity your rice requires to cook – as per the package)

1 medium onion (any variety – I used brown)

3 cloves garlic – diced

1/2 red bell pepper – diced (any color but green would be least pretty)

2 jalapenos – seeded & diced (optional)

1/4 cup of tomato paste

4 Roma tomatoes – diced (optional) – or a 14.5 oz can of Rotel or tomatoes

2 tsp ground cumin

1 tsp chili powder

1/2 tsp salt

Fresh cilantro – chopped

Limes – cut in wedges

DIRECTIONS

Heat the oil in a stock pot.  Add the onion, jalapeno, garlic, bell pepper & rice & saute over medium heat until the rice begins to turn color & vegetables are tender.  Add the stock, tomatoes, tomato paste, cumin & chili paste and salt – stir & bring to a boil.  Reduce heat to low, cover & simmer for the time indicated on your rice package.  Fluff with a fork & serve.  Garnish the rice with fresh chopped cilantro & lime wedges.

PRINT THIS RECIPE

La Sirena Azul in Inglewood, California

1 Comment

All Photos © Christine Elise McCarthy 2013

To see images of my past posts & get links to the recipes – look on my Pinterest board – HERE.

~~~

Another airport run – another opportunity to sample some of Inglewood’s finest.  This place is ON Century, about 5 minutes (3 miles?) away from LAX.   It is a perfect stop if you want to send folks off to their destinations full of awesome Mexican food.

As of today, with 19 reviews, this place only got three reviews that were not 5 stars.  That is pretty amazing – especially considering the TINY size of this place, absolute lack of curb appeal and its lowbrow interior (lack of) decor…and the fact that people are always more likely to take the time to talk shit about someplace – rather than saying something nice.

YELP REVIEWS

ImageImageImage

There are 7 tables in there & a TV playing Spanish Judge Judy court shows.  Surprisingly, they have a small selection of beer – critical for my boyfriend’s satisfaction.  Chips & salsa were delivered promptly.

Image

We ordered way more food than we needed – mainly because I wanted to try so many things.  I ordered the shrimp ceviche tostada, the cold shrimp cocktail (yes, they offered it warm, too) and fish tacos.  Miles ordered their Diablo spicy Shrimp.  The salsa was decent – not award winning & the chips were standard, too, but the ceviche tostada was beautiful & super fresh & tasty and served with wedges of avocado.

Image

The shrimp cocktail was served in a huge goblet in a very thin broth with shrimp & giant chunks of avocado.  It wasn’t very pretty – sorta like an uncared-for fish tank – but it was delicious, too!

ImageImage

My fish tacos were tasty & HUGE and filled with fish & corn & lima beans & green beans and peas.  They were served with rice & an iceberg salad – with even more avocado.

Image

Miles’ dish was served with salad & rice, too, and was genuinely spicy & really flavorful.  Both Miles & I have a pretty high tolerance for heat but Miles commented a few times on how hot the shrimp were and even asked for a glass of water (unheard of!).  I only ate one shrimp & would just say – they are definitely hot but not blow-your-mouth-out hot.  Certainly, however, too hot for a sensitive mouth.

Image

When we arrived at 12:30pm, we were the only ones there.  It began to fill up pretty quickly, however, and all the food I saw being delivered to other tables looked amazing & substantial (as to quantity).  Miles & I could easily have split an entree & been fine.  As it was, I went home with half his food & a fish taco.

The bill with two beers & a diet Coke (and the two appetizers – ceviche tostada $2 & shrimp cocktail $7) & two entrees (each about $10) came to $42.  That might seem high but remember – two beers & WAY too much food.  You could get in & out of here for far less.  And – whether you order light or go nuts – I absolutely recommend this joint with complete enthusiasm.  We all go to the airport – so you have no excuse!

Roasted Tomatillo & Jalapeno Salsa

3 Comments

All Photos © Christine Elise McCarthy 2013

To see images of my past posts & get links to the recipes – look on my Pinterest board – HERE.

This salsa is delicious & would go great on tacos or enchiladas or anything you might add a regular salsa to.  I dry roasted the tomatillos & jalapenos on my grill but it can be achieved in a dry frying pan or in your broiler.

PRINT THIS RECIPE

Roasted Tomatillo & Jalapeno Salsa

INGREDIENTS

2 lbs tomatillos – papery skin removed

4 jalapenos (less if you are sensitive to spice)

1 small onion

4 garlic cloves

1 cup fresh cilantro

4 oregano sprigs or 1 tsp dry oregano

1 tsp cumin

salt to taste

DIRECTIONS

Char the tomatillos & jalapenos until they are black.  Put in a plastic bag & let them sweat a few minutes.  Under cool running water, slip the skins off everything, remove the stems & seed the jalapenos.

Simply blend all the ingredients to a puree.

PRINT THIS RECIPE

ImageImage

1-18-13 (19)Image

Spicy Chipotle Cream Pasta with English Peas & Tortilla Strips

4 Comments

All Photos © Christine Elise McCarthy 2013

To see images of my past posts & get links to the recipes – look on my Pinterest board – HERE.

~~~

I have had a rough week.  Had to go to one of the most dreaded places on Earth.  Worse the the gynecologist.  Worse than the incredibly awful, boob-squishing mammographer’s office.   Almost as bad as the dentist’s office.  I had to go here:

Image

Time to renew my driver’s license.  Despite being freshly showered & having an appointment, the staff here treated me with suspicion & hostility & looked at me like I had a load in my pants.  They spat questions at me & demanded I stand squarely behind this counter or that, cover this eye or that while reading this string of letters or that.  It was like a fucking field sobriety test and every answer or action on my part seemed to beg imprisonment or the opening of some trap door through which I could be permanently disappeared.   I am not sure why the people at the DMV are such douche bags but I am sure that they are.  More mysterious to me is how they actually PULL OFF being so intimidating.  They have no Goddamn power.  They are not cops.  Why did I panic with every irritated question they asked & quiver under the scrutiny of their surly focus?   It’s ridiculous.  Anyway – I had to run nearly their full gauntlet:  the eye exam, the written test & get a new photo.  I managed to avoid the cavity search but I have no idea how.

From there, I had to go to that other glorious bastion of government animosity – the post office – where, again, I was treated like an illegal trying to hustle female minors over a border for enslavement in the sex trade.  All I wanted to do was mail a package to Canada with a tracking number & insurance.  It took FOUR different clerks & thirty minutes before they stopped shoving my package back at me, telling my request was impossible & screaming, “NEXT in line!” over my shoulder.

They said:

You cannot track international packages.  (You can)

You cannot insure documents. (You can if they are negatives.)

You cannot insure international packages.  (You can.)

You cannot use a Priority envelope.  (You can.)

You have the wrong customs form.  (I didn’t)

Speak to that manager out there on the floor. (Who stared back at me blankly and gave me a different form.)

This form is the wrong one.  (It was – but the manager had just given it to me.)

Stand aside & fill this one out.  NEXT person in line please!

Meanwhile, the 32 minutes I had on my meter outside ticked away as the meter maid sat in her car ten feet away.  Parked in the red.

There was more – but you get the picture.  In the end – they did everything I asked but it was like some Kafka-esque nightmare of willfully ignorant bureaucracy & I was seconds from screaming, “No wonder people want to kill you fucktards!”  But, I didn’t.  I just wanted to mail a fucking valuable item to Canada.  Is that the most exotic request the Wilcox post office (the largest one in Hollywood) had ever encountered?

Anyway – with that task completed & seriously disgruntled, I headed home & tried to think of something to cook that could be made without having to venture forth and deal with anyone else in the disservice industry.  I decided to make this dish & as I went to remove my first effort at baked tortilla strips (which I baked to blackness) – I burned my arm.

Image

I have a much grosser image of this sizable burn but this is a food porn blog & I don’t want to put anyone off their dinner.

Ok – despite the unfortunate burn – this is a really easy dish to put together.  You can use any basic pasta sauce – with or without cream.  I used a little 6 oz container of my homemade vodka sauce that I had in my freezer – so this is a recipe to feed two.  You could use a homemade or jarred vodka sauce or other pink sauce or even a marinara.  I used 4 chipotle peppers in adobo -and found that to be a tad ambitious on the spice side.  I think, in the future, I’ll cut that in half with a quantity of sauce as small as I worked with last night.  I added peas because I had them & they looked pretty.  I added the tortilla strips for the Hell of it.  Either of these two ingredients could easily be omitted with no great loss to the overall impact of the flavor of this dish.  Really – all this is is a sauce with some chopped chipotle pepper in it.  You can’t mess that up.  And it is really delicious!

Image

PRINT THIS RECIPE

Spicy Chipotle Cream Pasta with English Peas & Tortilla Strips

INGREDIENTS

1/2 lb dry pasta

6 oz vodka sauce (or other pasta sauce)

2 chipotle peppers in adobo – chopped finely

1 tomato – diced

Parsley or cilantro – chopped for garnish

2 corn tortillas (optional)

1 cup peas (optional)

Pico de gallo – as garnish (optional)

ImageImageImageImageImage

DIRECTIONS

Heat the oven to 400.

Slice the tortillas into 1/4 inch strips.  Spray with cooking oil & bake for 5 minutes or so – until crispy.  Remove from heat & set aside.

I used fresh peas so I wrapped them in a wet paper towel & zapped them in the microwave for a minute.  This isn’t necessary with frozen or canned peas.

Warm your sauce, add the chipotle & peas, stir & heat it all through.

Cook the pasta as per box instructions.

Drain.  Toss with sauce.  Top with tortilla strips, diced tomato & cilantro or parsley.

Voila!

PRINT THIS RECIPE

Image

Pear, Gruyere & Caramelized Onion Grilled Cheese Sandwich with a Shot of Tomato Bisque

Leave a comment

All Photos © Christine Elise McCarthy 2013

To see images of my past posts & get links to the recipes – look on my Pinterest board – HERE.

~

vromans front vromans back

There is no real recipe required for this guy.  I used my super quick & easy Artisan bread and served myself a little sake cup up Roasted Heirloom Tomato Bisque alongside a grilled cheese comprised of:

Bread

butter

Gruyere cheese

Bosc pear

Caramelized red onion

Caramelizing onions is time consuming but you can do it it larger batches & keep them in the fridge for use on pizzas or in soups or on sandwiches or with meat.  They are a lovely addition to many things.  HERE is a little tutorial on how to caramelize onions.

To assemble, I pre-heated my oven to 400.  I slathered some butter on one side of each of the pieces of bread.   Layer slices of cheese & pear & some onions on the bread top the sandwich & grill in a pan until each side is golden.  I then put it in the oven for 5 minutes to completely melt the cheese.

This could be nice with brie & apples or brie & figs.  Any salty cheese & sweet fruit.  Maybe even honey!  Get creative!

Image

ImageImageImageImageImage

Image

Image

Grilled Avocado Bruschetta with Chimichurri & Grilled Avocado, Feta Cheese & Heirloom Tomato Crostini with Basil Oil

Leave a comment

All Photos © Christine Elise McCarthy 2013

To see images of my past posts & get links to the recipes – look on my Pinterest board – HERE.

~

Last night I tried something new.  I grilled an avocado.  The idea of a hot, squishy avocado is repellent but I have these Goddamn avocados from Costco & I needed to find creative ways to use them – ways not involving guacamole.  I only left this guy on the grill for less than a minute – just enough to get grill marks.  And the result?  This might be one of my all-time favorite flavors!!  Absolutely incredible!  I recommend you try it as soon as possible.

Now – I also had two slices left over from my first Artisan bread effort.

Image

I used this bread because I had it.  If making this CRAZY easy bread isn’t part of your plan, no worries.  Use slices of French bread or some other bread with a crusty crust.

As an aside – bruschetta – is pronounced “brusketta.”

I am often corrected when I say it this way – but I remain undeterred.

Crostini & bruschetta are the same thing.

You can top these toasted treats with a wide variety of things but, as of yesterday, grilled avocado tops my list.  You really have to try it.

Also – here is how you peel & pit an avocado:

Image

PRINT THIS RECIPE

Grilled Avocado Bruschetta with Chimichurri

INGREDIENTS

Crusty read

Chimichurri Sauce

Avocado

olive oil

lime juice

S&P to taste

ImageImage

DIRECTIONS

Heat the oven to 375.  Arrange bread slices on a baking sheet, brush both sides with oil, and season with salt and pepper.  Bake until golden, 15 to 20 minutes, rotating sheets halfway through – if undersides are not browning, turn bruschetta over once during baking. Let cool on baking sheets.

Halve the avocado.   Remove the pit and peel.

Mix a TBS olive oil with a TBS lime juice.  Brush this mix onto the flat side of the avocado & grill over medium heat for 30 seconds to a minute – just until the grill leaves scars.  You can spin the avocado during this period to get cross grill marks.

Remove from heat, brush all over with lime & olive oil mix & dice.

Top your bruschetta slices with avocado & drizzle with chimichurri sauce.  Serve to people & be considered a hero!

OR —–

Image

PRINT THIS RECIPE

Grilled Avocado, Feta Cheese & Heirloom Tomato Crostini with Basil Oil

INGREDIENTS

Crusty bread

Basil oil

Avocado

feta cheese

Tomatoes – diced

S&P to taste

Olive oil

lime juice

Chopped fresh basil as garnish (optional)

DIRECTIONS

Heat the oven to 375.  Arrange bread slices on a baking sheet, brush both sides with oil, and season with salt and pepper.  Bake until golden, 15 to 20 minutes, rotating sheets halfway through – if undersides are not browning, turn bruschetta over once during baking. Let cool on baking sheets.

Halve the avocado.   Remove the pit and peel.

Mix a TBS olive oil with a TBS lime juice.  Brush this mix onto the flat side of the avocado & grill over medium heat for 30 seconds to a minute – just until the grill leaves scars.  You can spin the avocado during this period to get cross grill marks.

Remove from heat, brush all over with lime & olive oil mix & dice.

In a bowl, mix the grilled avocado, the feta (crumbled) and diced tomato in whatever ratio you prefer.  Equal parts – or heavy on the avocado is nice.  S&P to taste.

Top your crostini with this mix, drizzle with basil oil & top with chopped fresh basil (if using) & serve!  Run a victory lap!

PRINT THIS RECIPE

Image

Basil Oil

1 Comment


All Photos © Christine Elise McCarthy 2013

To see images of my past posts & get links to the recipes – look on my Pinterest board – HERE.

PRINT THIS RECIPE

BASIL OIL

INGREDIENTS

1 packed cup of fresh basil

3/4 cup high quality olive oil

Salt to taste

ImageImageImageImage

DIRECTIONS

Blanch the basil in boiling water for 10-20 seconds than plunge into ice water.  Squeeze out the water & puree in a food processor with olive oil & salt to taste.  Go light on the salt.

PRINT THIS RECIPE

Chimichurri Sauce

2 Comments

All Photos © Christine Elise McCarthy 2013

To see images of my past posts & get links to the recipes – look on my Pinterest board – HERE.

No tales to tell on this one.  Chimichurri is traditionally used on grilled meats & the idea of that combo makes me want to start eating steak again.  But – I will not.  I will just find other uses for this EASY & delicious sauce.  It is so pretty, too.  Later – I will post a dish that incorporates using this stuff.

PRINT THIS RECIPE

Chimichurri Sauce

INGREDIENTS

4 or more garlic cloves

2 cups fresh Italian parsley

1 cup fresh cilantro

5 hot peppers (I used 4 serrano & 1 jalapeno) – seeded (or more if you love heat)

5 scallions (ends cut off)

1 tsp dry oregano (or 3 fresh sprigs)

1 tsp lime zest

1 tsp lime juice (with more to be added at the end to your taste)

S&P to taste

3/4 cup (or more – if you like this sauce thinner) olive oil

ImageImageImage

DIRECTIONS

Puree in a food processor.  Add lime & salt & pepper to taste.  Add more hot pepper – to taste – and blend smooth.

PRINT THIS RECIPE

Image