All Photos © Christine Elise McCarthy 2013
To see images of my past posts & get links to the recipes – look on my Pinterest board – HERE.
~


I initiated this blog less than a year ago, July 5th or so, impromptu & with no clear vision as to where I would go with it. My boyfriend called & asked what I was doing that day and I surprised myself by replying, “I don’t know. I might start a food blog.” And then I did it.
I was surprised to hear myself answer that way because I hadn’t any aspirations like that, I have never written any kind of blog before & because I always hated the very word, “blog.” But here I am, nearly a year later, having shared dozens, if not hundreds, of recipes & restaurant experiences & trips to things like The Museum of Death, Bangluck Thai Market, Super King and even the gynecologist. Still – I haven’t really found an angle or a hook & I bounce around from vegan things to hominy or cauliflower obsessions & I curse the cost of groceries. But recently – I found a food blog that makes me so happy – and so jealous at the same time. These guys cook the kind of food I can eat (I am a lacto-ovo vegetarian who aspires to veganism) and fucking talk about it in terms I can relate to. Many of you may already be aware of these guys but for the uninitiated among you – let me present THUG KITCHEN. Here are a few of my favorites from their collection:


Salad – it’s like plant nachos? Hahahahah! It is just too good! They not only post these gorgeous photos with the world’s BEST pitch lines for recipes but also post the recipes. I want to BE these people. I am so fucking jealous. I get all butterflies & brace for fallout when pitching my GYN post on Facebook like this, “Why pelvic exams are not for pussies” and these guys get all genius like this:

Seriously. AND – I found out we are soul mates because they have cunty spoons at their house, too! I thought it was just me!

Anyway – I can only look at their site and Facebook page a few times a week – or less – because I am rendered fetal on the floor as I accept my total defeat at the hands of their superior cool factor. It is very hard on the self esteem. Very hard on my motivation. It fucking drives me to drink and I already have a lot of rides to that destination – if you catch my drift.
So – go look at Thug Kitchen. Get a laugh. Get some awesome recipes. Become a vegan before I can muster that dedication – even after I have given 25 years to my bullshit lacto-ovo pescatarianism. I’m such a loser.
BUT – at least I am a loser that can eat pizza with real mozzarella on it. Fuckers. None of that icky Daiya for me. Sure, real cheese might be full of hormones, antibiotics, Monsanto byproducts & the ceaseless agony of dairy cows (ouch) but at least it melts.
Oh God. I’m just making myself feel worse. They can put a man on the moon & my i-phone is more powerful than the computers that put those men on the moon – but they can’t make an edible vegan brie? No luck on the vegan salmon front? <deep sigh>
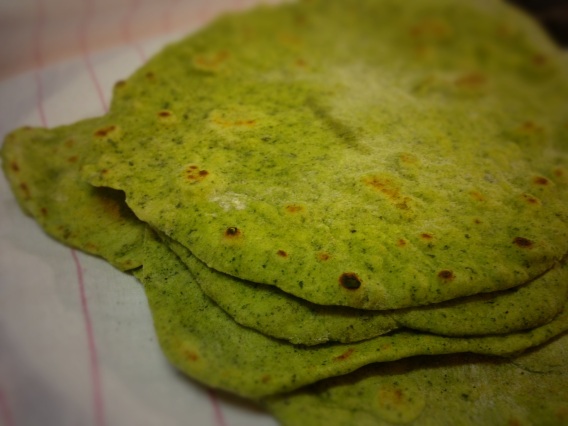
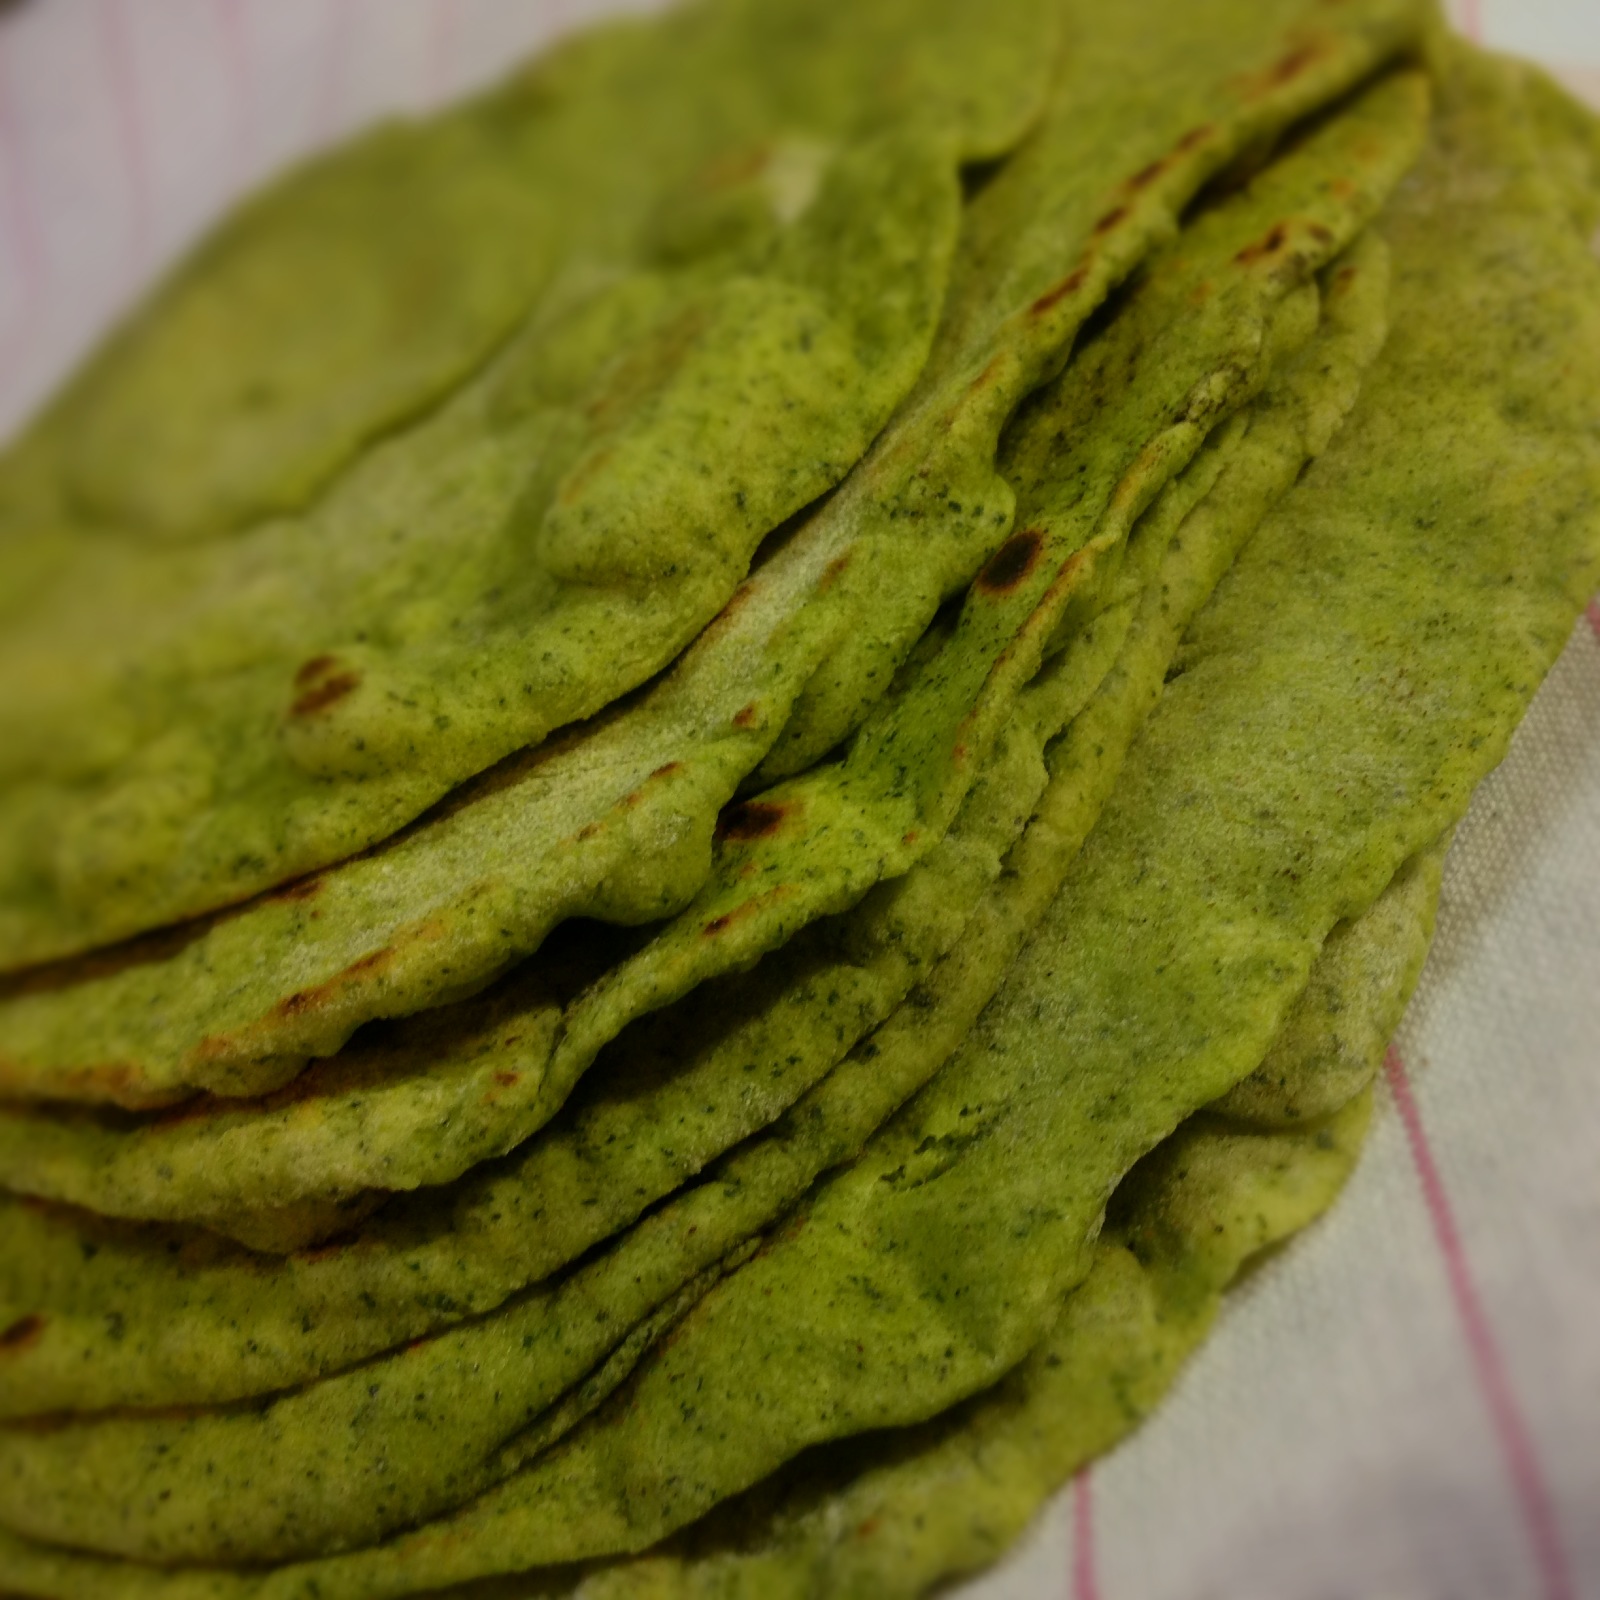
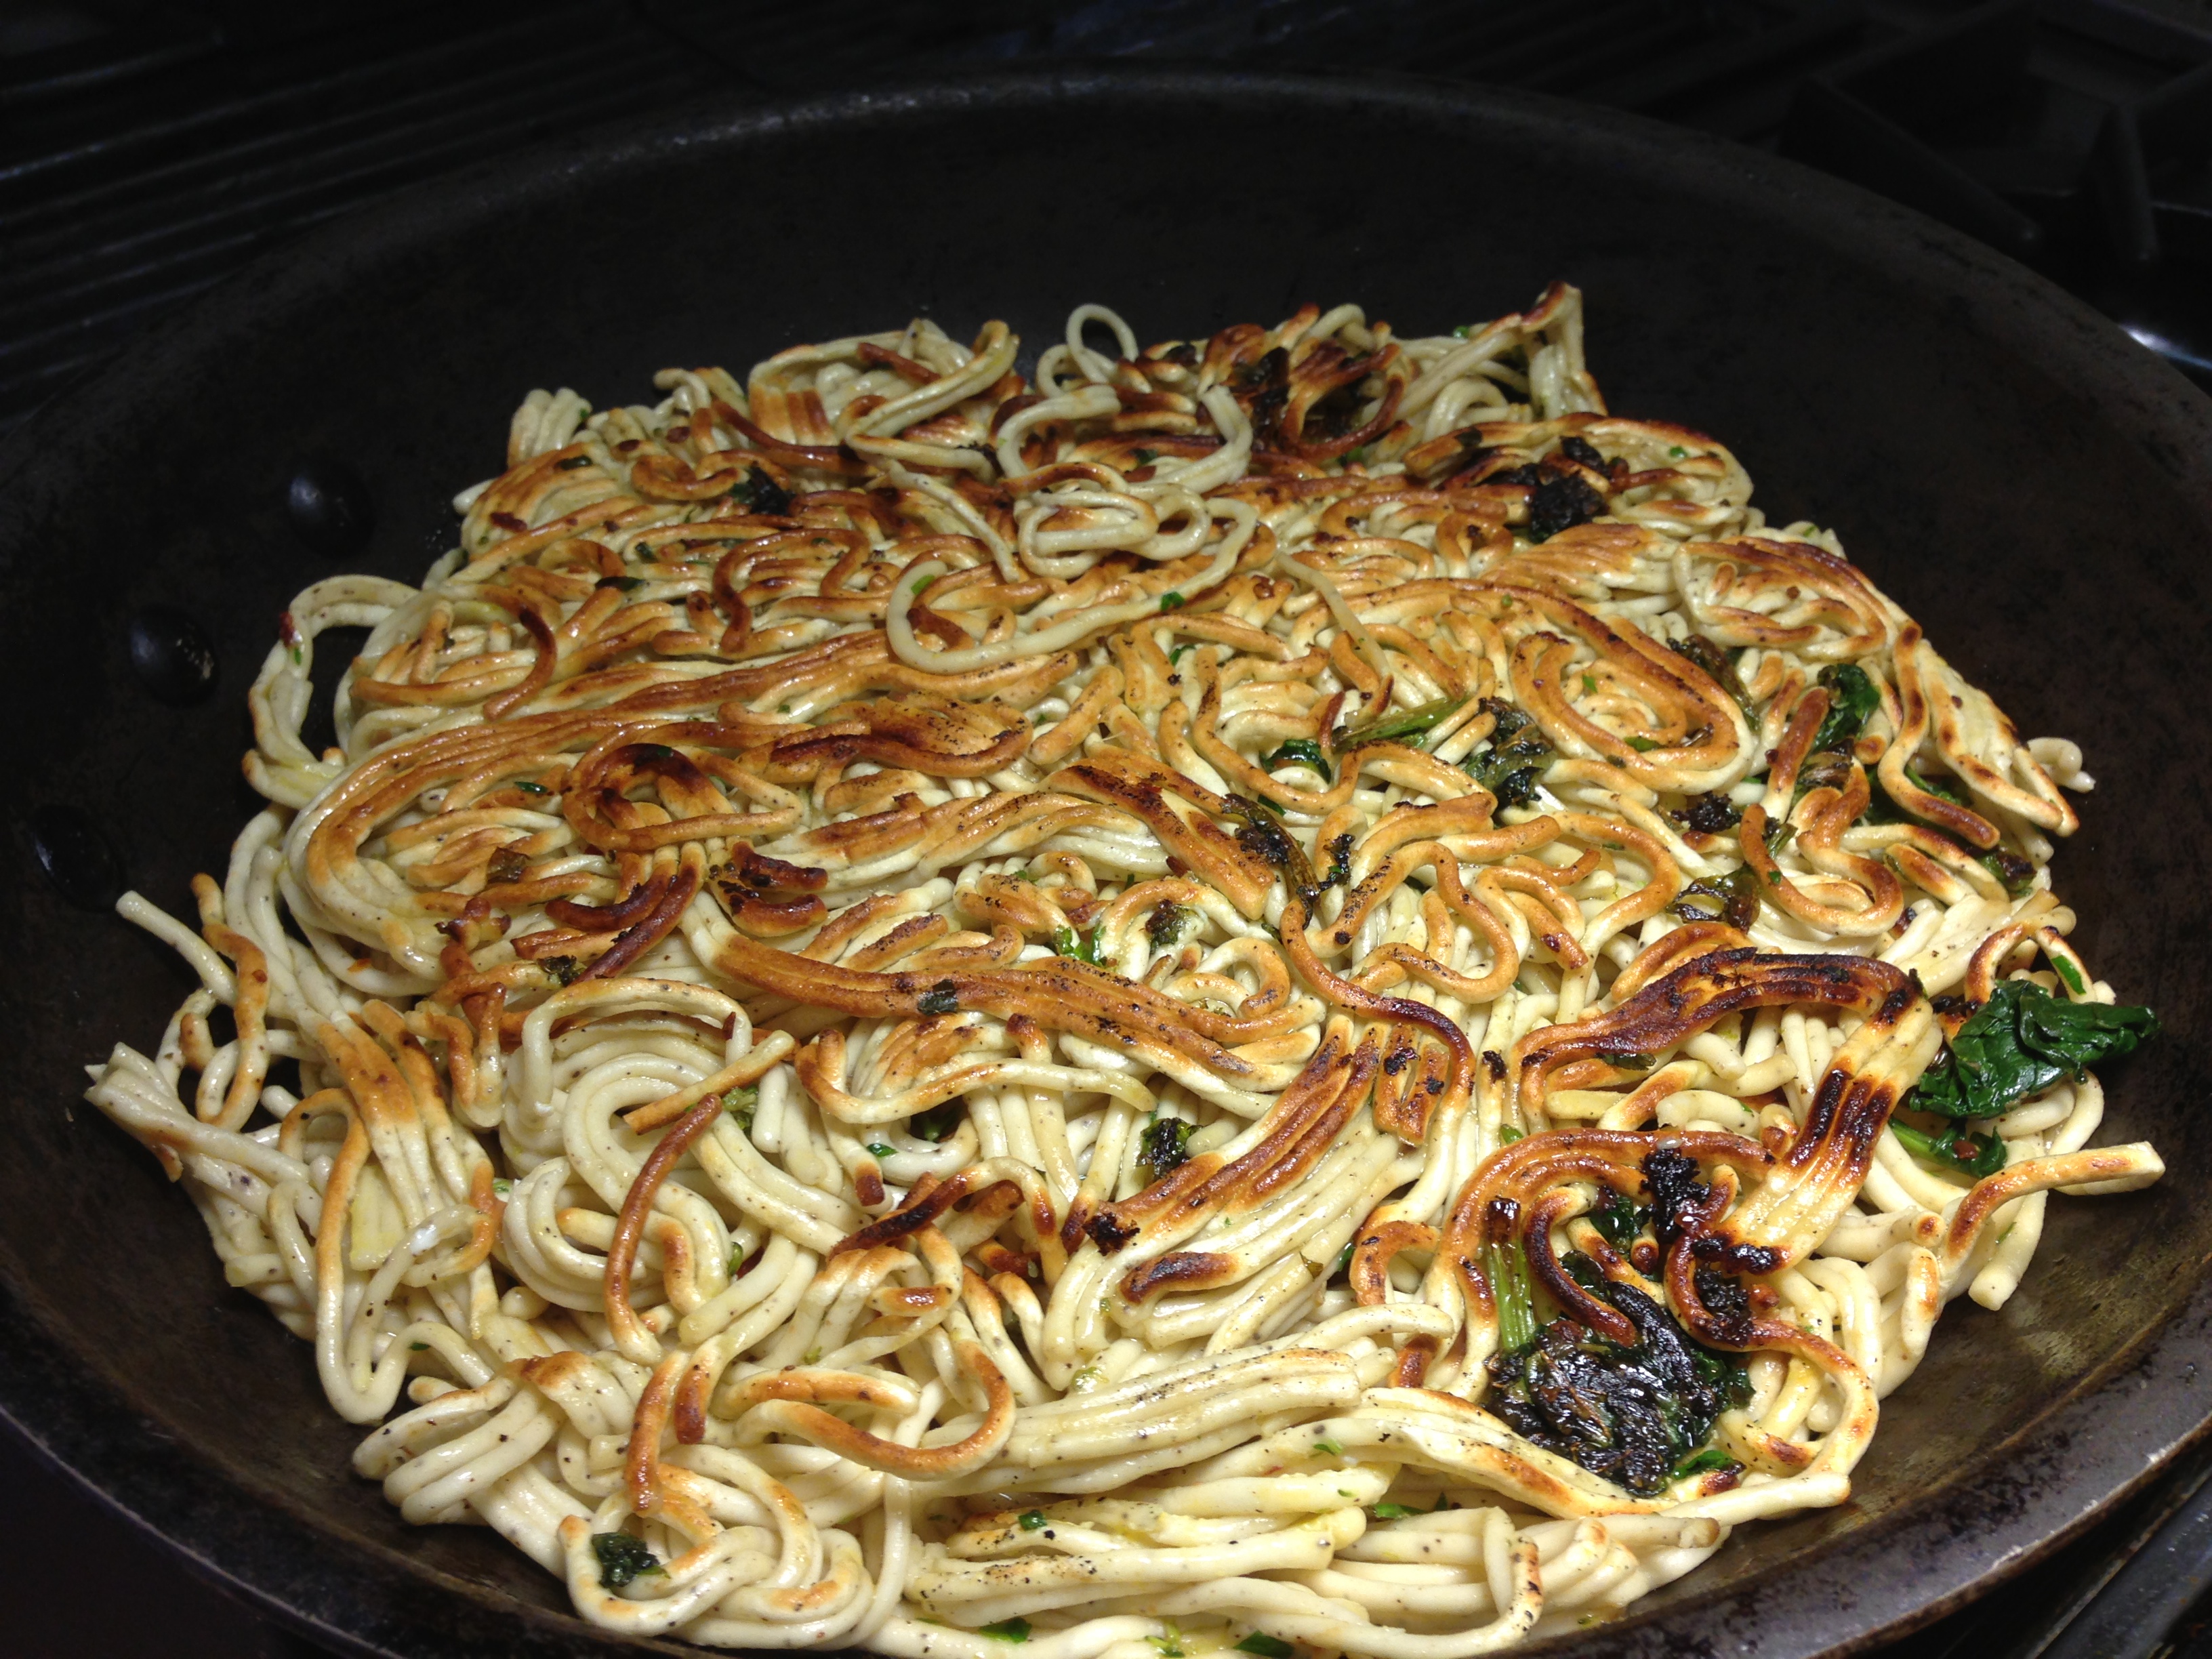
So, yeah. Brushing myself off from the complete defeat delivered to me & my self-image by the awesome Thug Kitchen – I present to you my latest pizza creation. It is no wild invention & breaks no new ground. Still – I couldn’t find a recipe like in on Google so – there. Swiss chard – super good for you. Raw almonds – good for you and no danger of the hideous pine mouth you risk if you take the bait & use those over-rated & “kinda too oily & rich anyway” pine nuts. This is really easy & super tasty. The micro arugula I used to garnish it is the last of my over-priced $5 experiment with the stuff. For now. Because, in reality, it has an amazingly strong flavor & looks frigging gorgeous atop foods. But – no need for you to splurge on something so obnoxious. Regular arugula would work nicely, too. Or no garnish. Or use basil. Or parsley. Whatever.
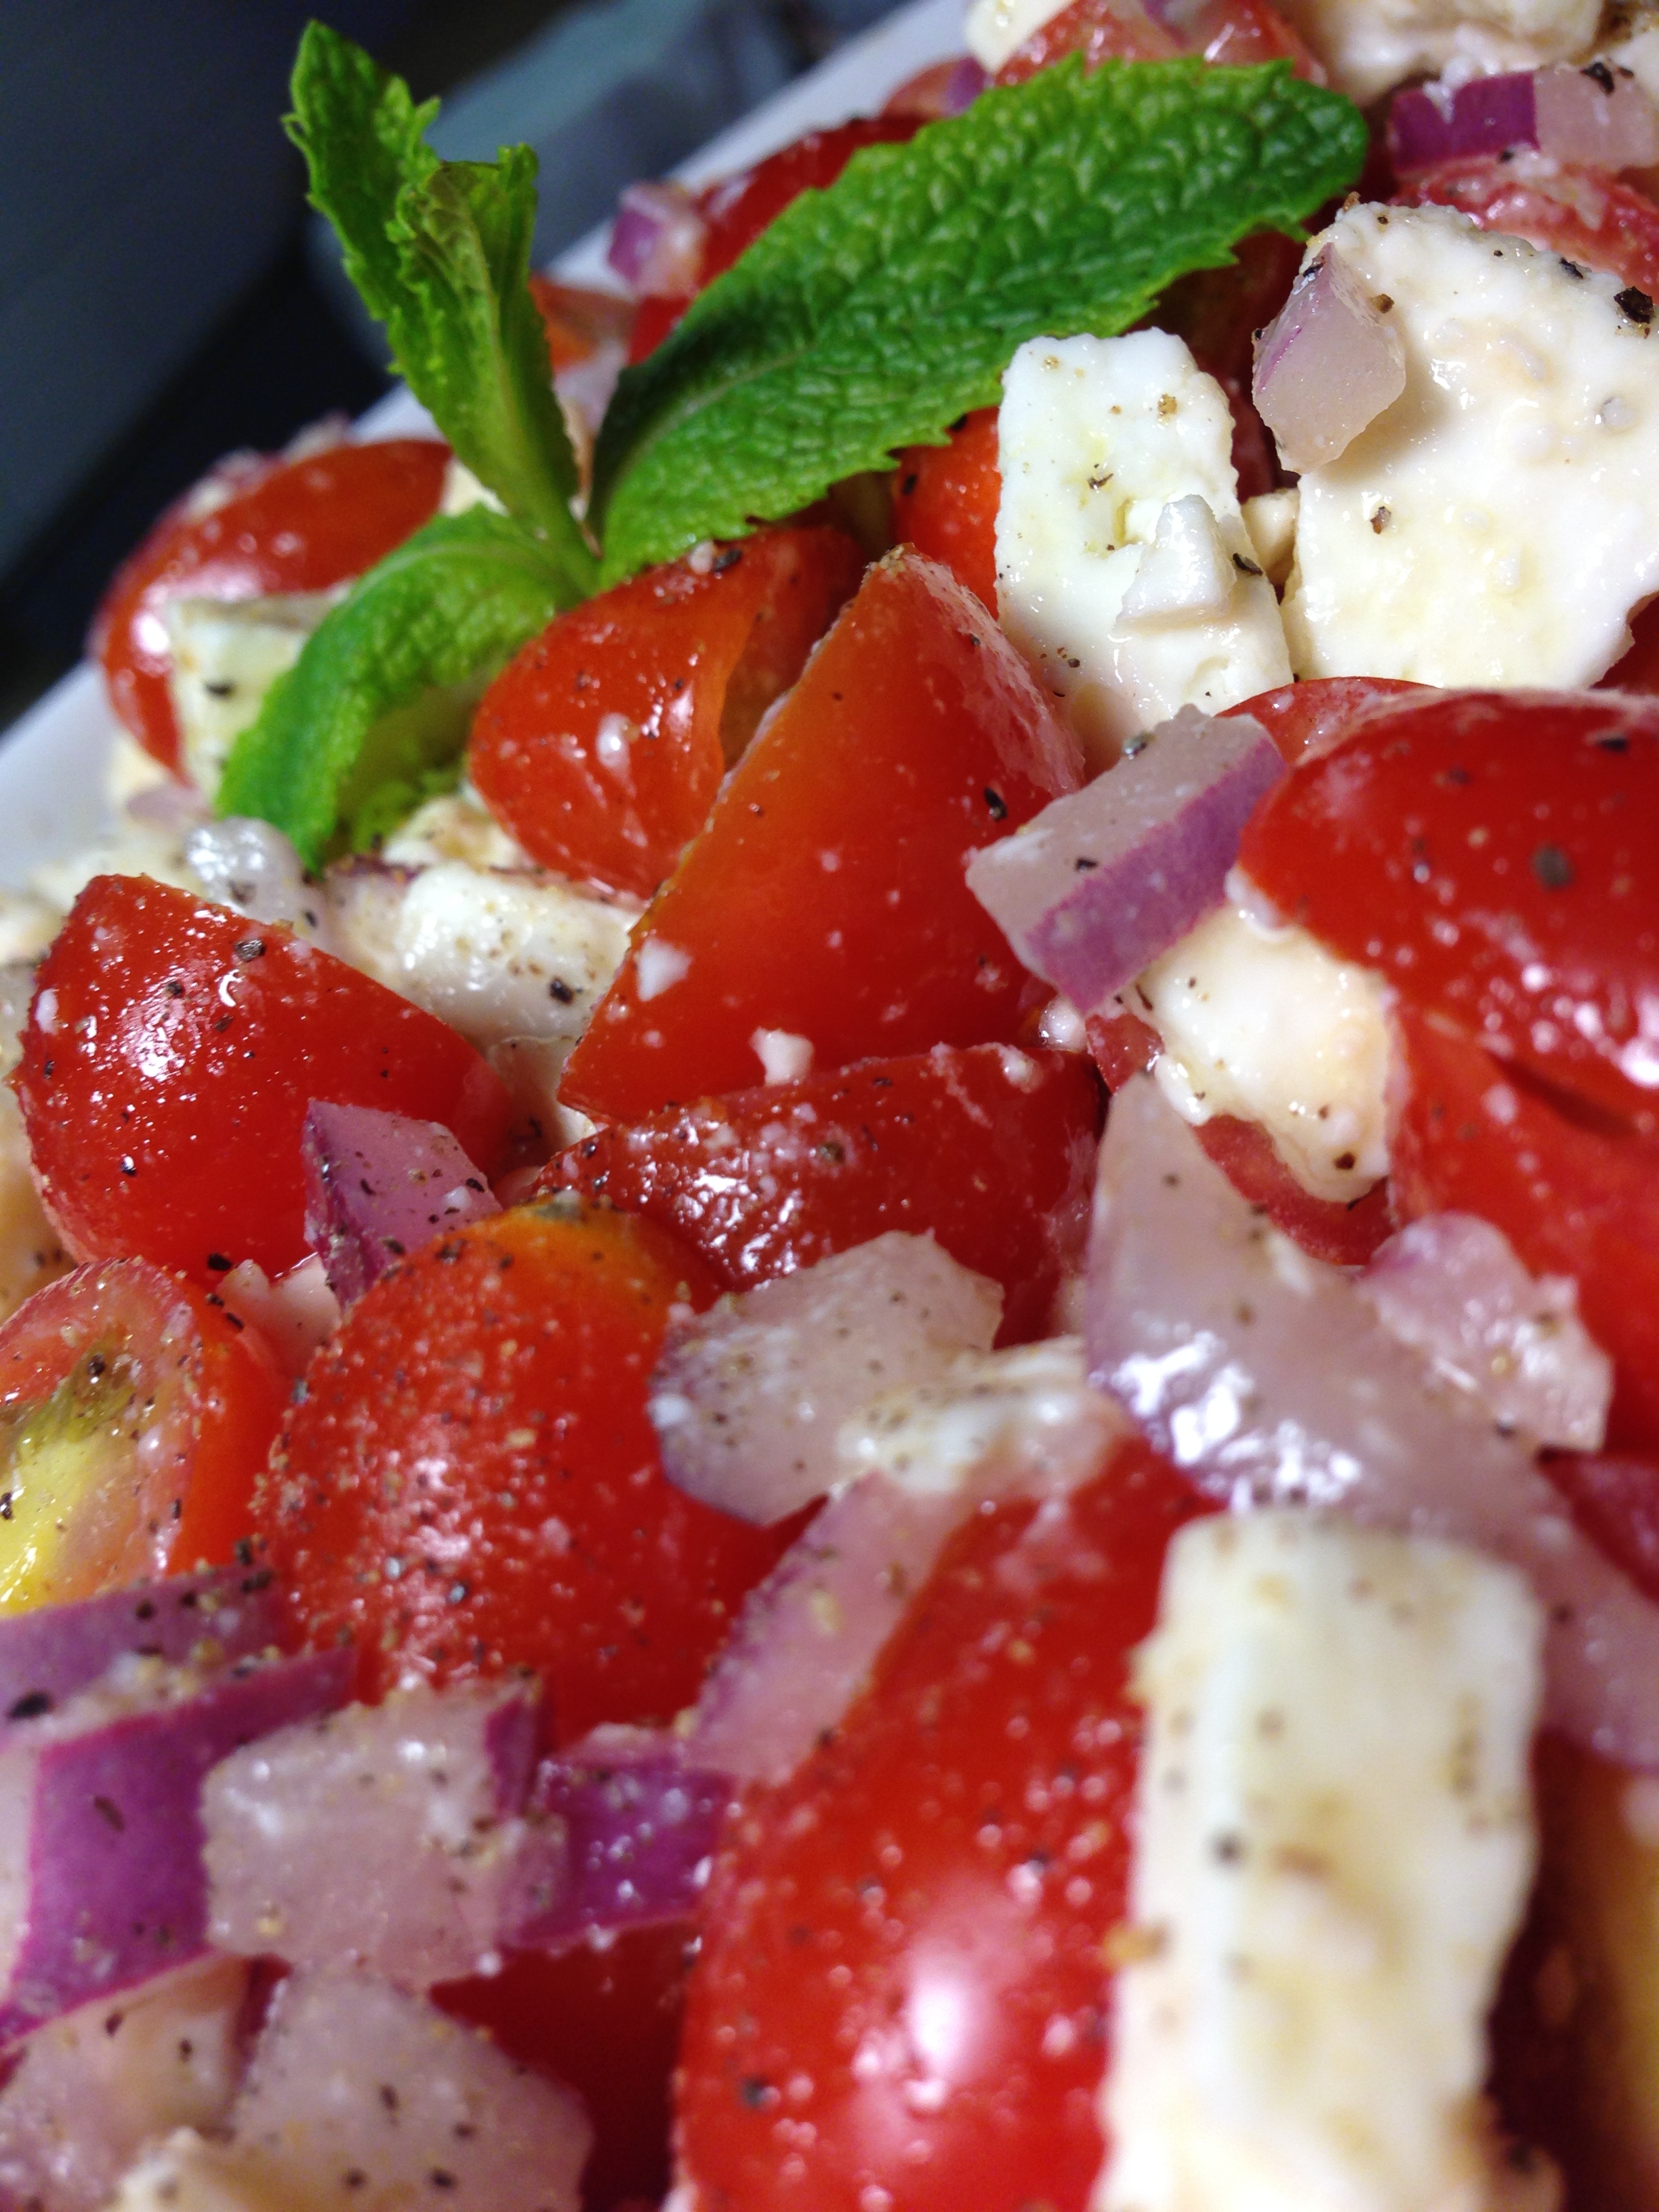
As a side note – I went to TJ Maxx recently & splurged on a few necessities – like some saucy Jessica Simpson panties & some fancy salt. The two are unrelated. New undies make me walk around feeling all fancy, like Queen Jinglefarts. Can’t you see the sparkle in my eyes as I stand in my kitchen – naughty bits all snugly held in by my new bikinis?

More interestingly – here is the salt:

I paid $3.99 for it. I could eat each individual grain of this salt like miniature hors d’oeuvres. This salt is actually delicious! I bought it because (like the micro arugula) I thought it would look pretty, and it does, but holy crap! I will never look at regular salt again as anything but some unworthy red-headed stepchild. I shudder to think what a salt fetish could end up costing me down the road but know that – as my obsession develops – I will take you along for the ride.

PRINT THIS RECIPE
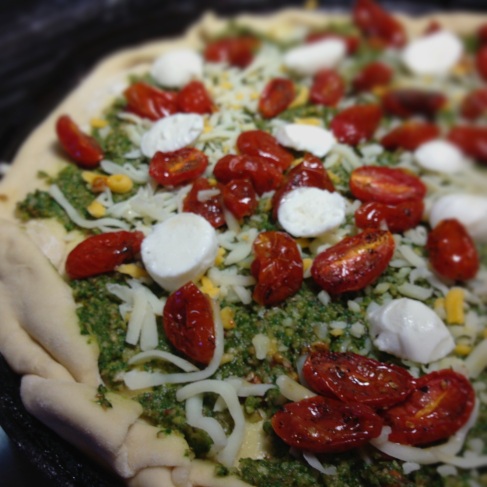
Pizza with Swiss Chard Pesto, Roasted Tomatoes & Fresh Mozzarella
INGREDIENTS
Pizza dough of your choice (mine is here)
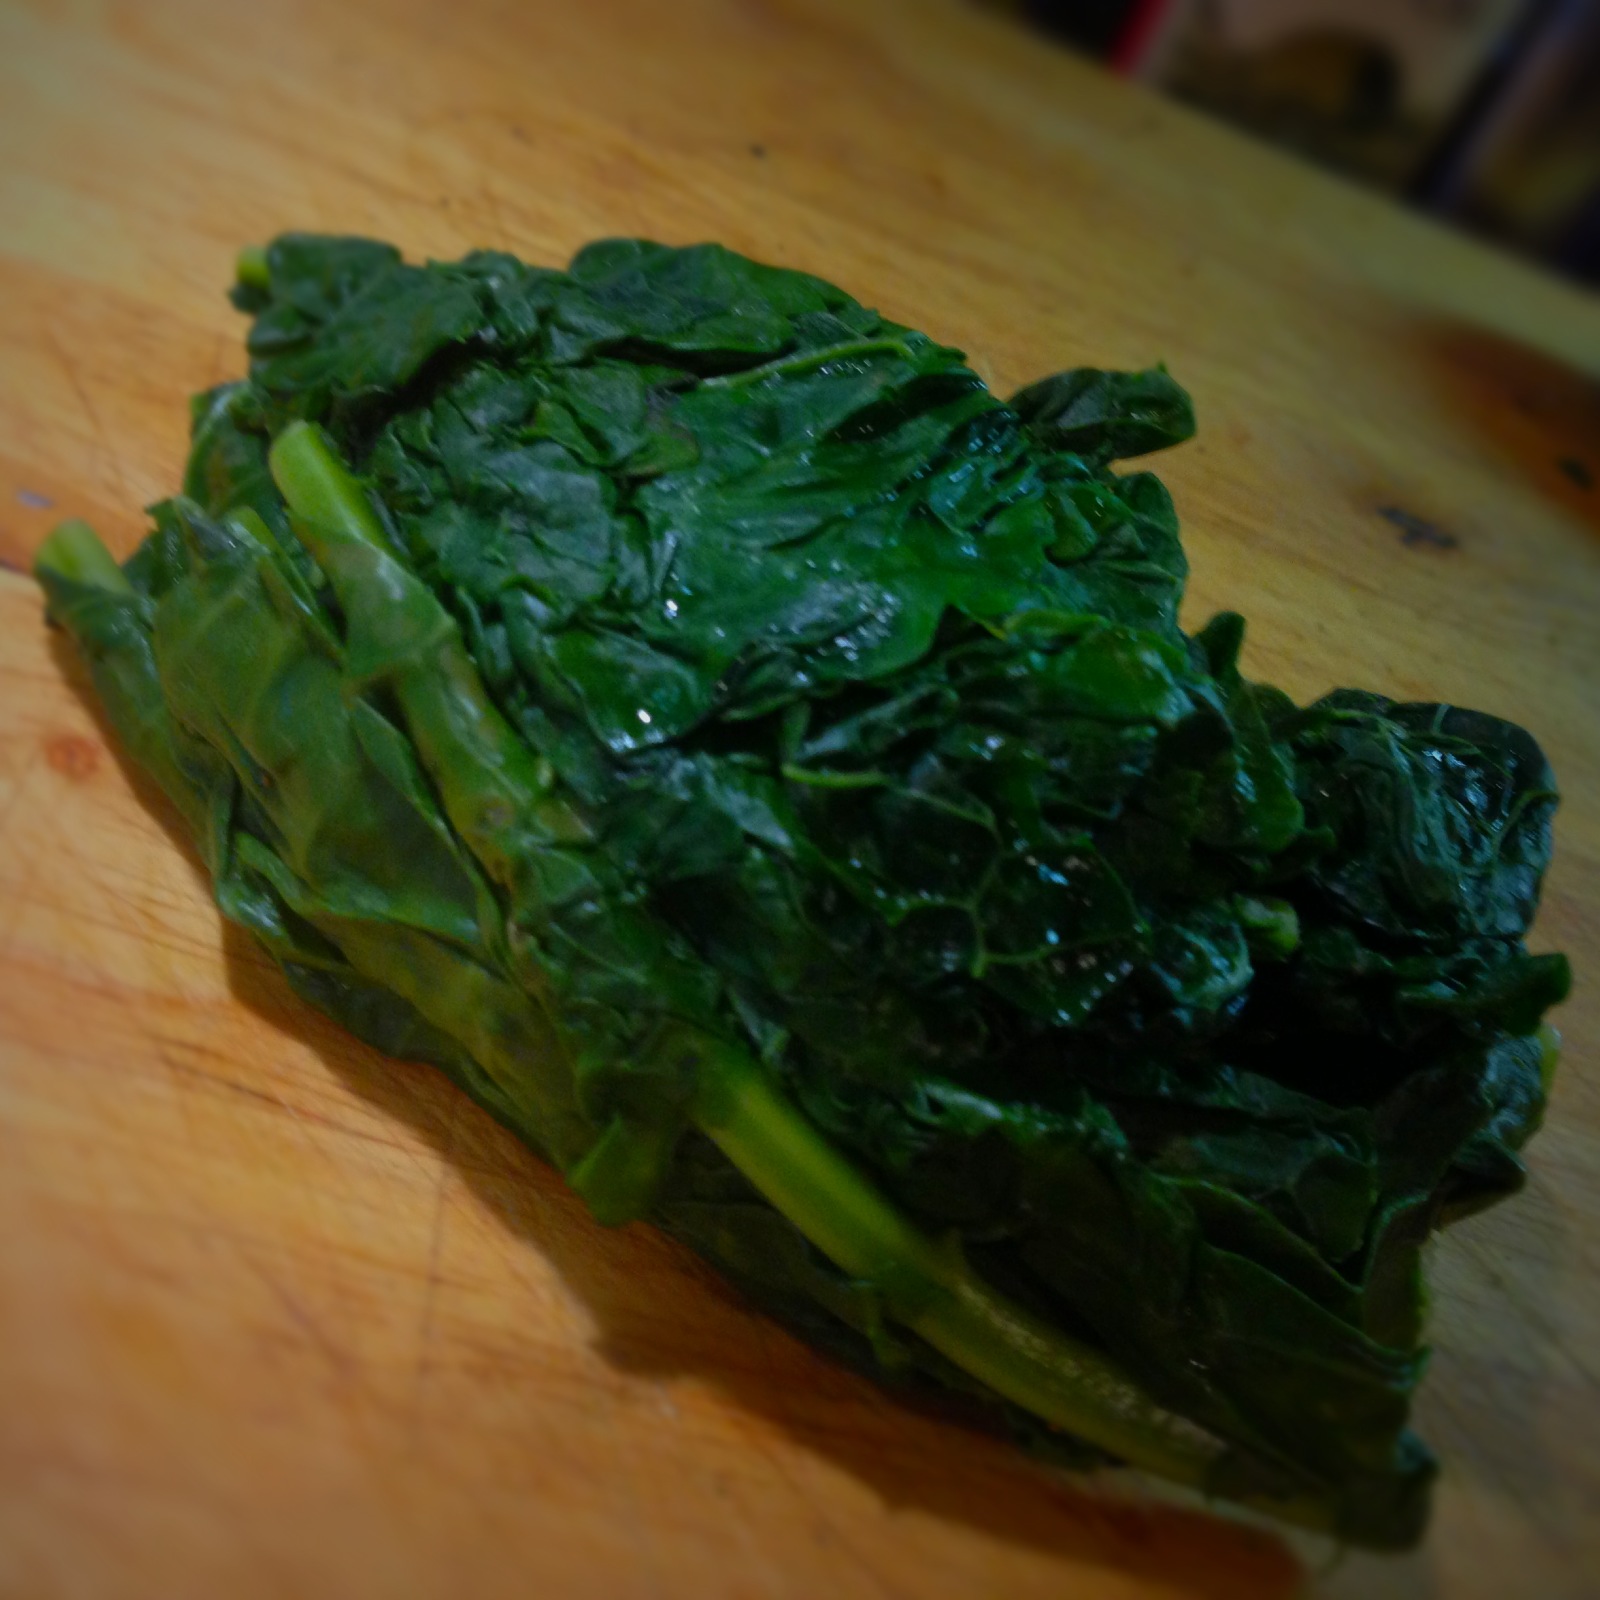
1 head Swiss chard
1 cup freshly grated Parmesan
4 (or more) cloves of garlic
3/4 cup + 1 TBS olive oil
1/2 cup raw almonds
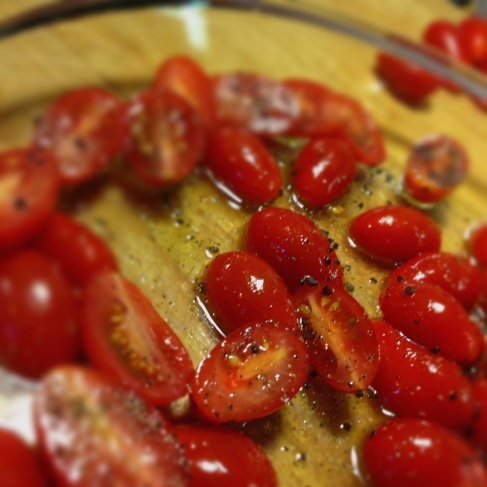
a dozen cherry or grape tomatoes
1/2 cup (more or less to taste) grated pizza cheese
1 dozen or so cherry-sized mozzarella balls (ciliegini or other fresh mozzarella) – sliced
S&P to taste
micro arugula or some other green for garnish (optional)
Extra diced tomato as garnish


DIRECTIONS
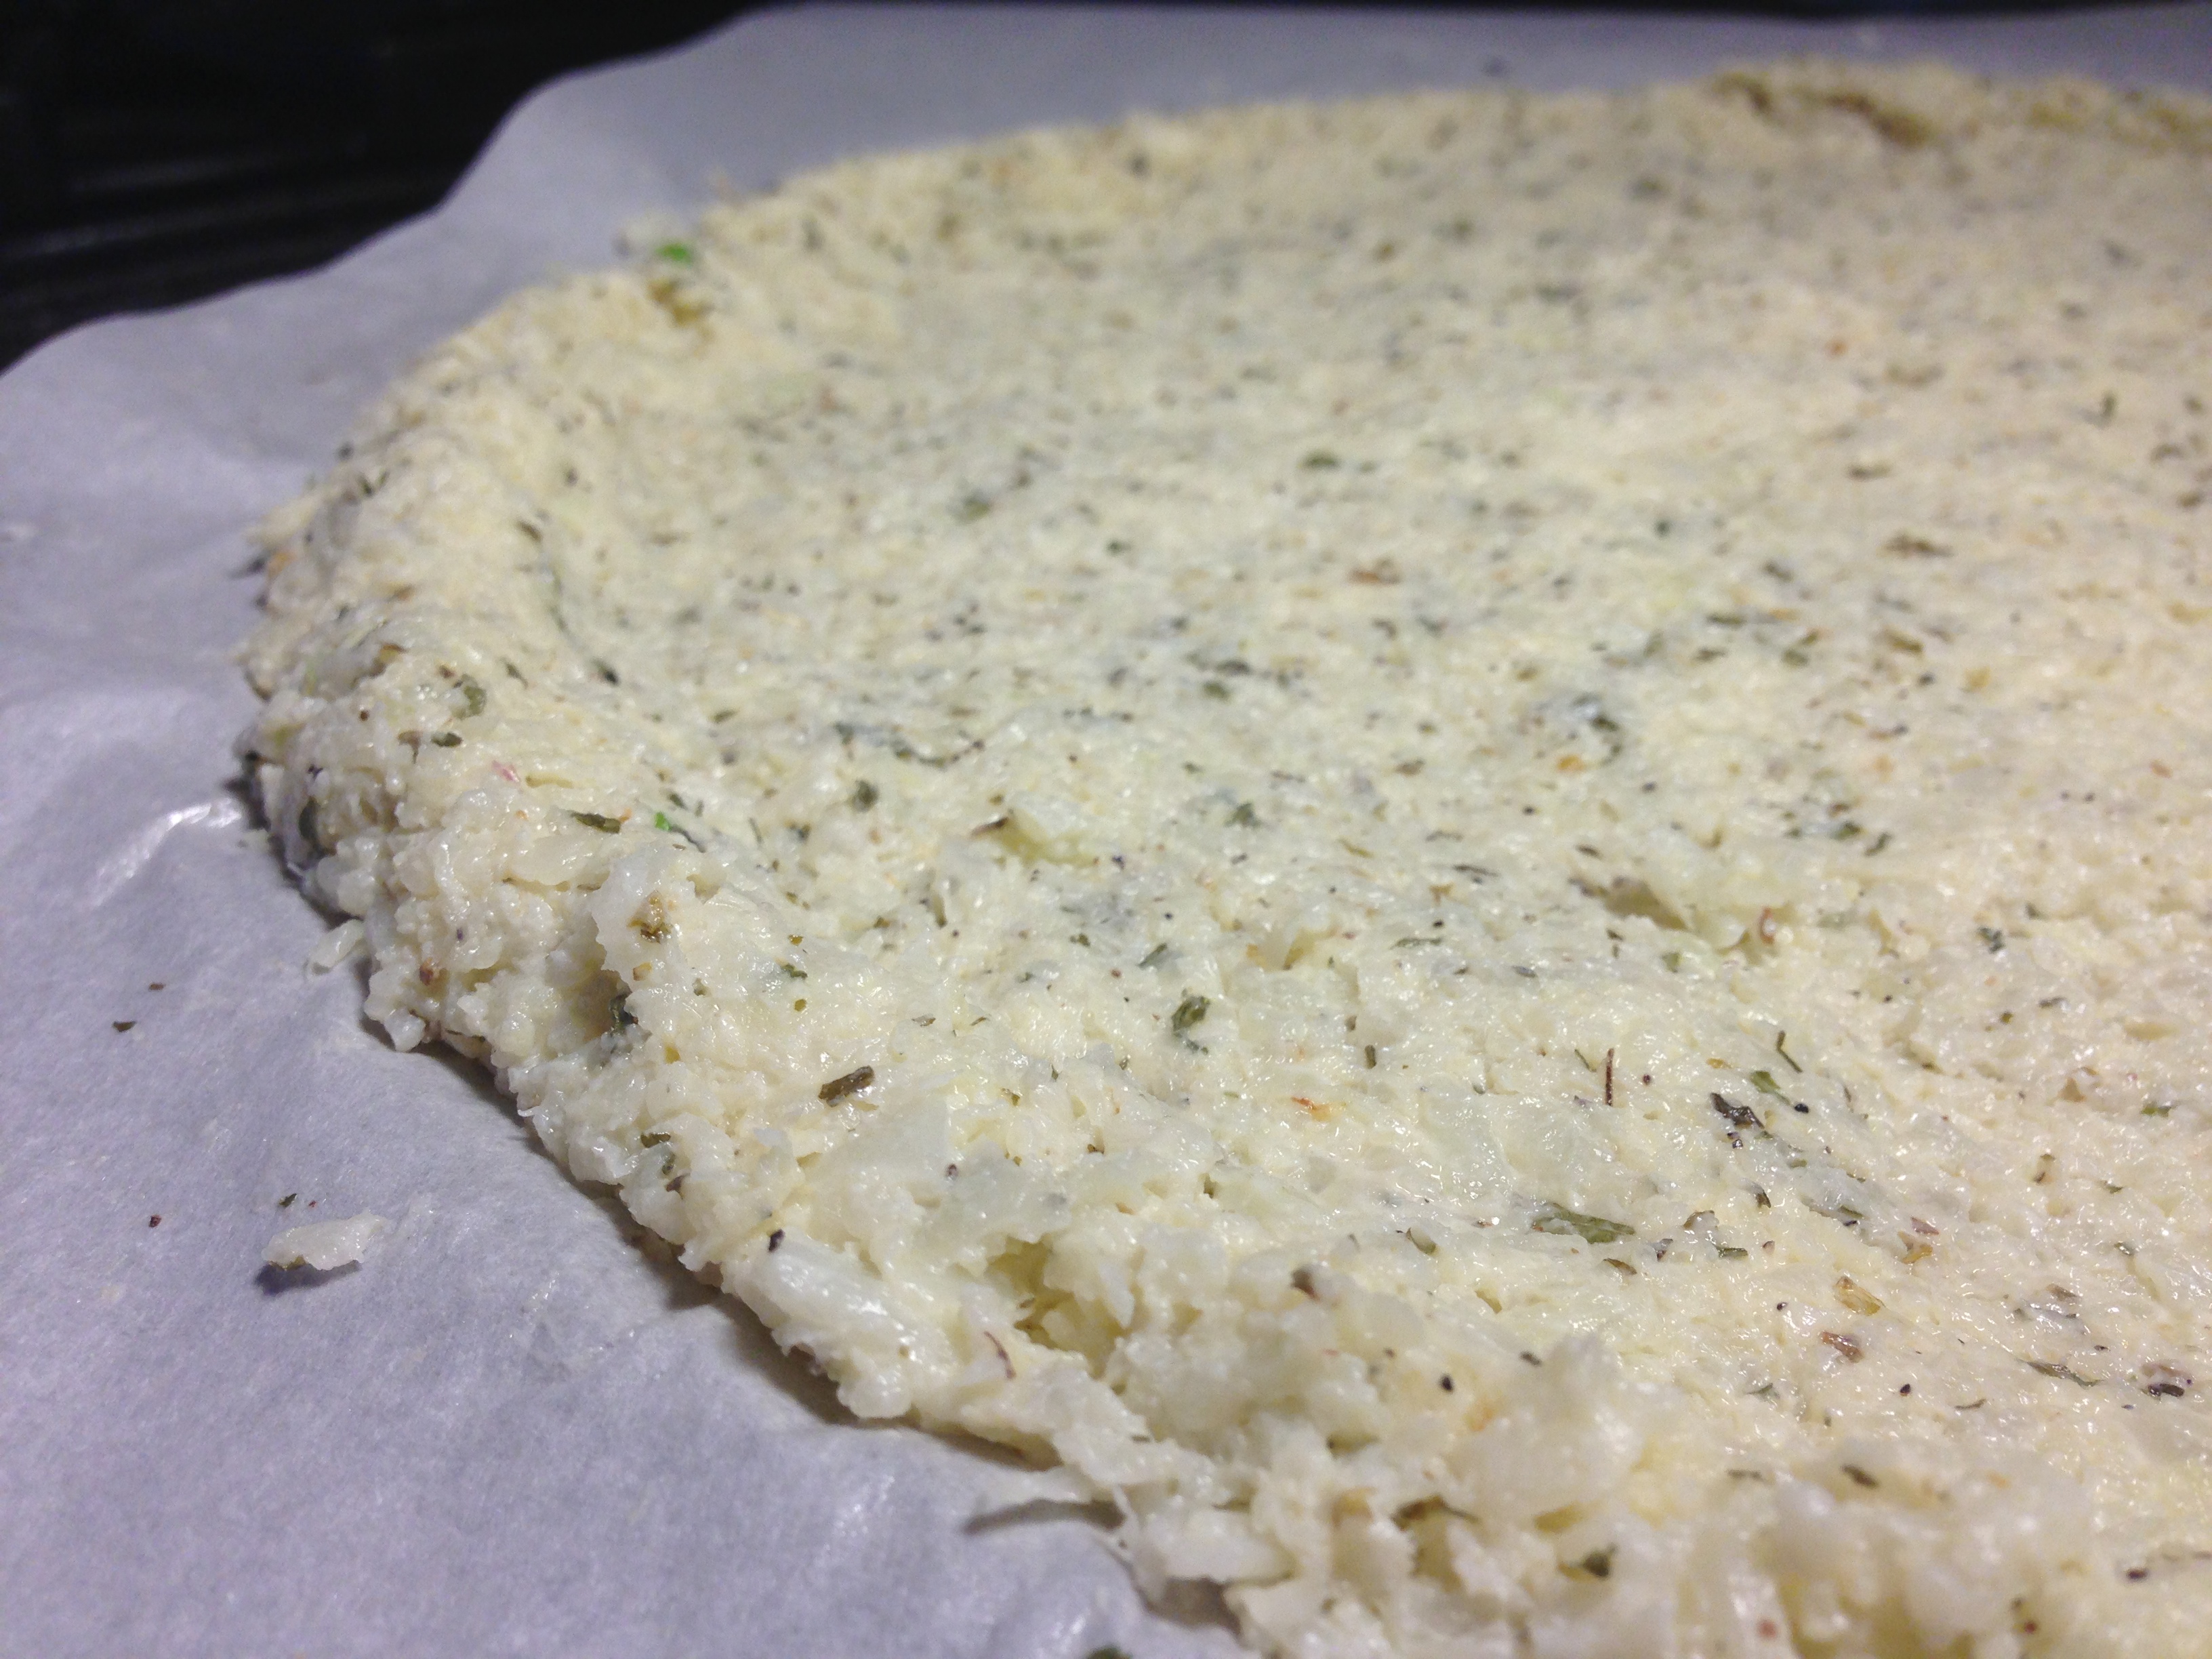
Make your pizza dough (if you are doing that) or let your store bought version come to room temp on the counter.
Cut your little tomatoes in half & toss with 1 TBS olive oil & some S&P. Roast them at about 400 degrees for about 20 minutes. Remove from heat & set aside.

Raise the temp of the oven to the 450-500 degree range.
Wash the chard & remove the center rib. Immerse in boiling water for about 2 minutes. Drain & squeeze out the excess water.


Toast the almonds in a dry pan for about three minutes or until they get fragrant & start to brown. Remove from heat
In a food processor, puree the nuts & garlic & 1/4 cup of the olive oil then blend in the chard & then the Parmesan and the additional 1/2 cup of olive oil and some S&P. Use less oil if you think you can get away with it (for a dense pesto) or add more (or some water) if you want a thinner pesto.

To assemble the pizza, simply roll out the dough. Place it on a cooking sheet sprayed with cooking oil. Top with pesto, grated pizza cheese, roasted tomatoes, mozzarella & some fancy orgasm-producing Hiwa Kai Black Lave Sea Salt (or just a little sea salt) and some pepper. Bake at 450-500 for 12-15 minutes or until it looks done to your taste.
Garnish with whatever you selected for that purpose. Tap a gala keg of some drinking wine & get your eat & your drink on.
PRINT THIS RECIPE