All Photos © Christine Elise McCarthy 2015
To see images of my past posts & get links to the recipes – look on my Pinterest board – HERE.


~
All my posts now have a VERY customizable PRINT & PDF option. Create a PDF & save the recipe to your computer or print it out. It offers a “remove images” option & you can delete any part of the post you do not need before printing. The button is below by the Twitter & Facebook links.
~
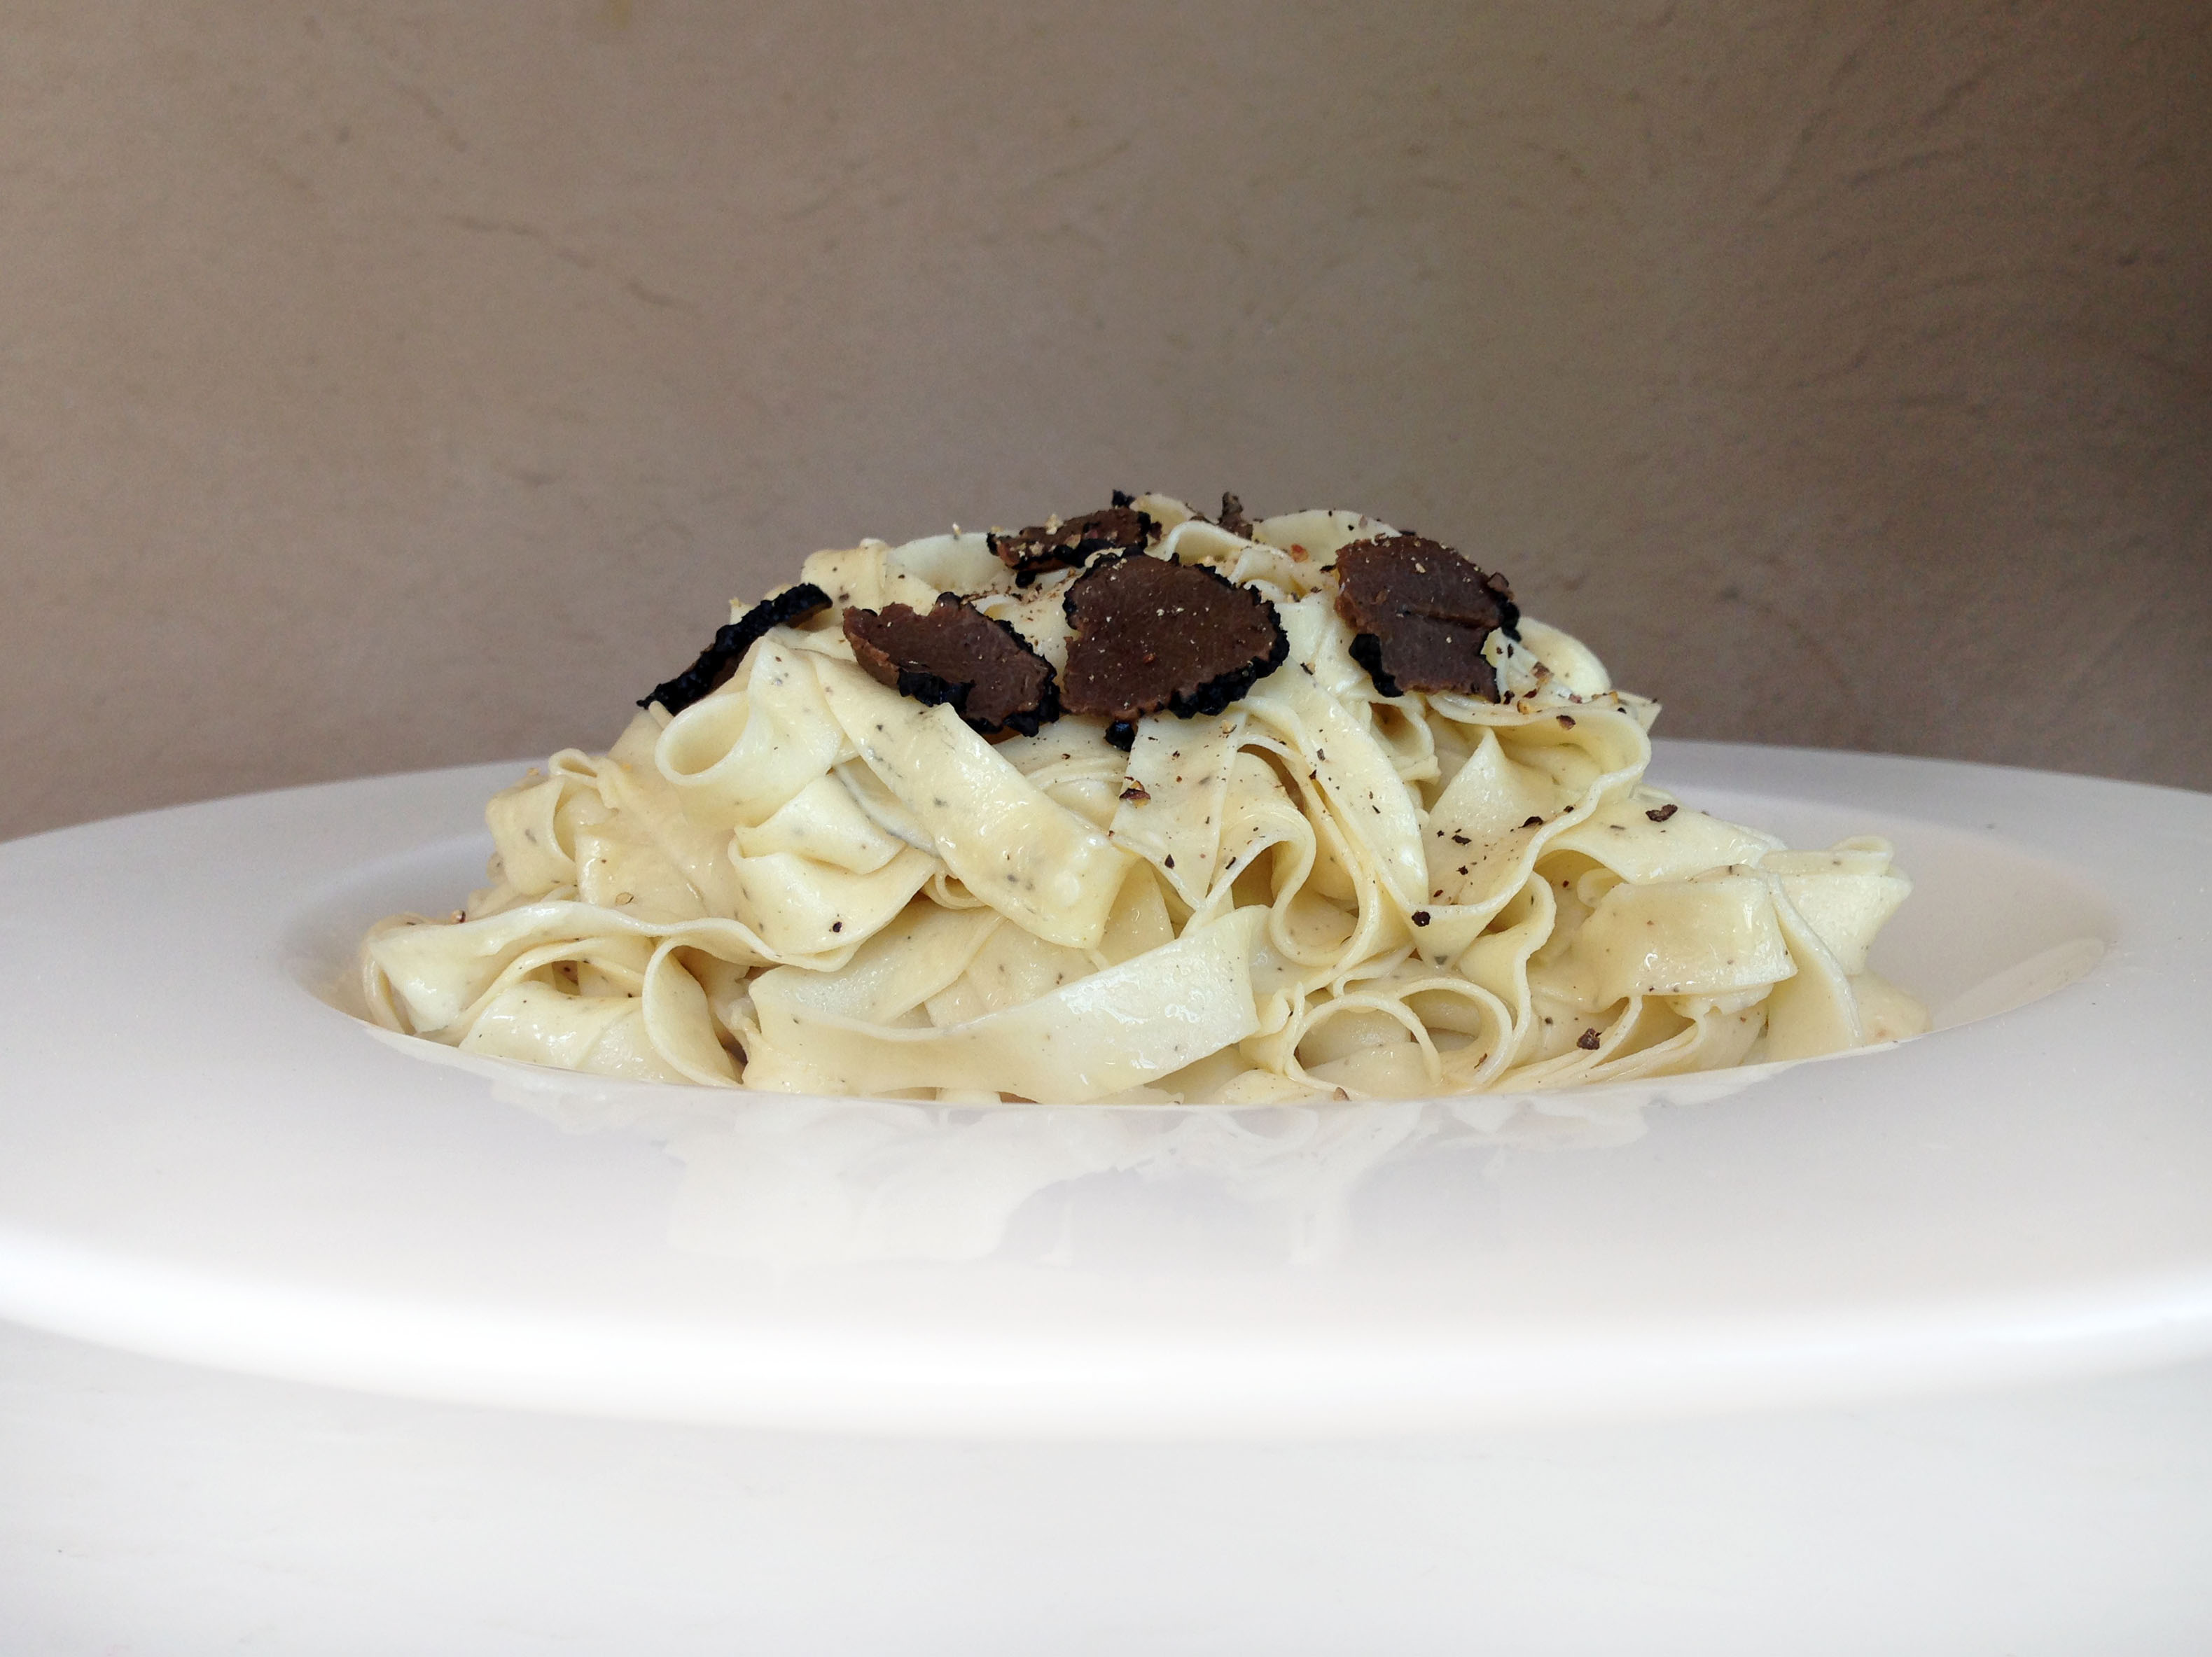


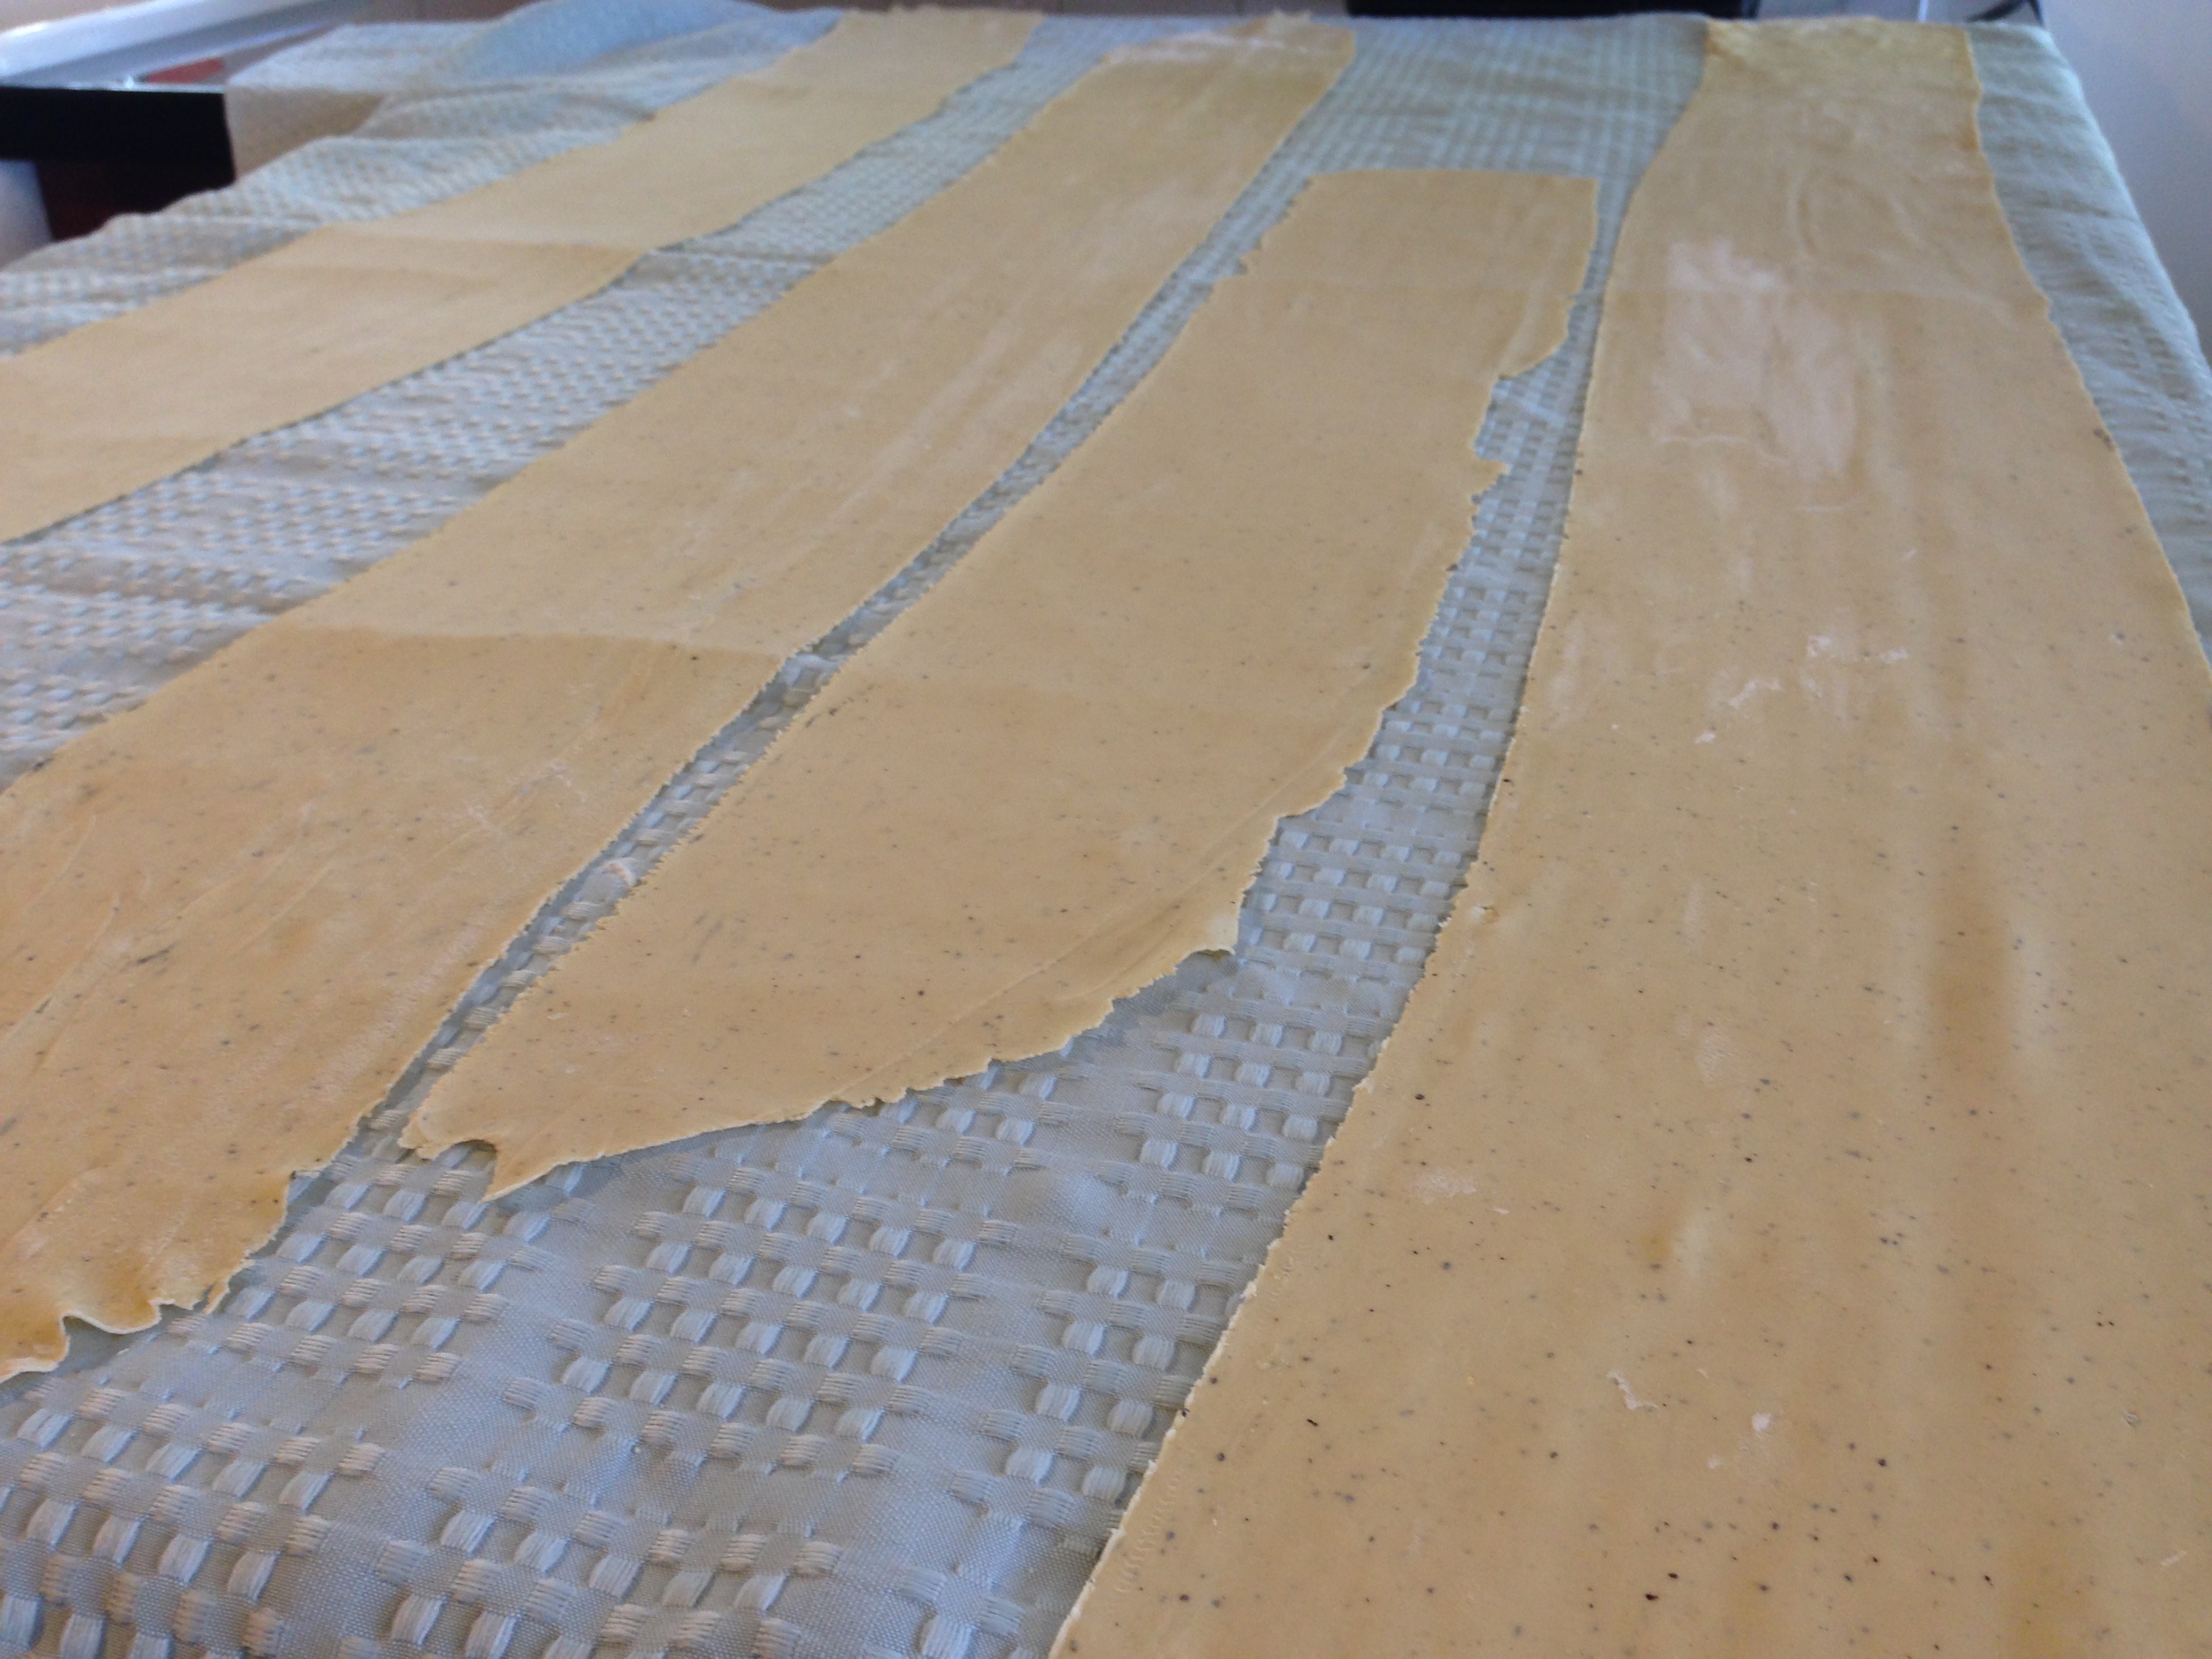
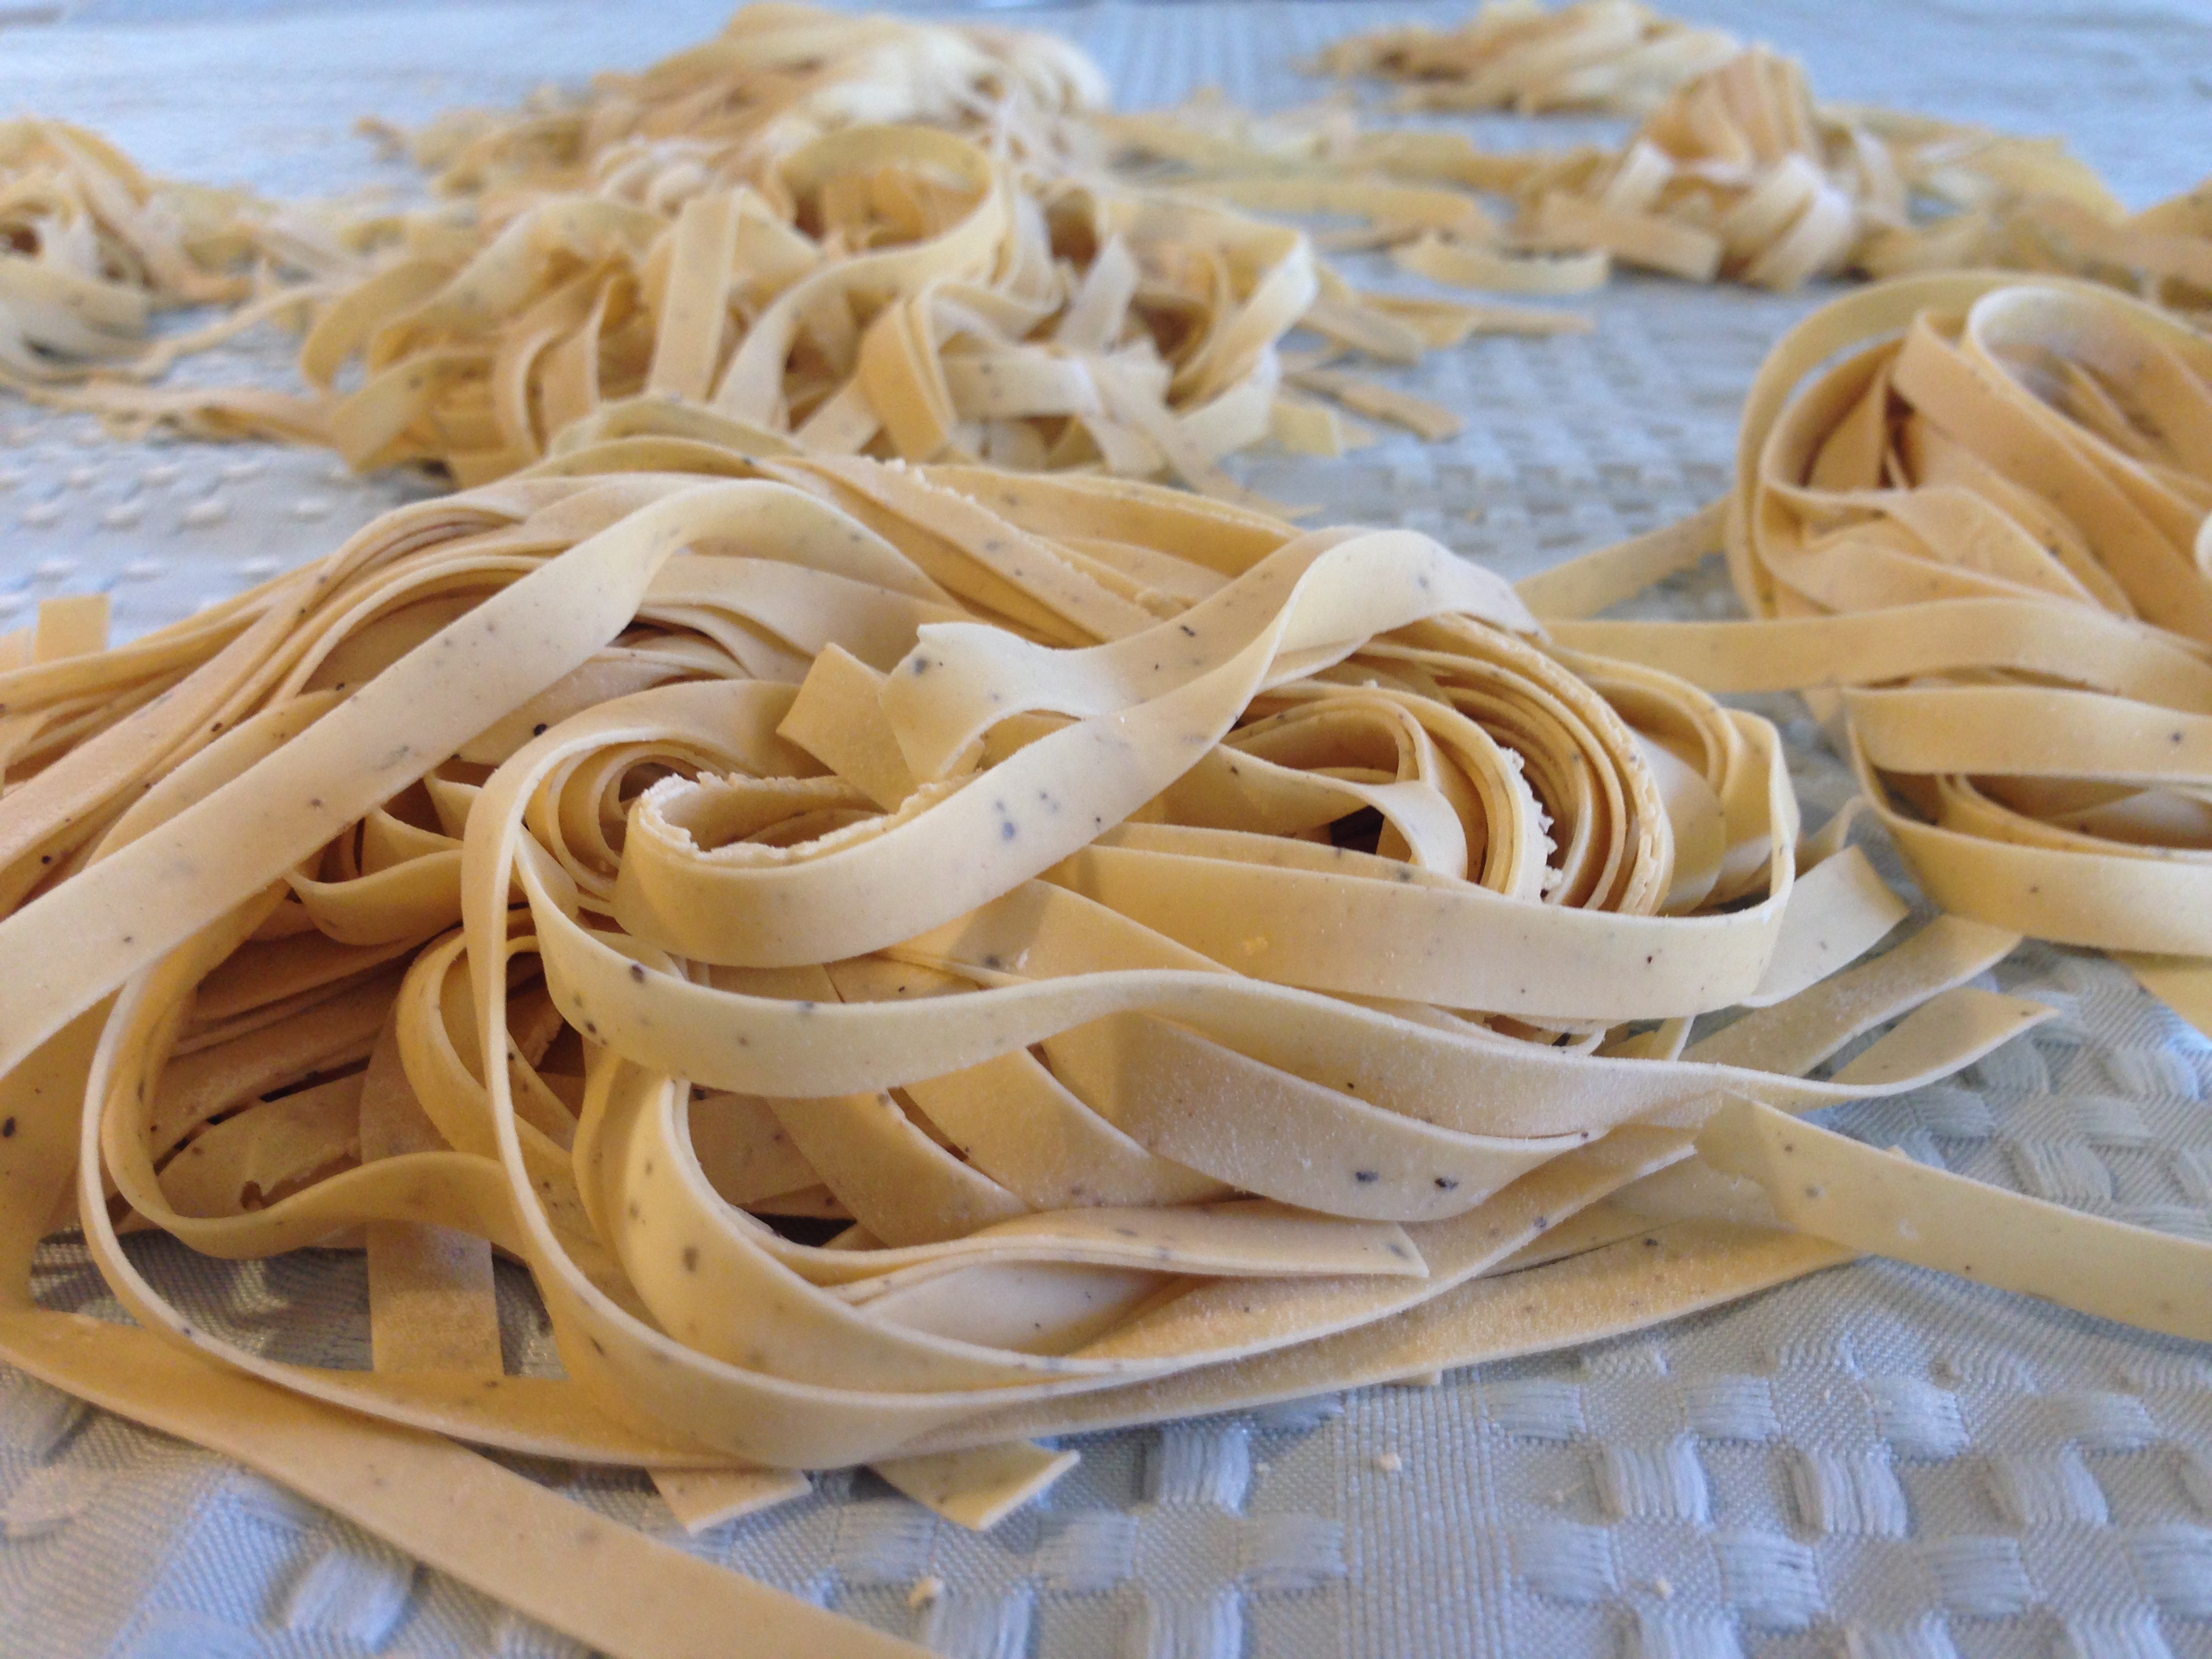
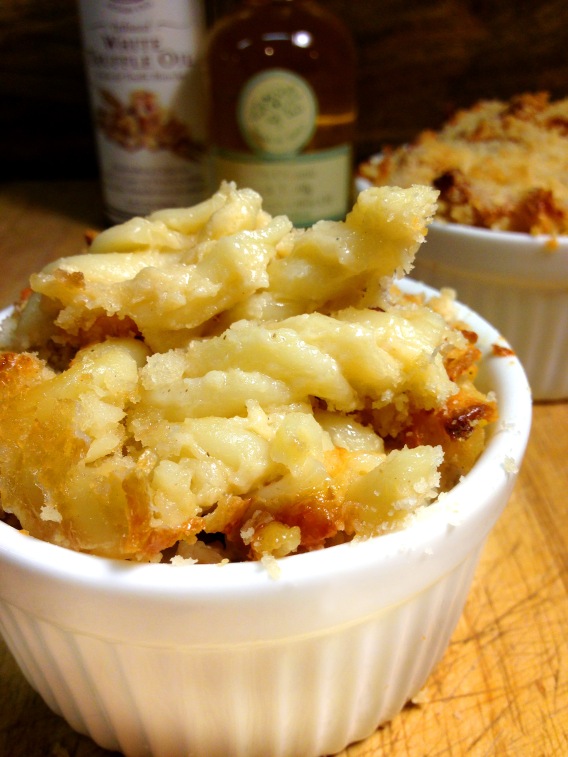
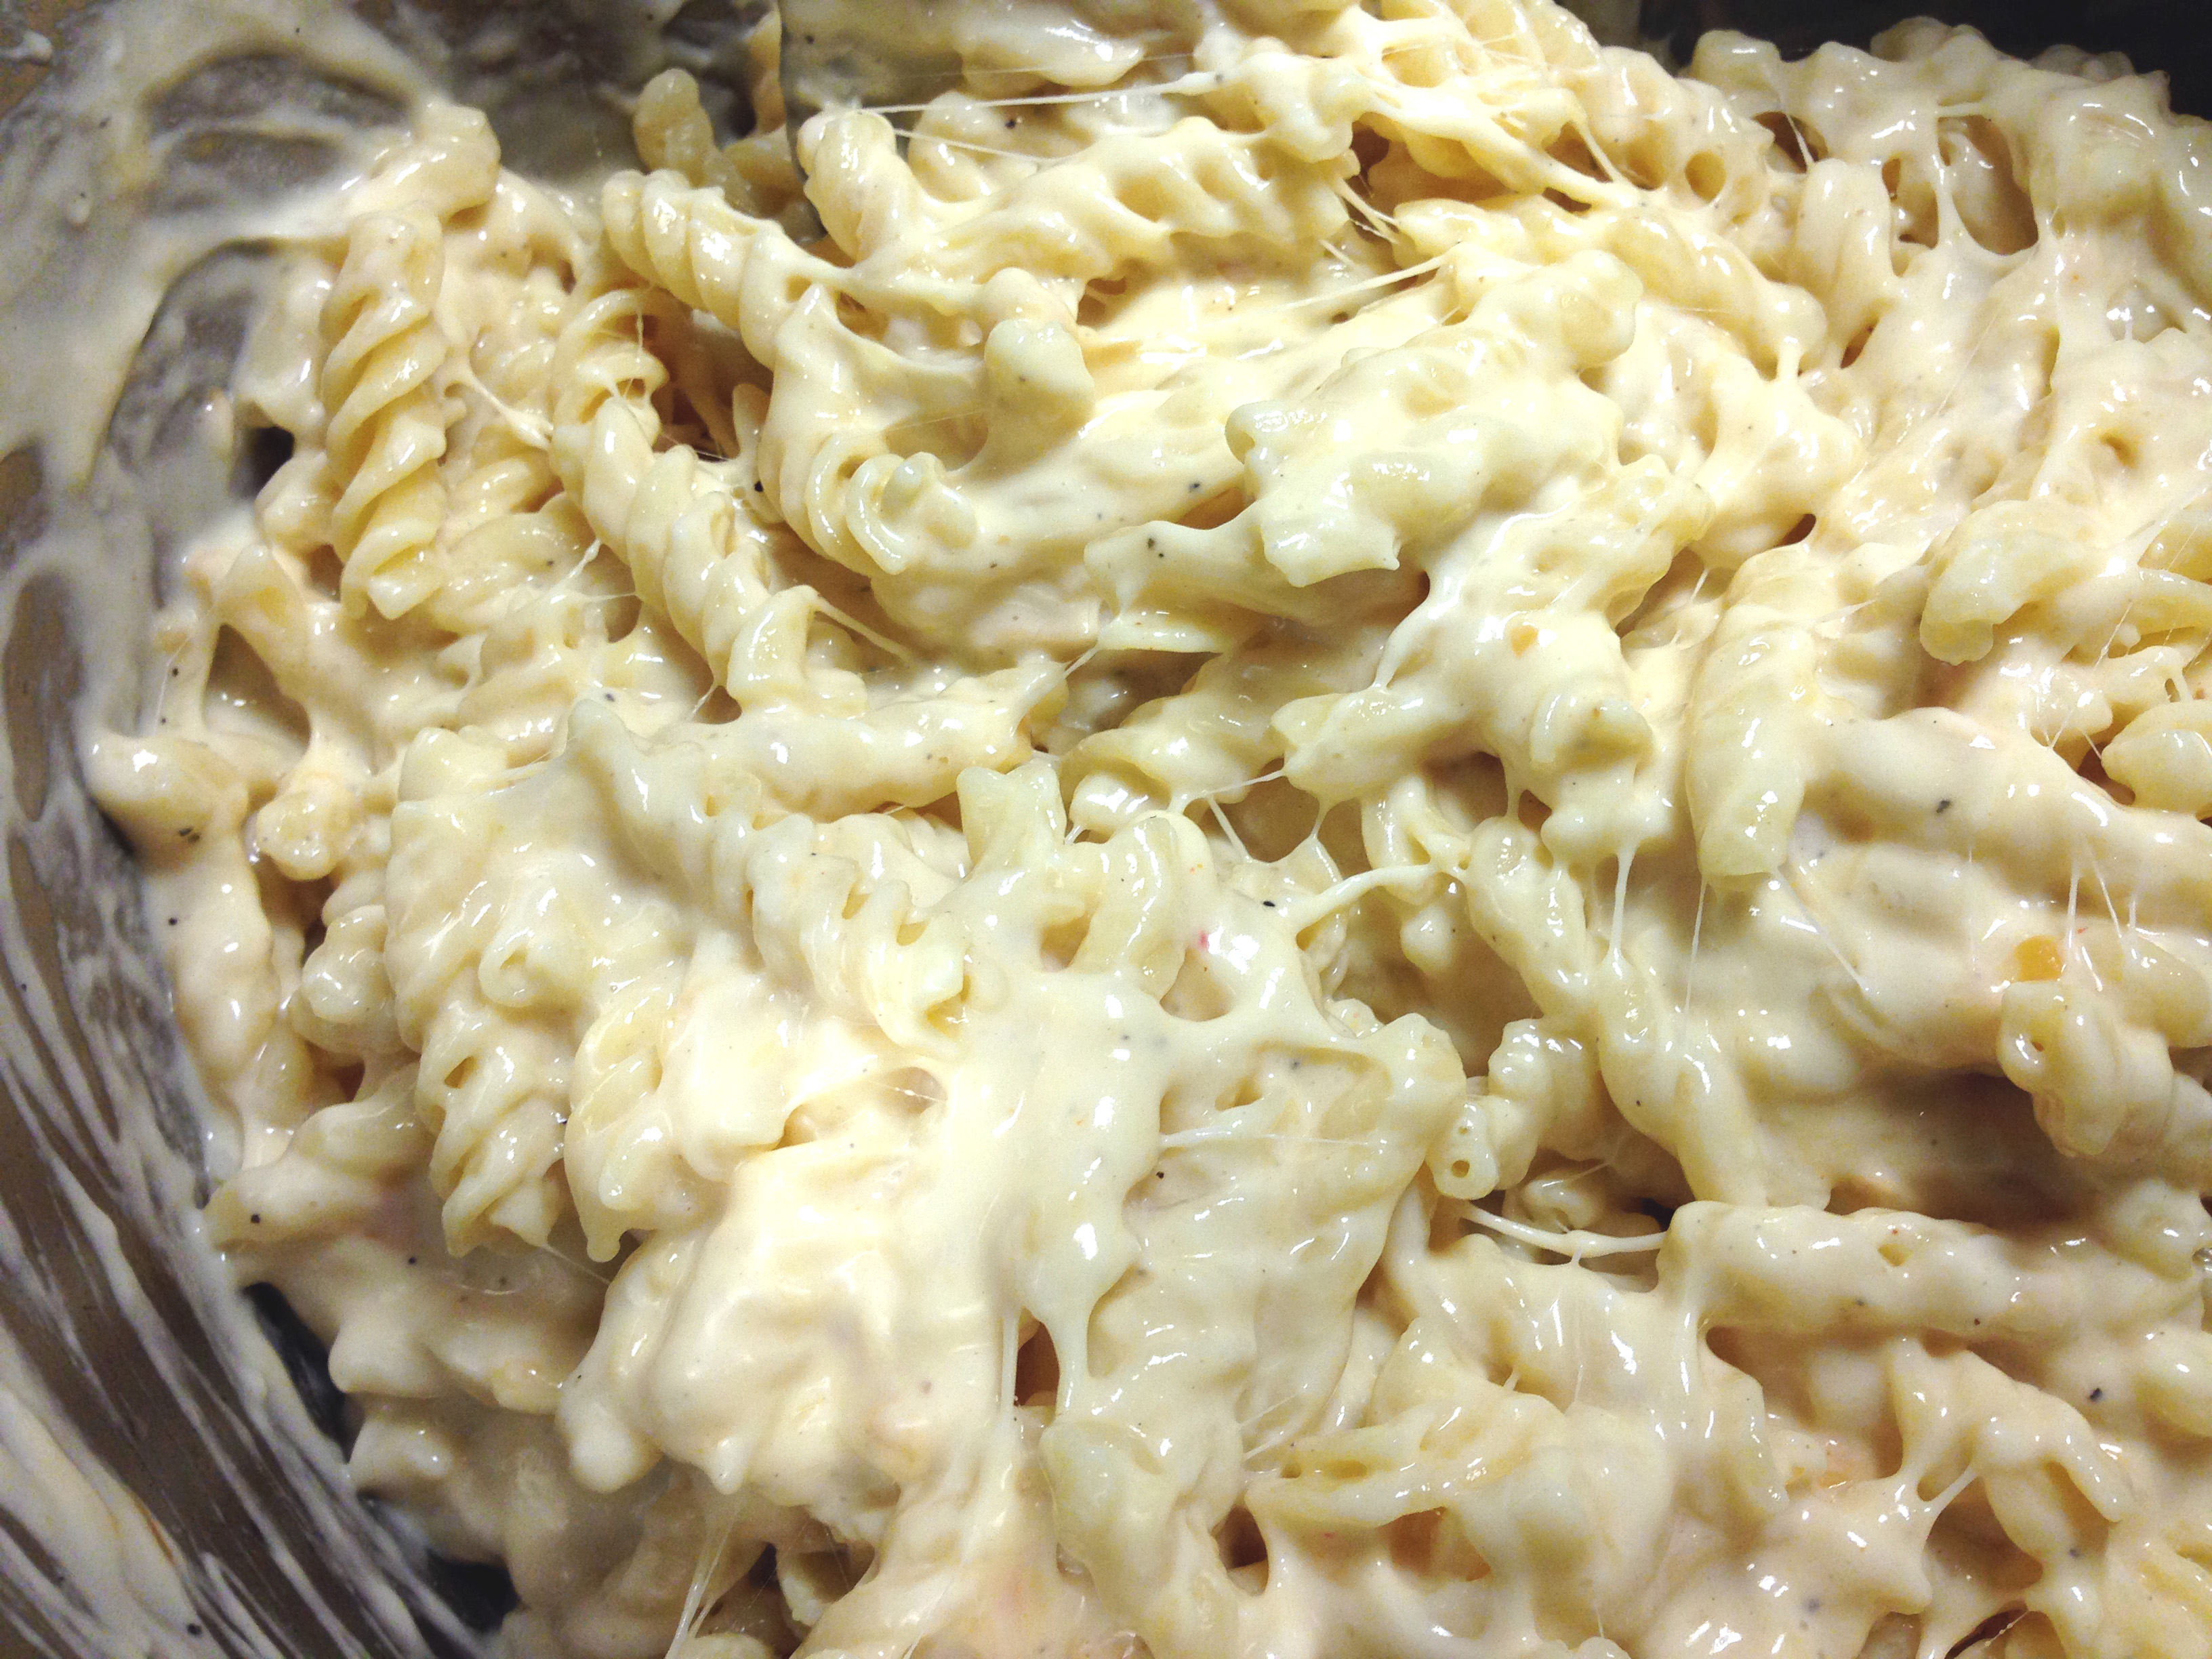
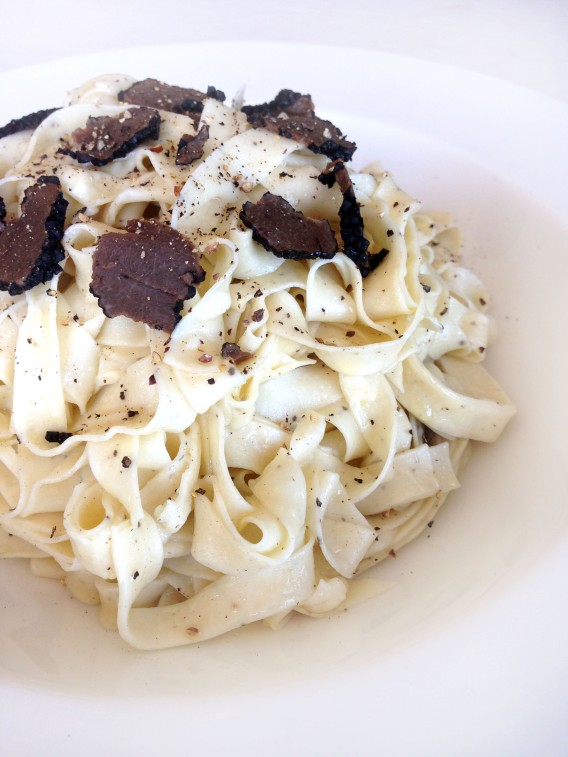
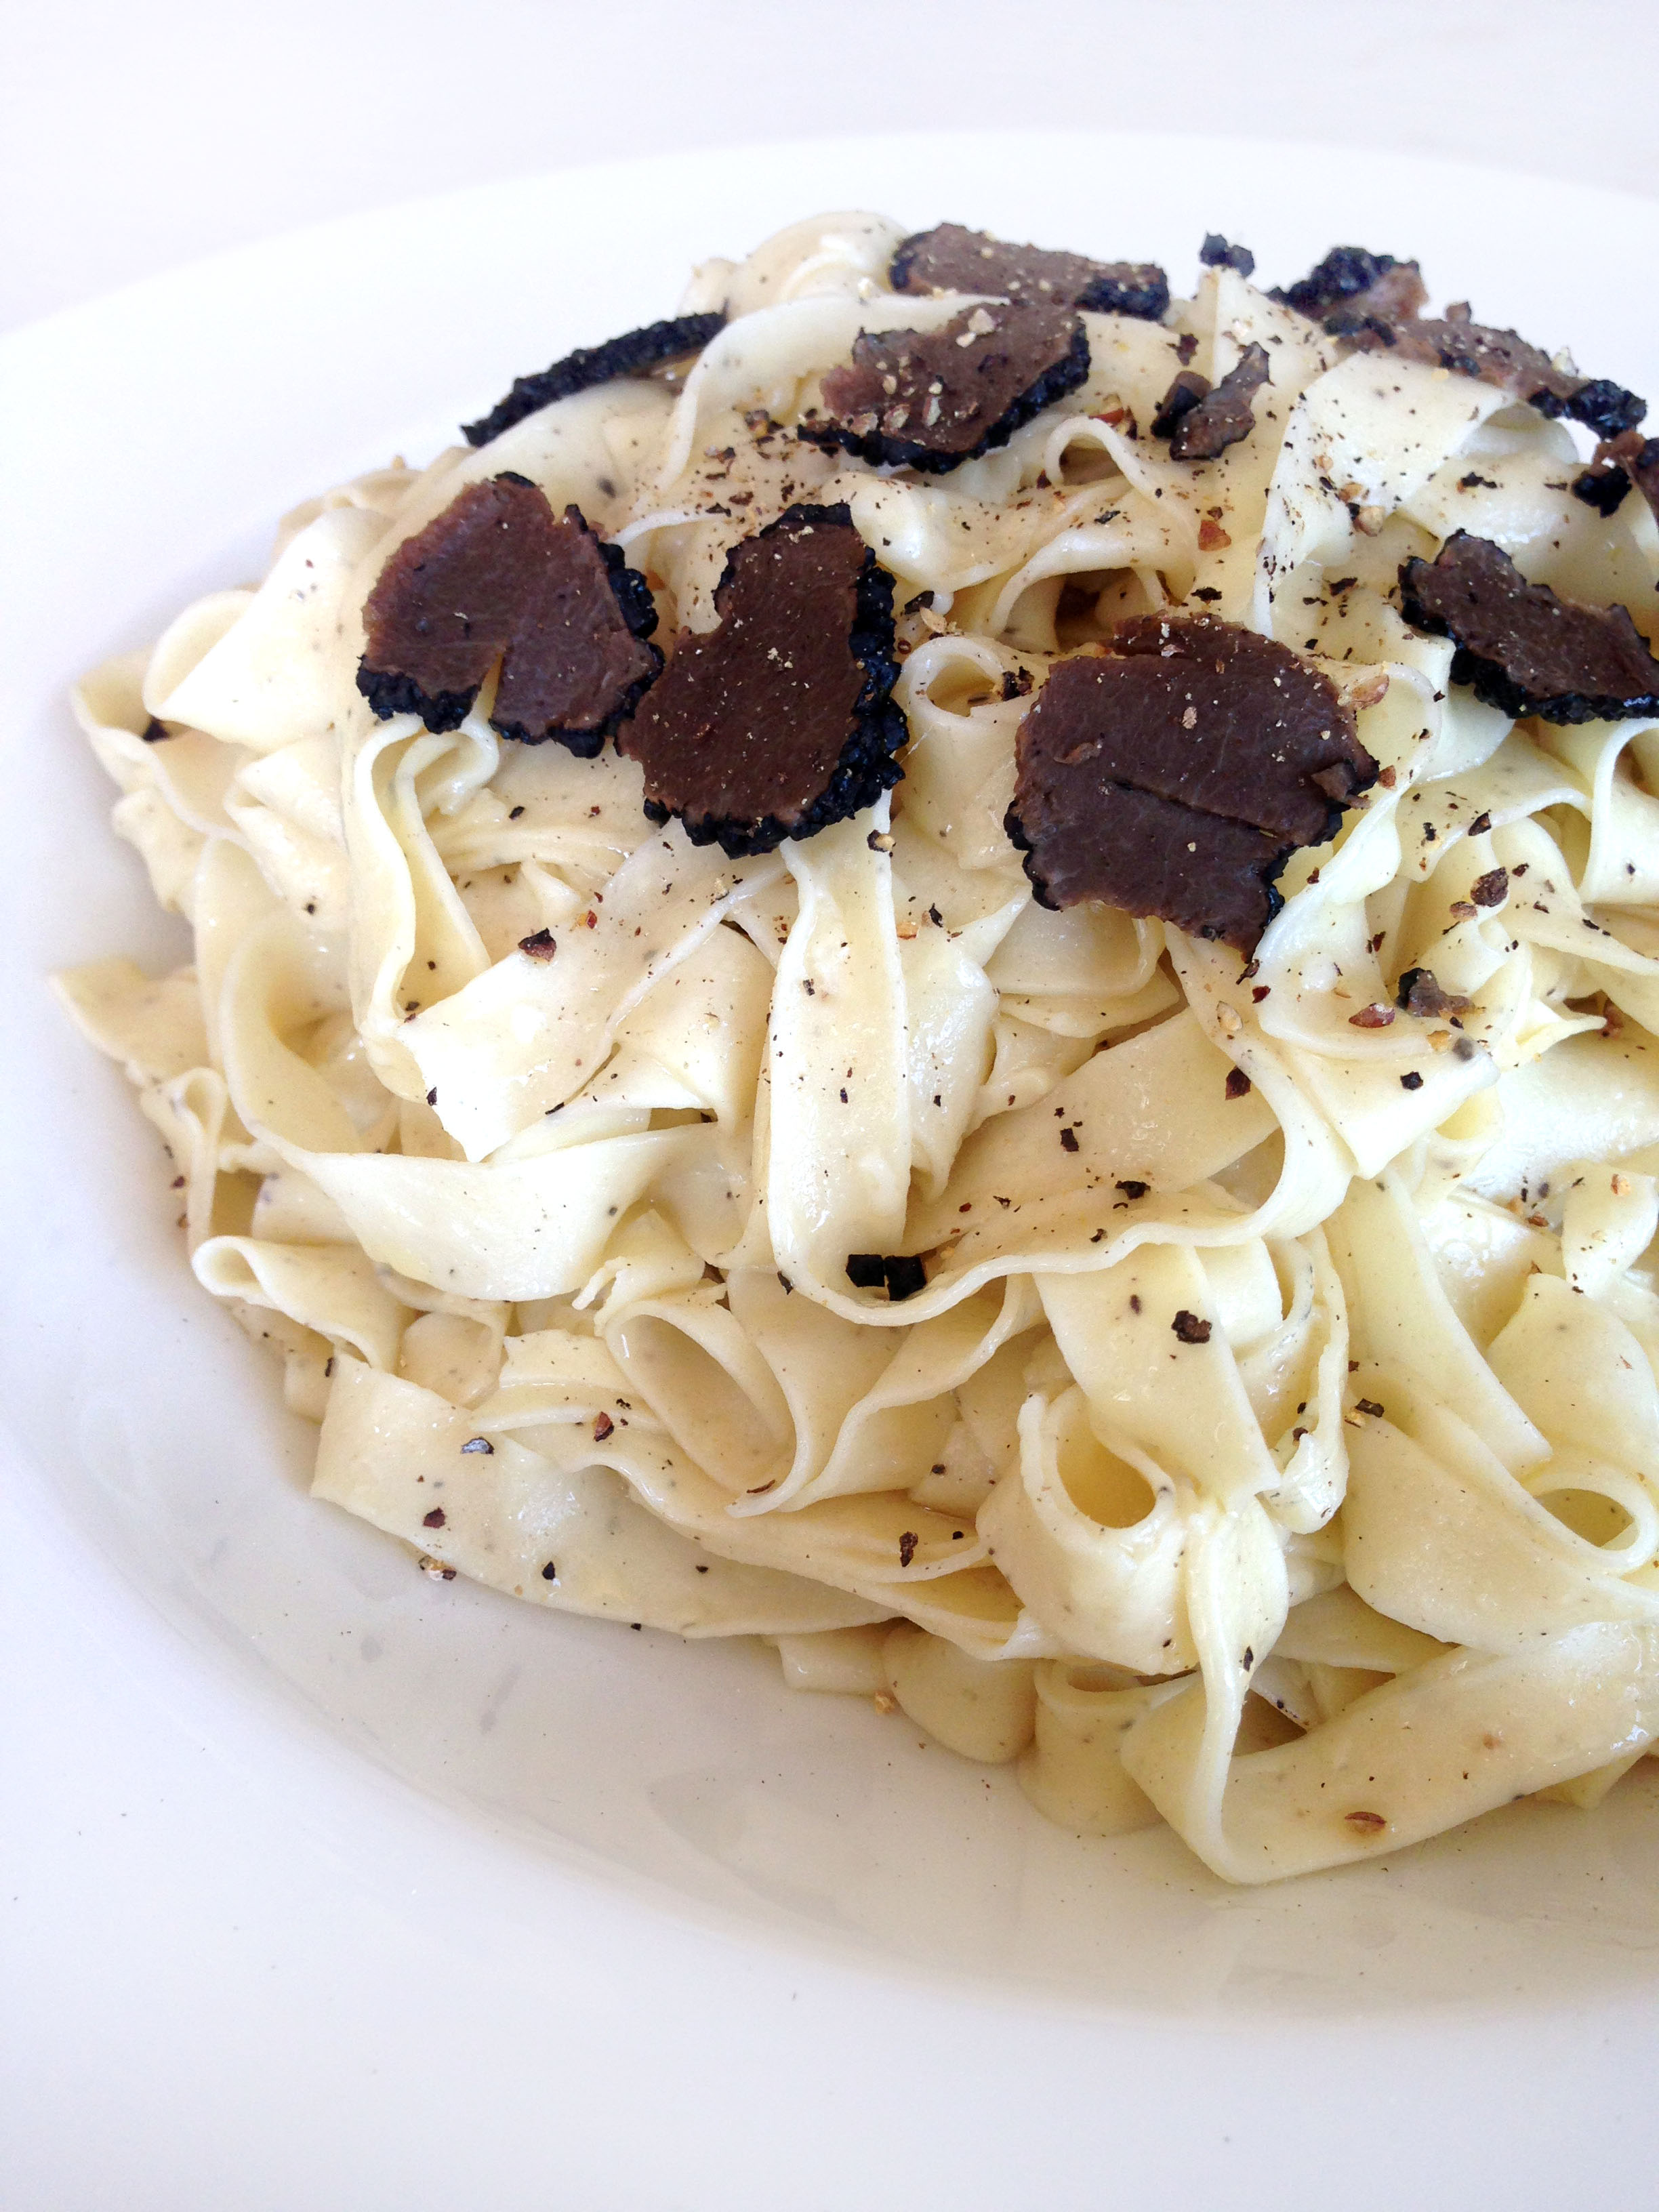
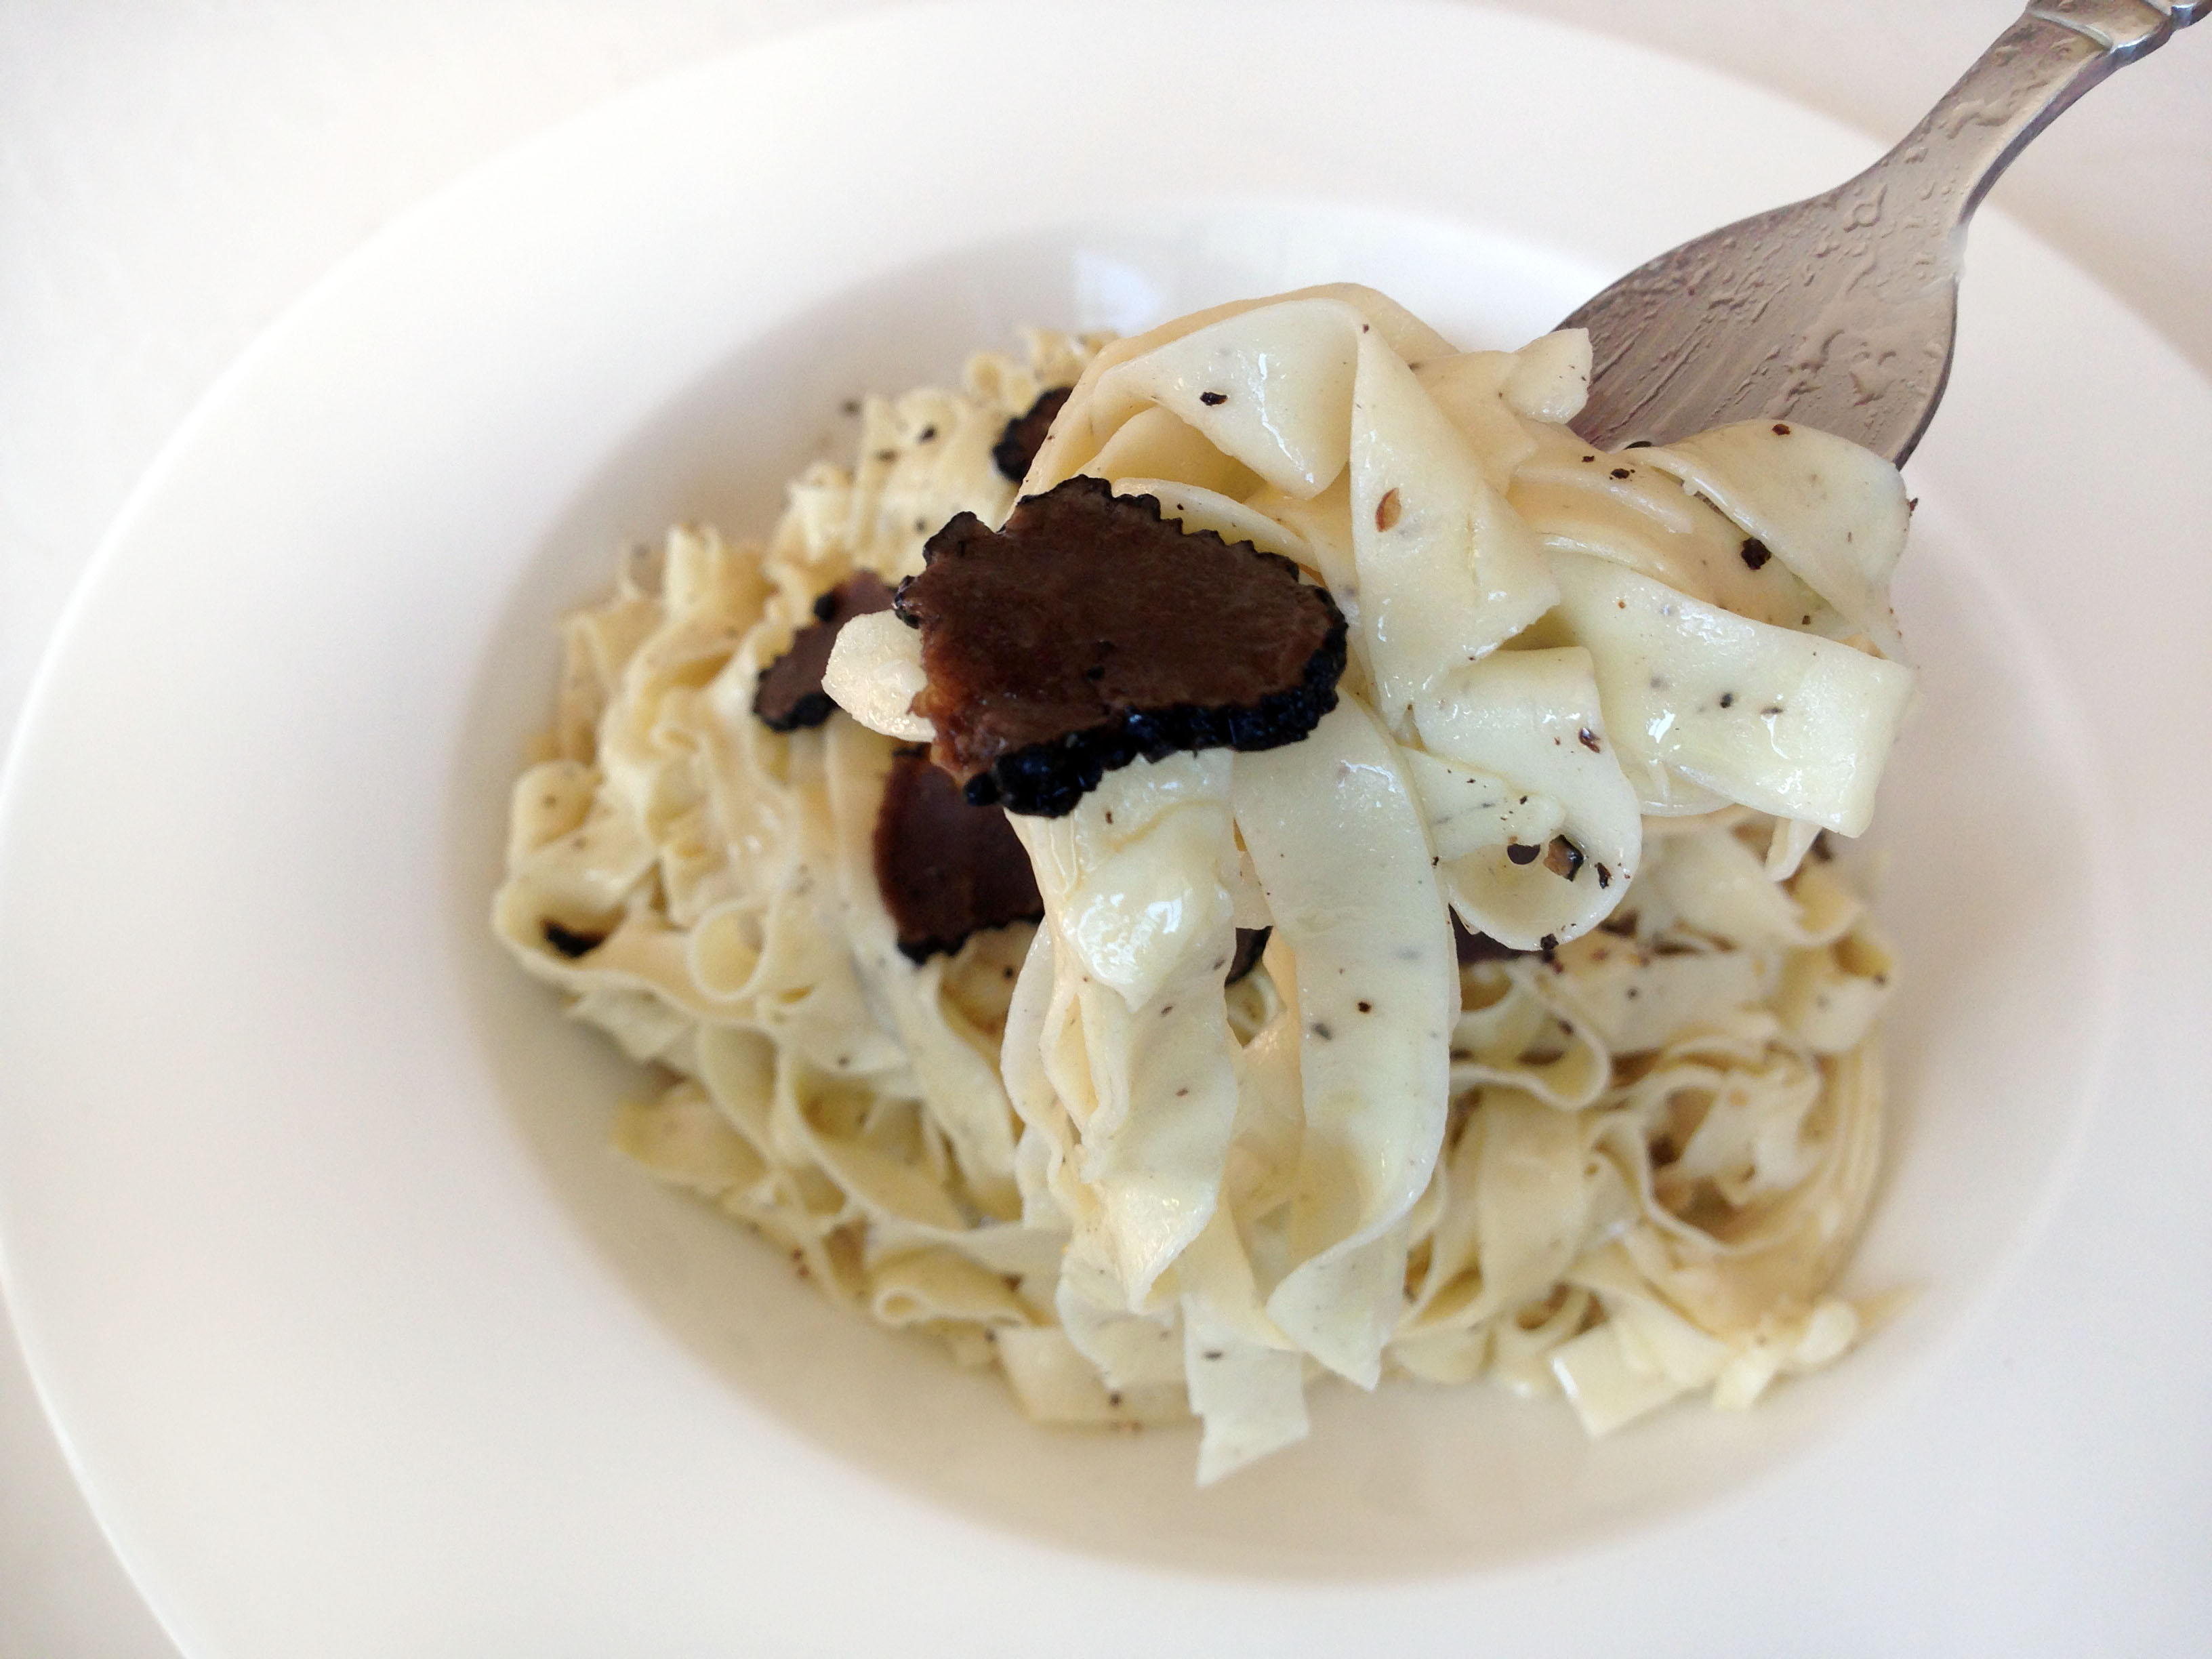
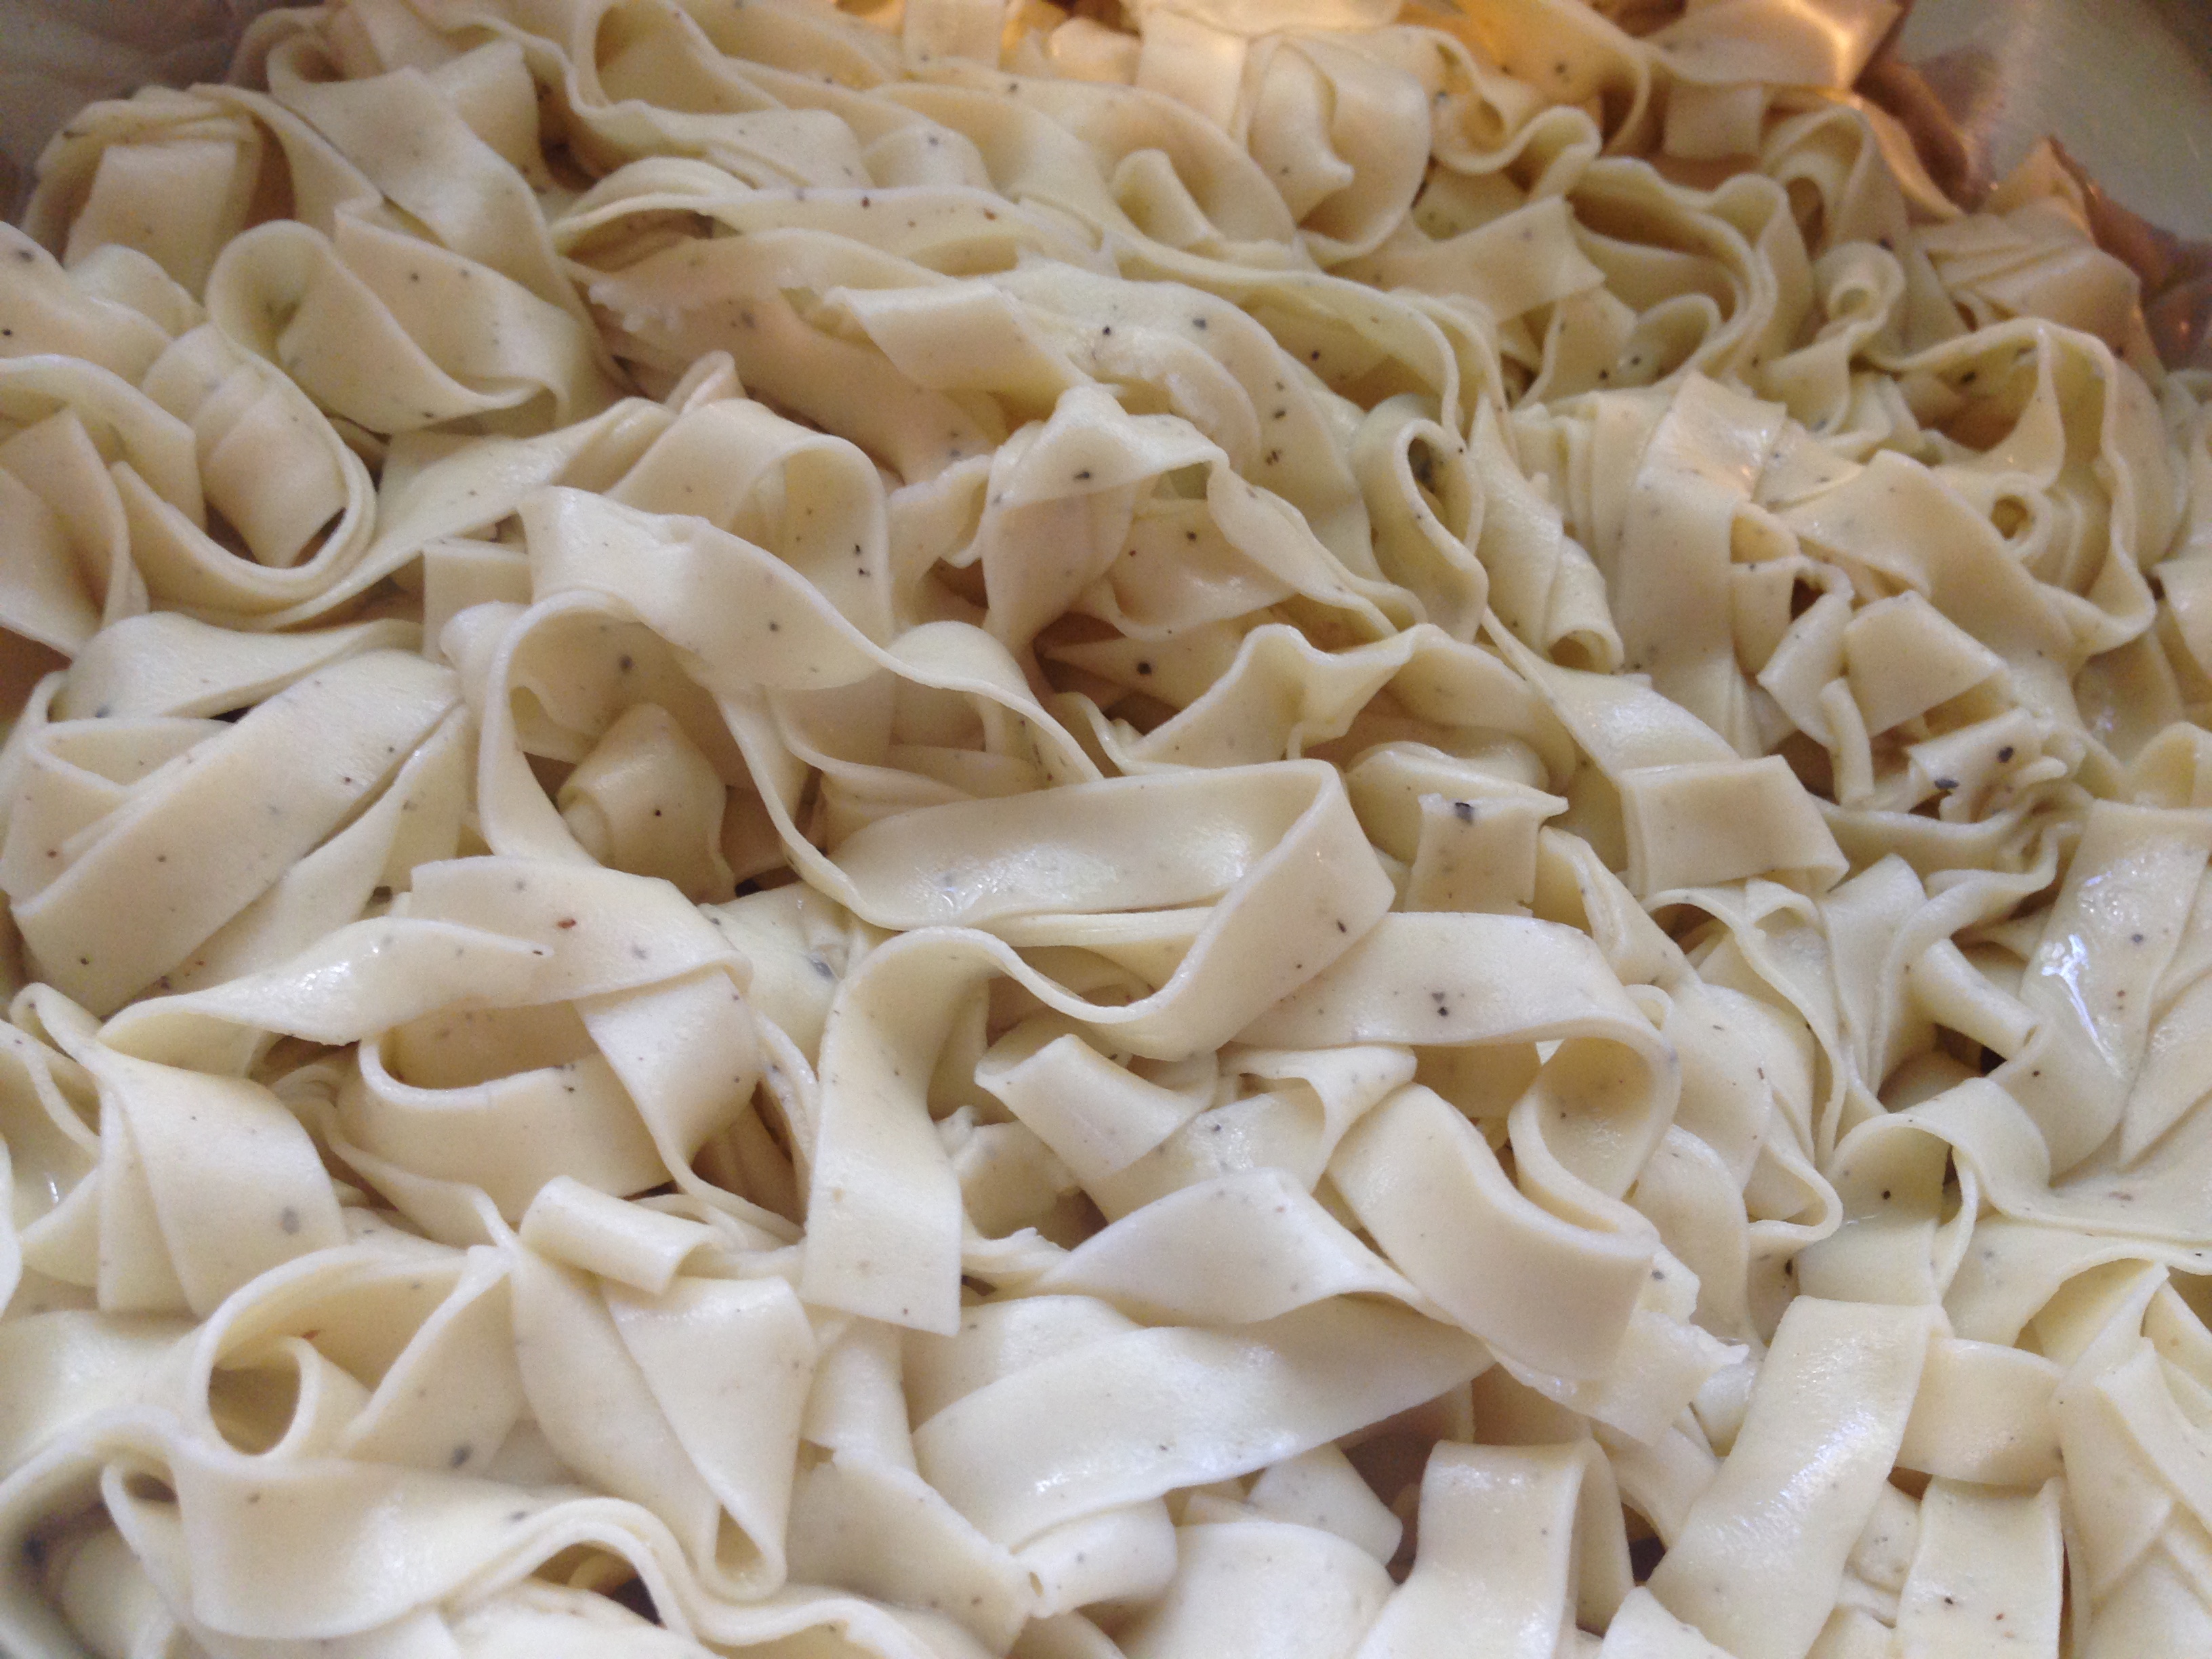
I made this dish with THESE noodles & simply added a tablespoon of ground pepper to the eggs before kneading them into the dough. Any dry pasta would work, too, but fresh noodles are just that much more delicate and the flavors here benefit from that. If you cannot (or don’t care to) make homemade pasta – maybe buy the fresh pasta available at most supermarkets in the refrigerated section.
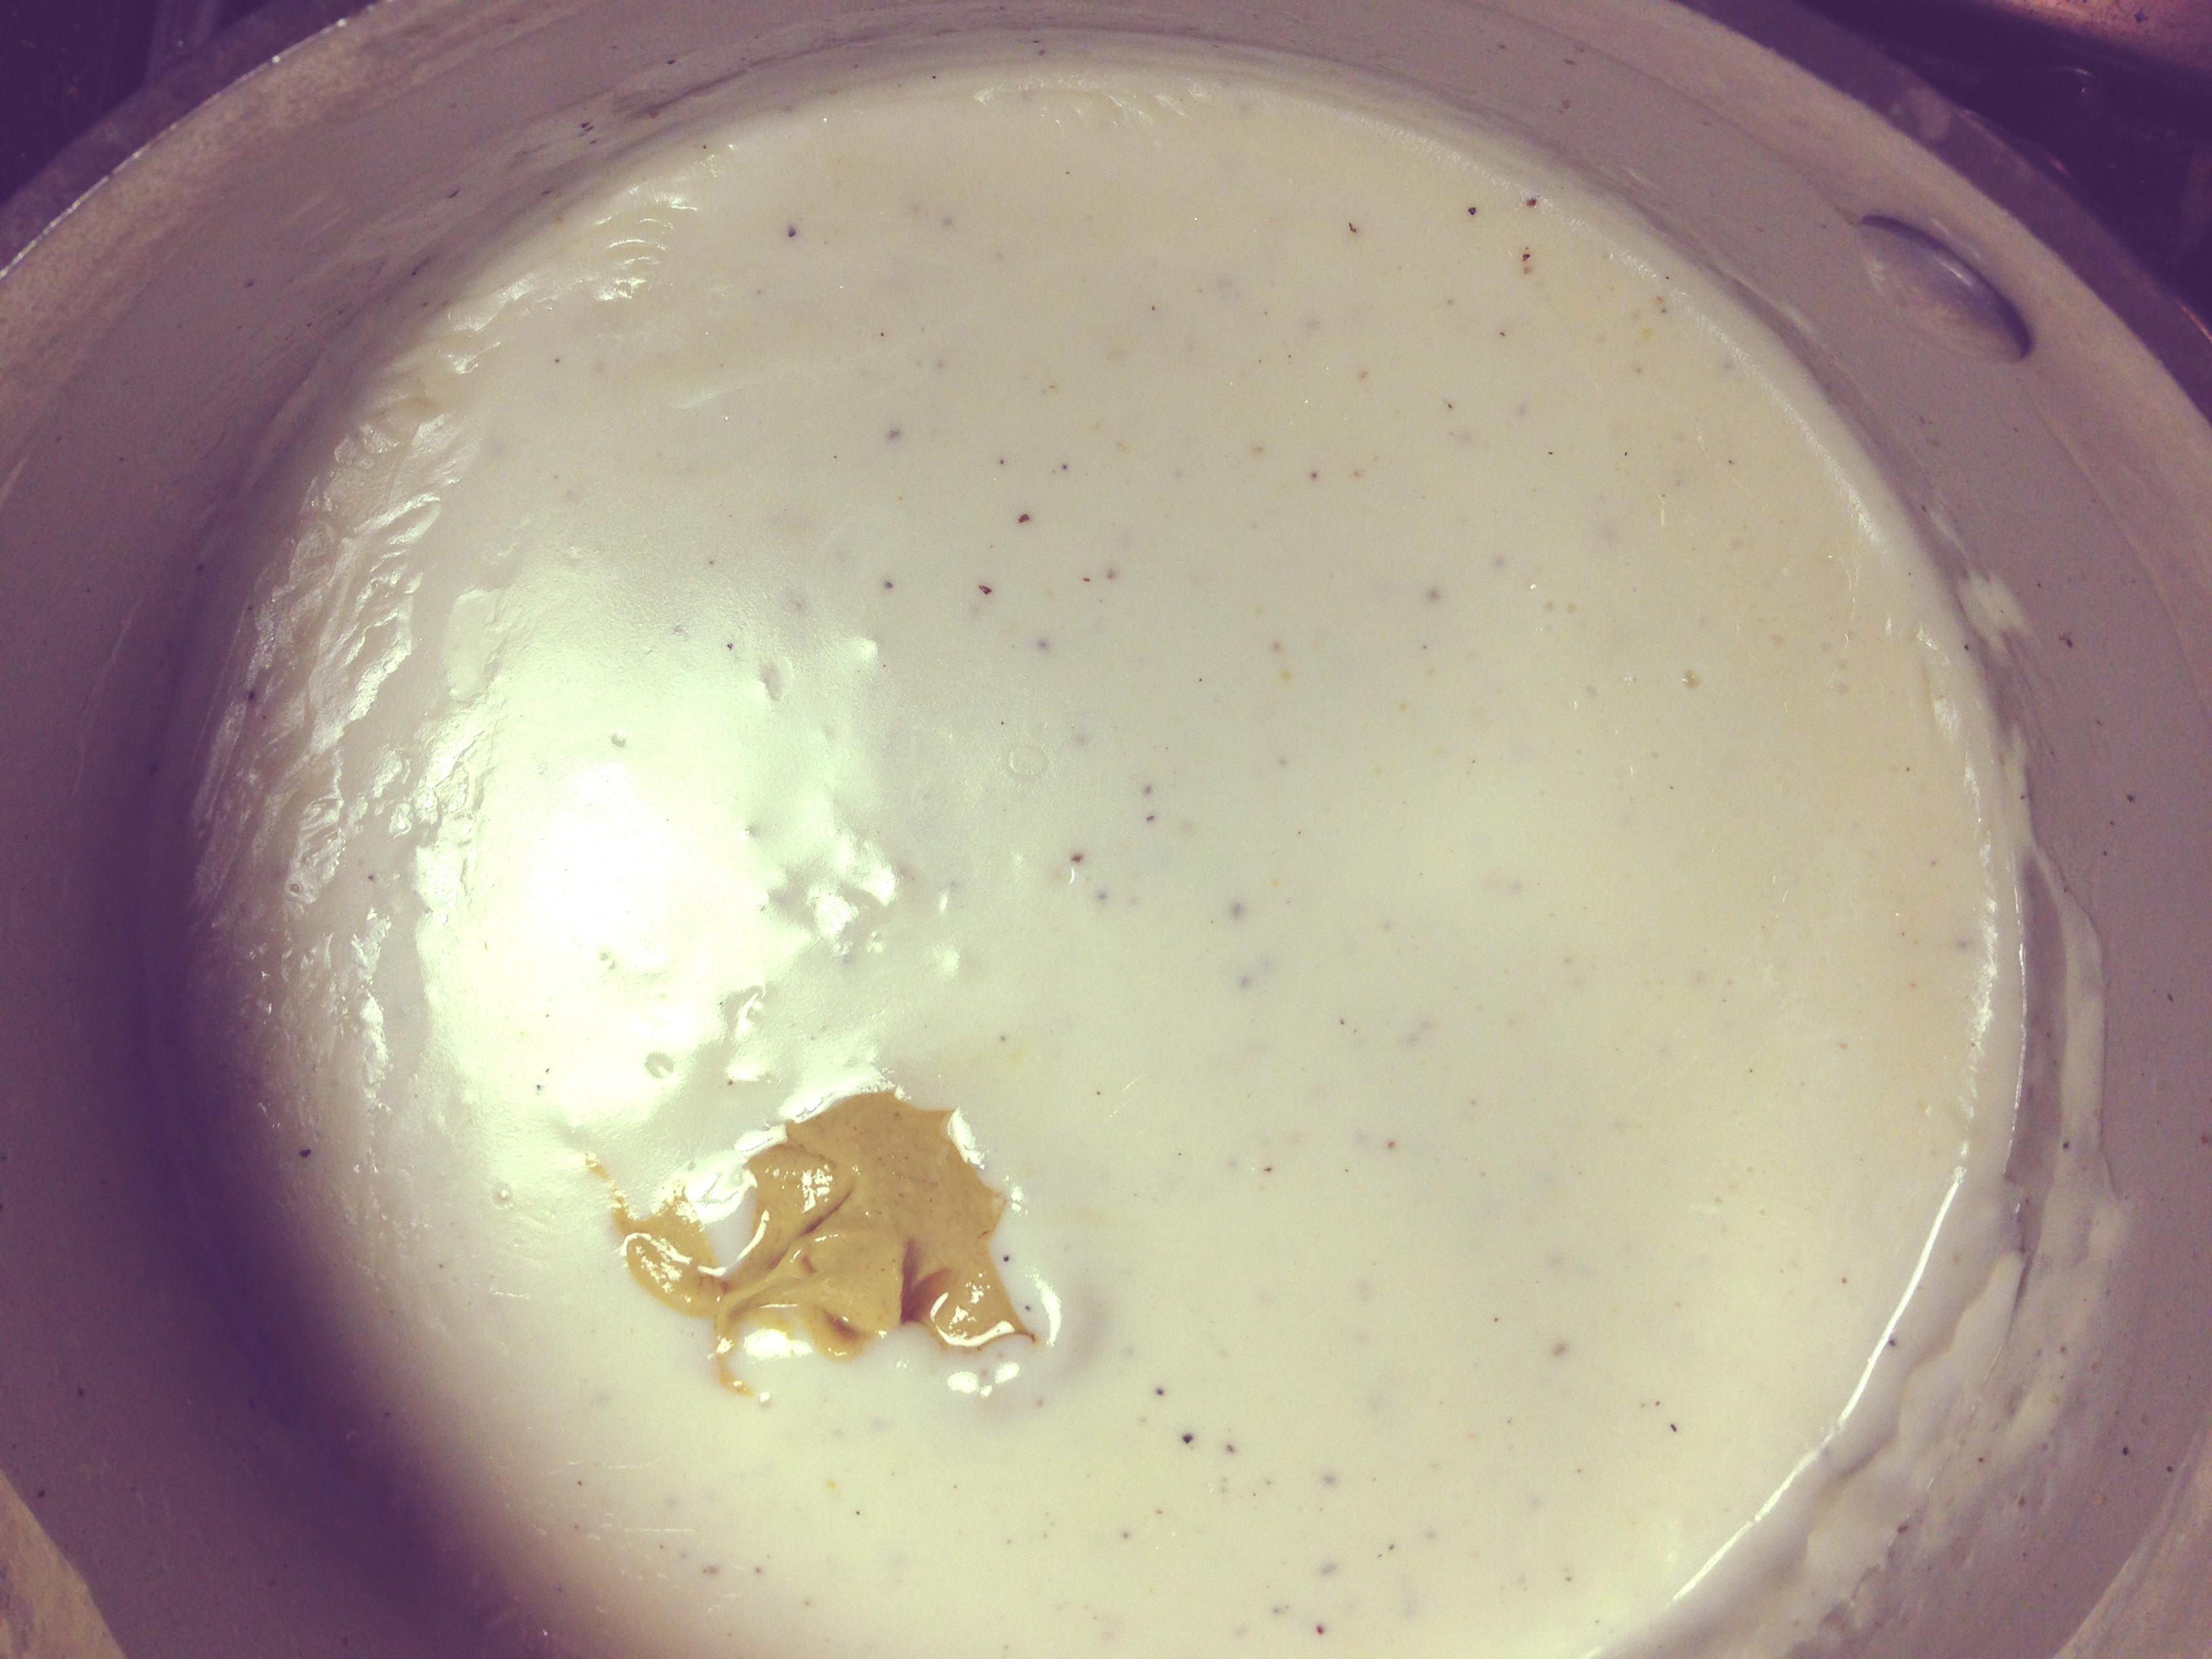
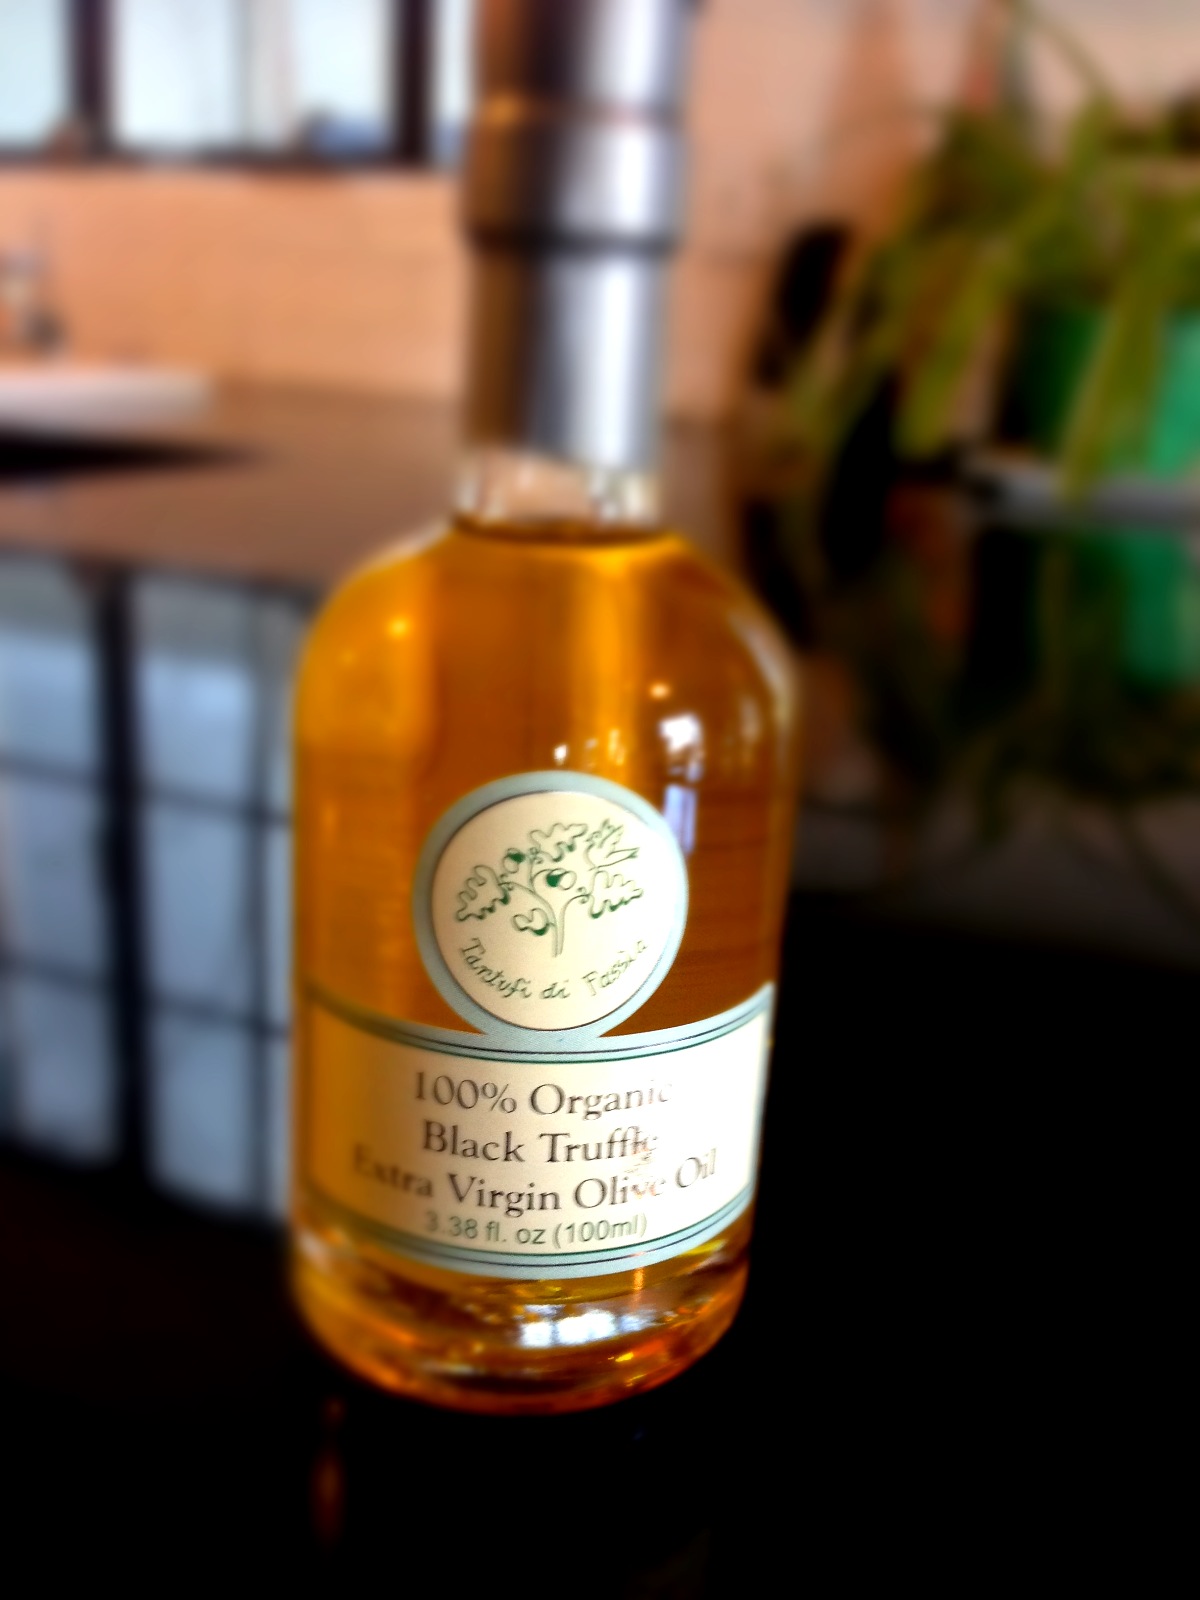
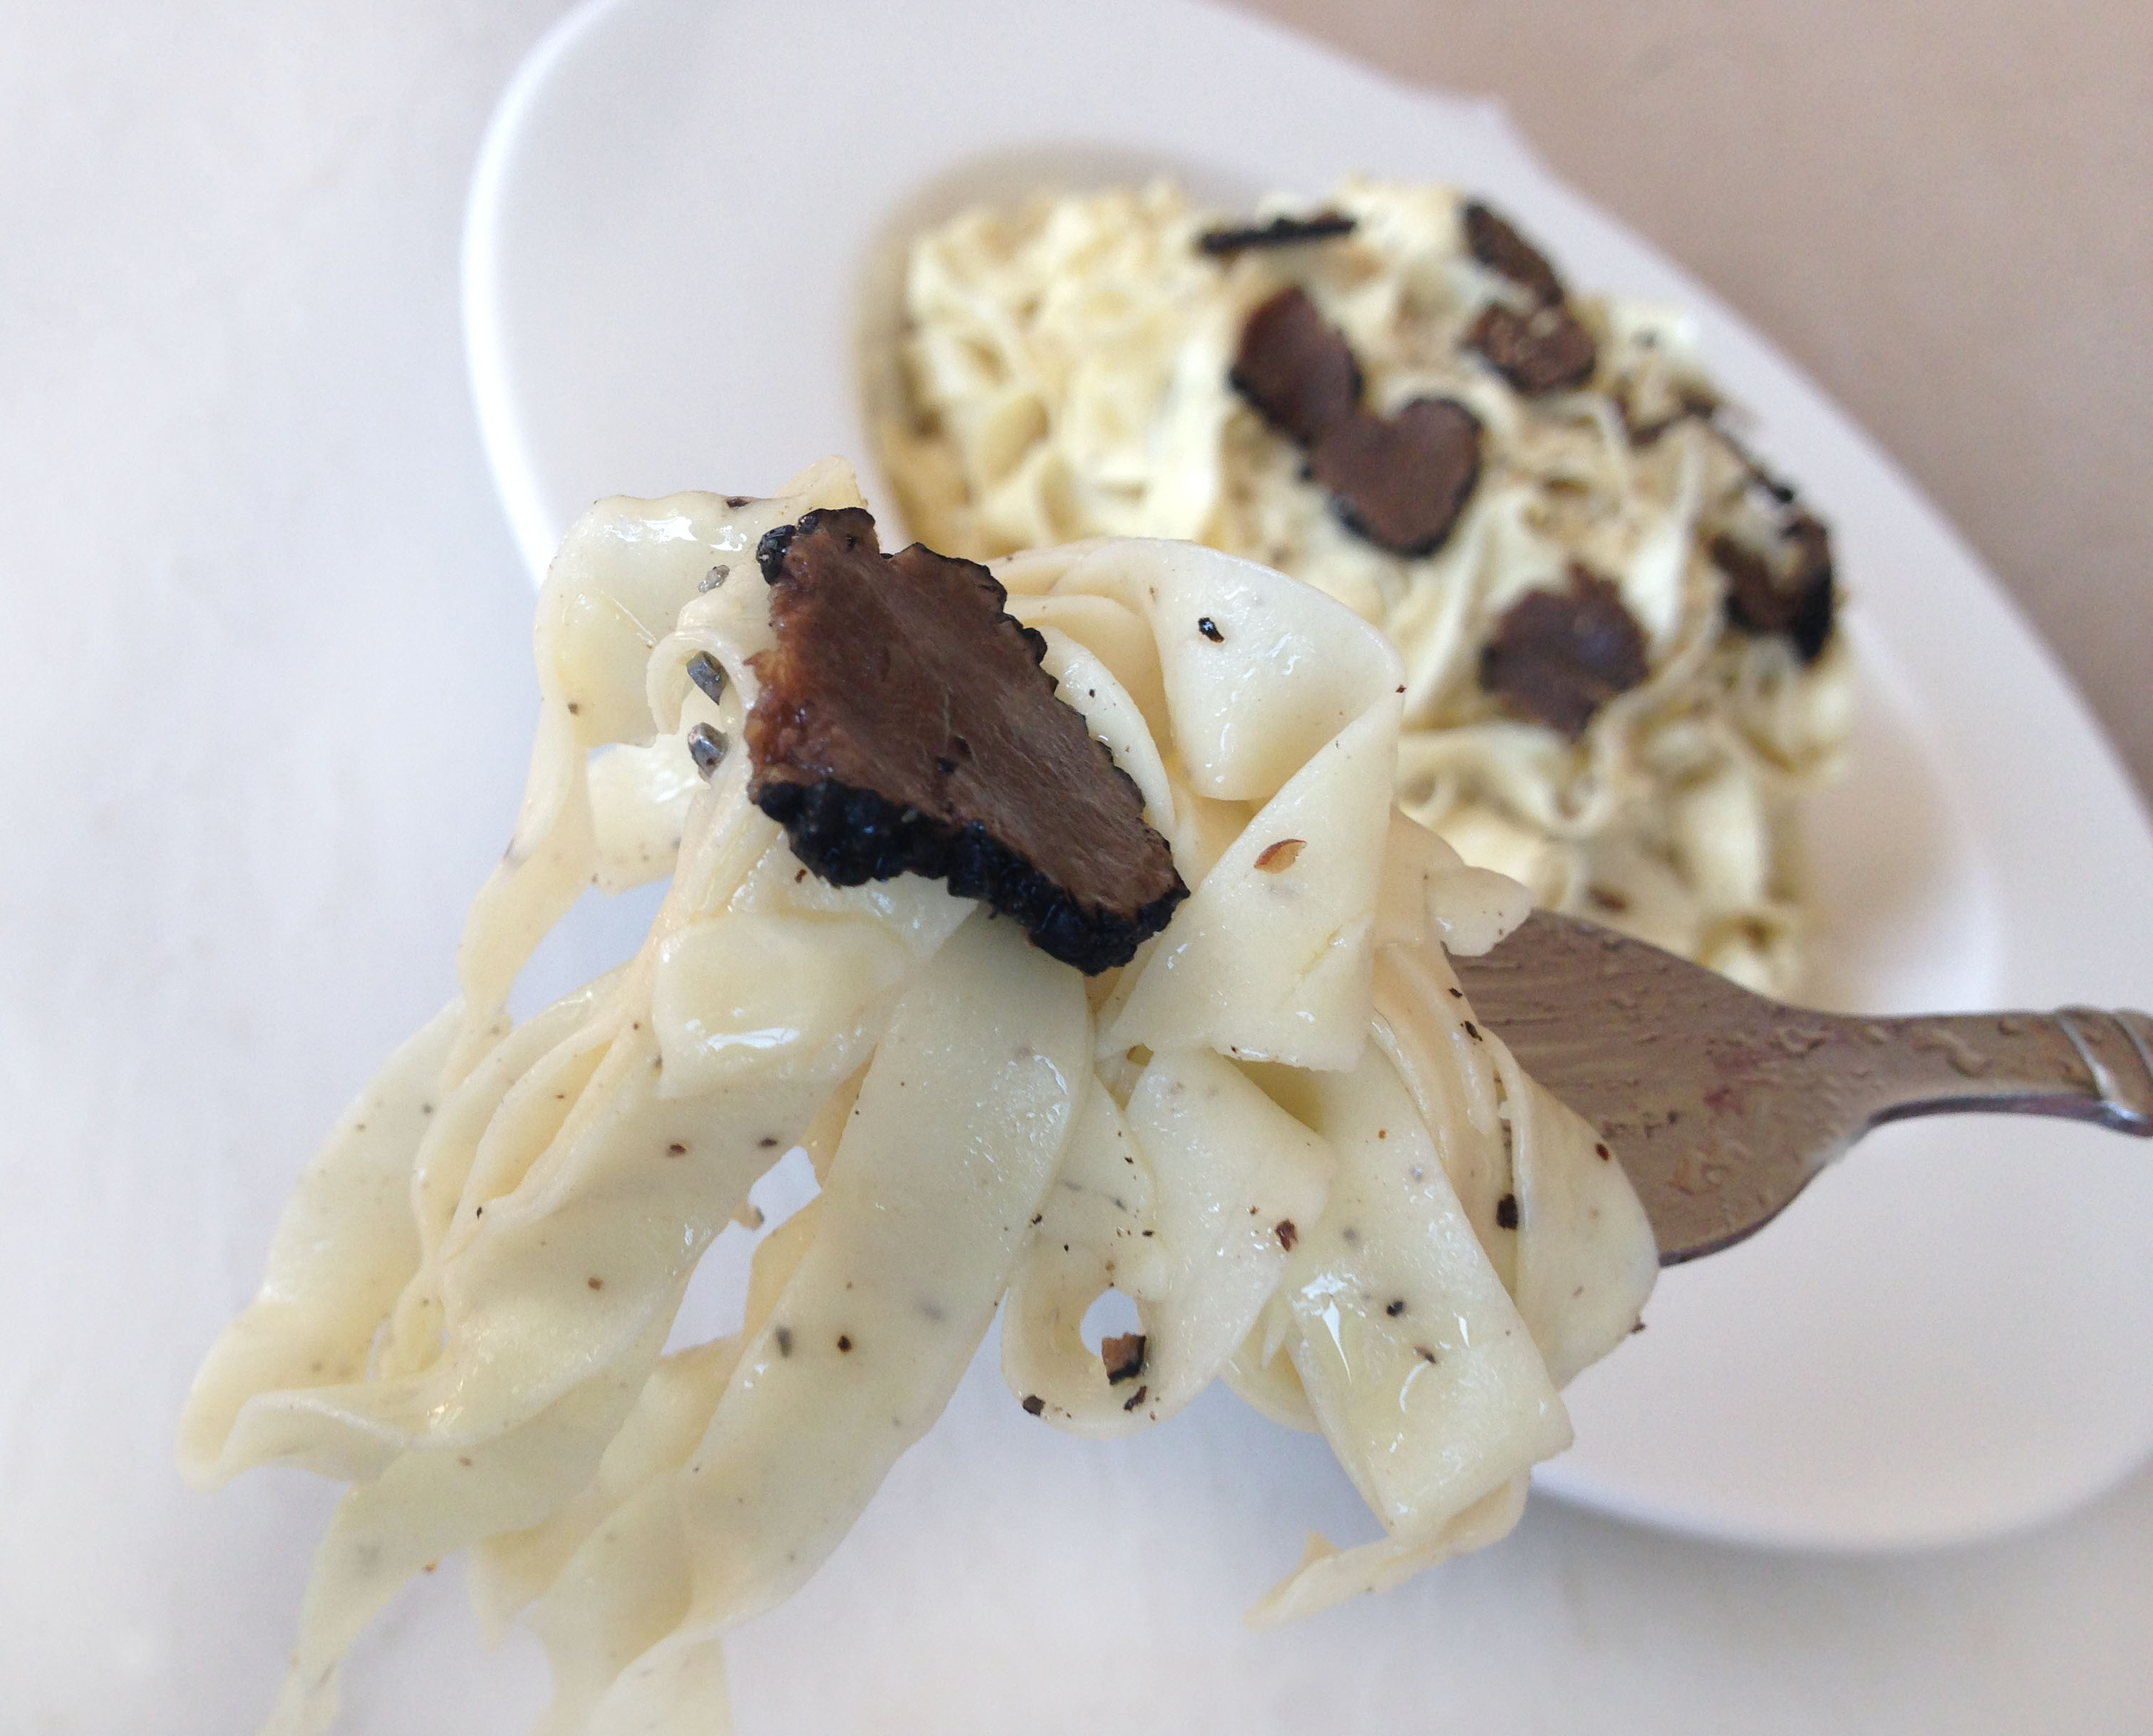
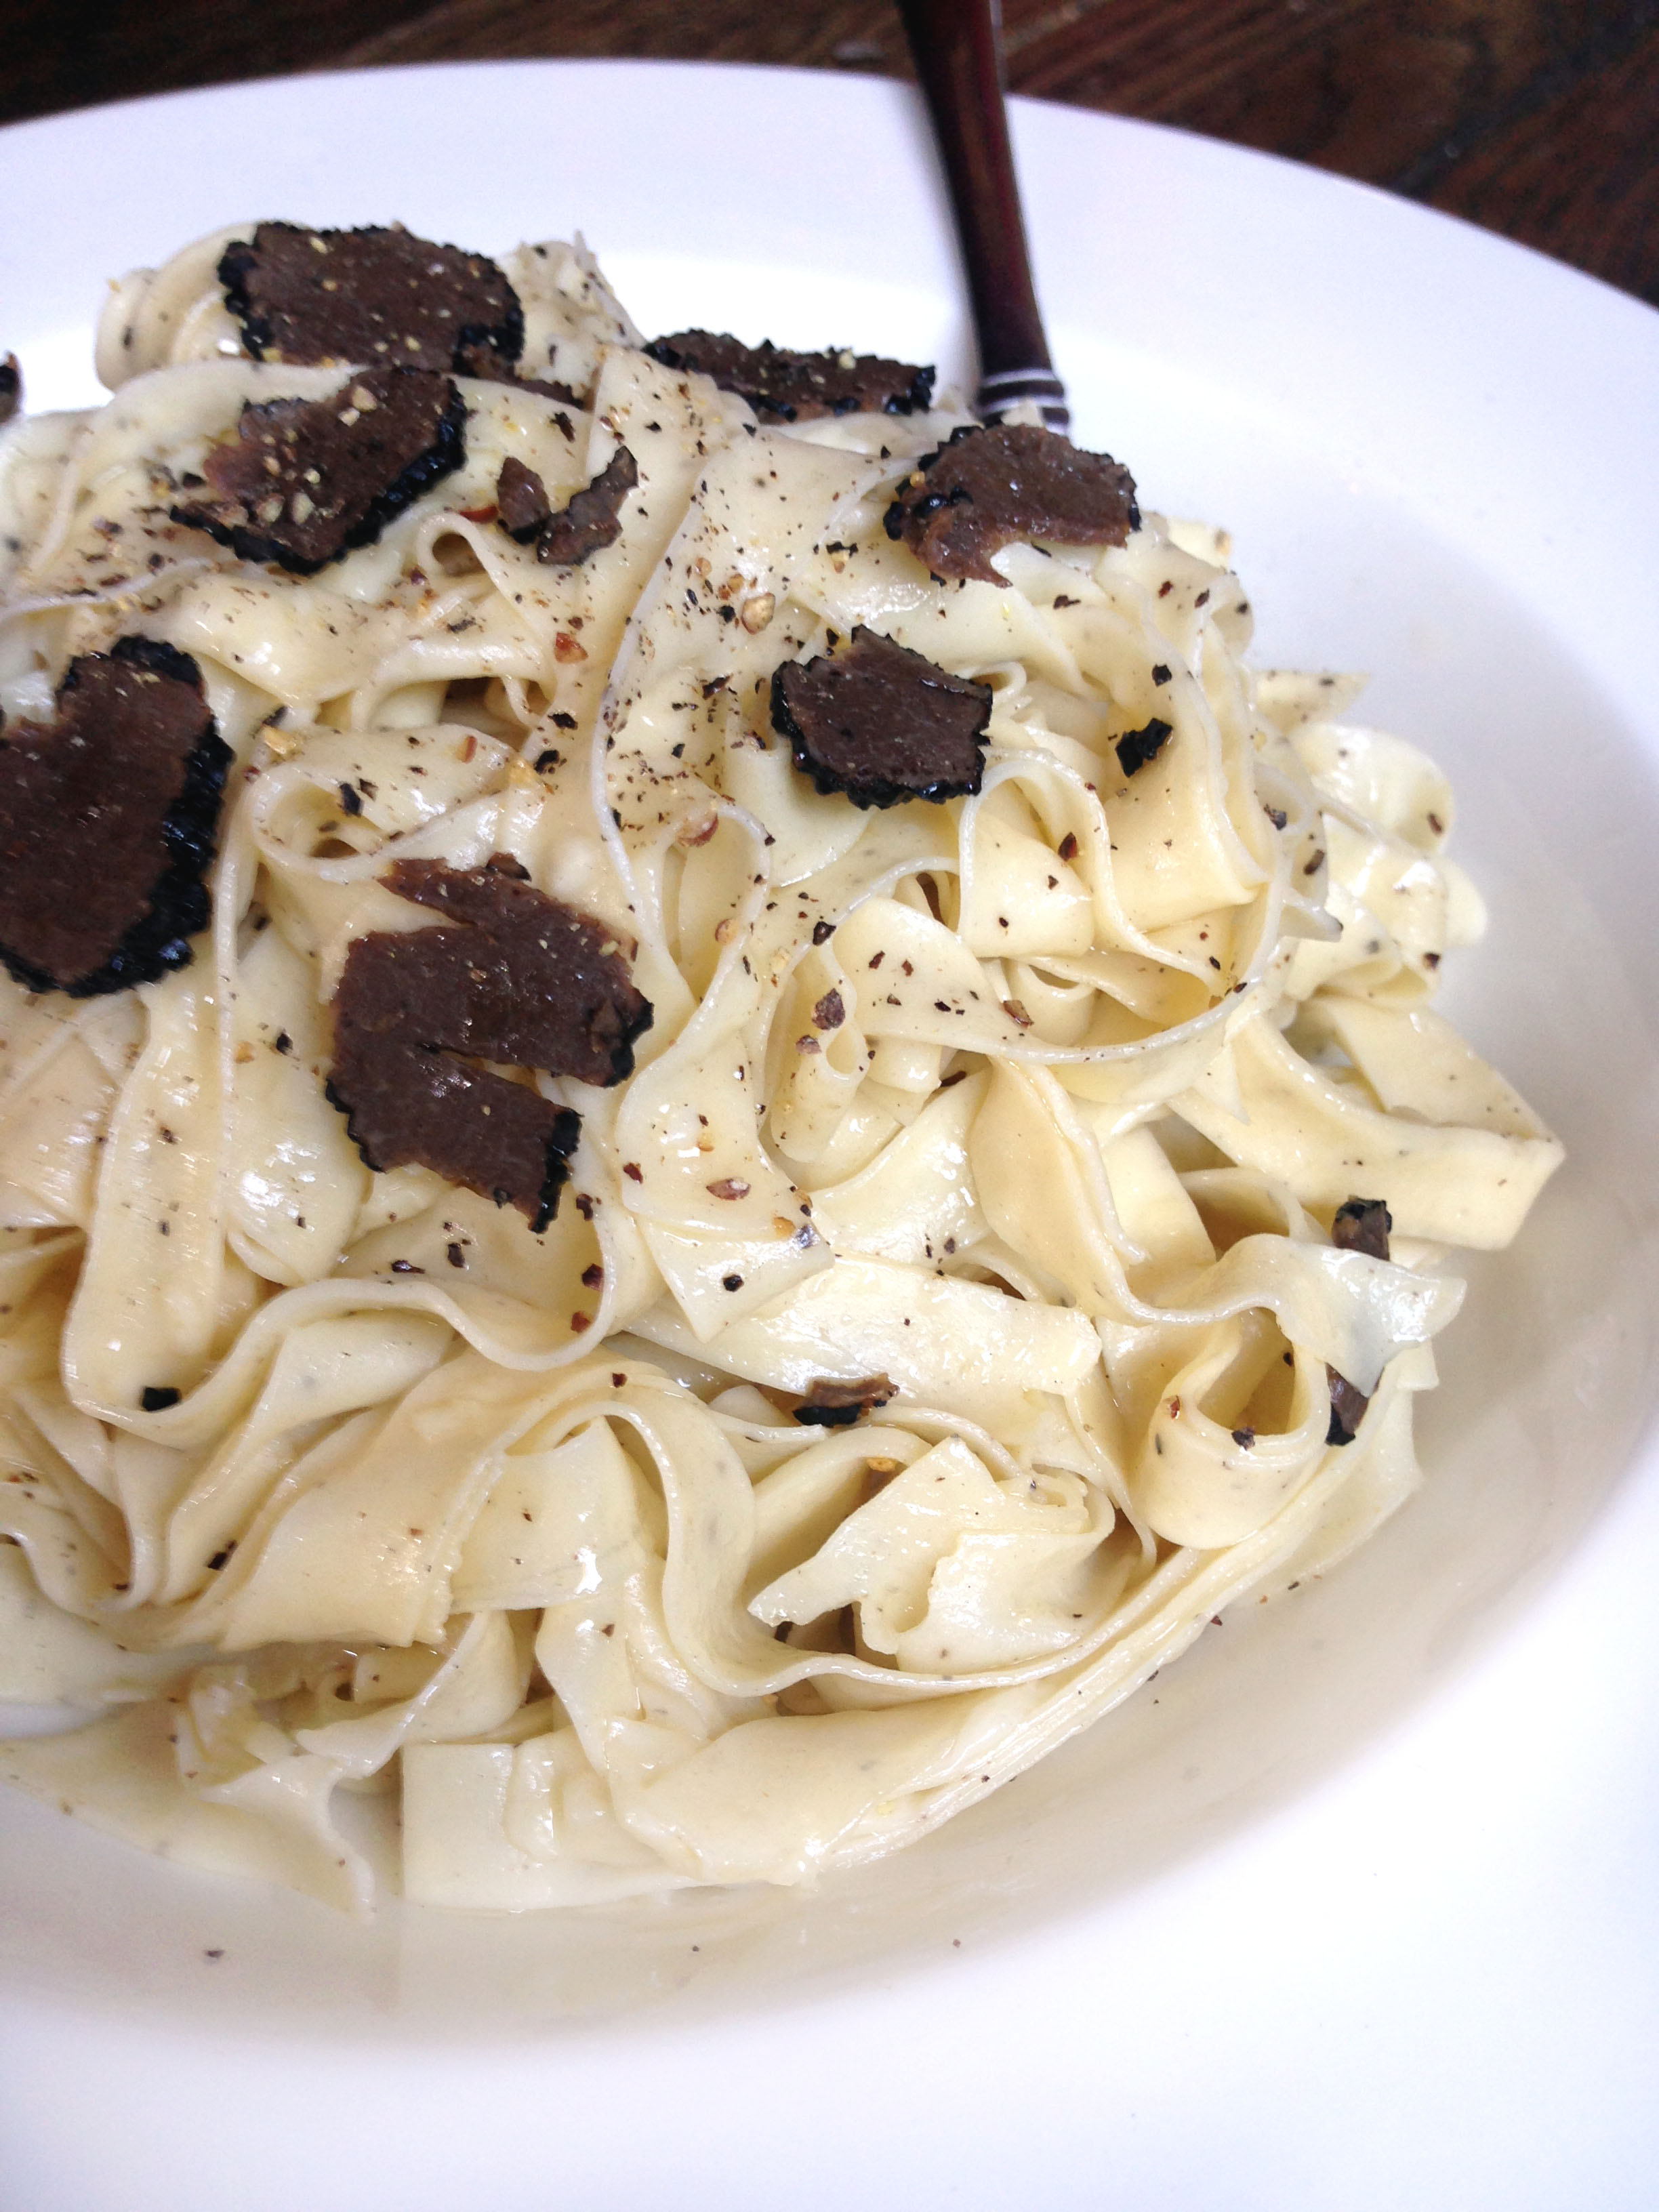
I found these truffles at my local Gelson’s for $14 and could not resist trying them – for that low price.

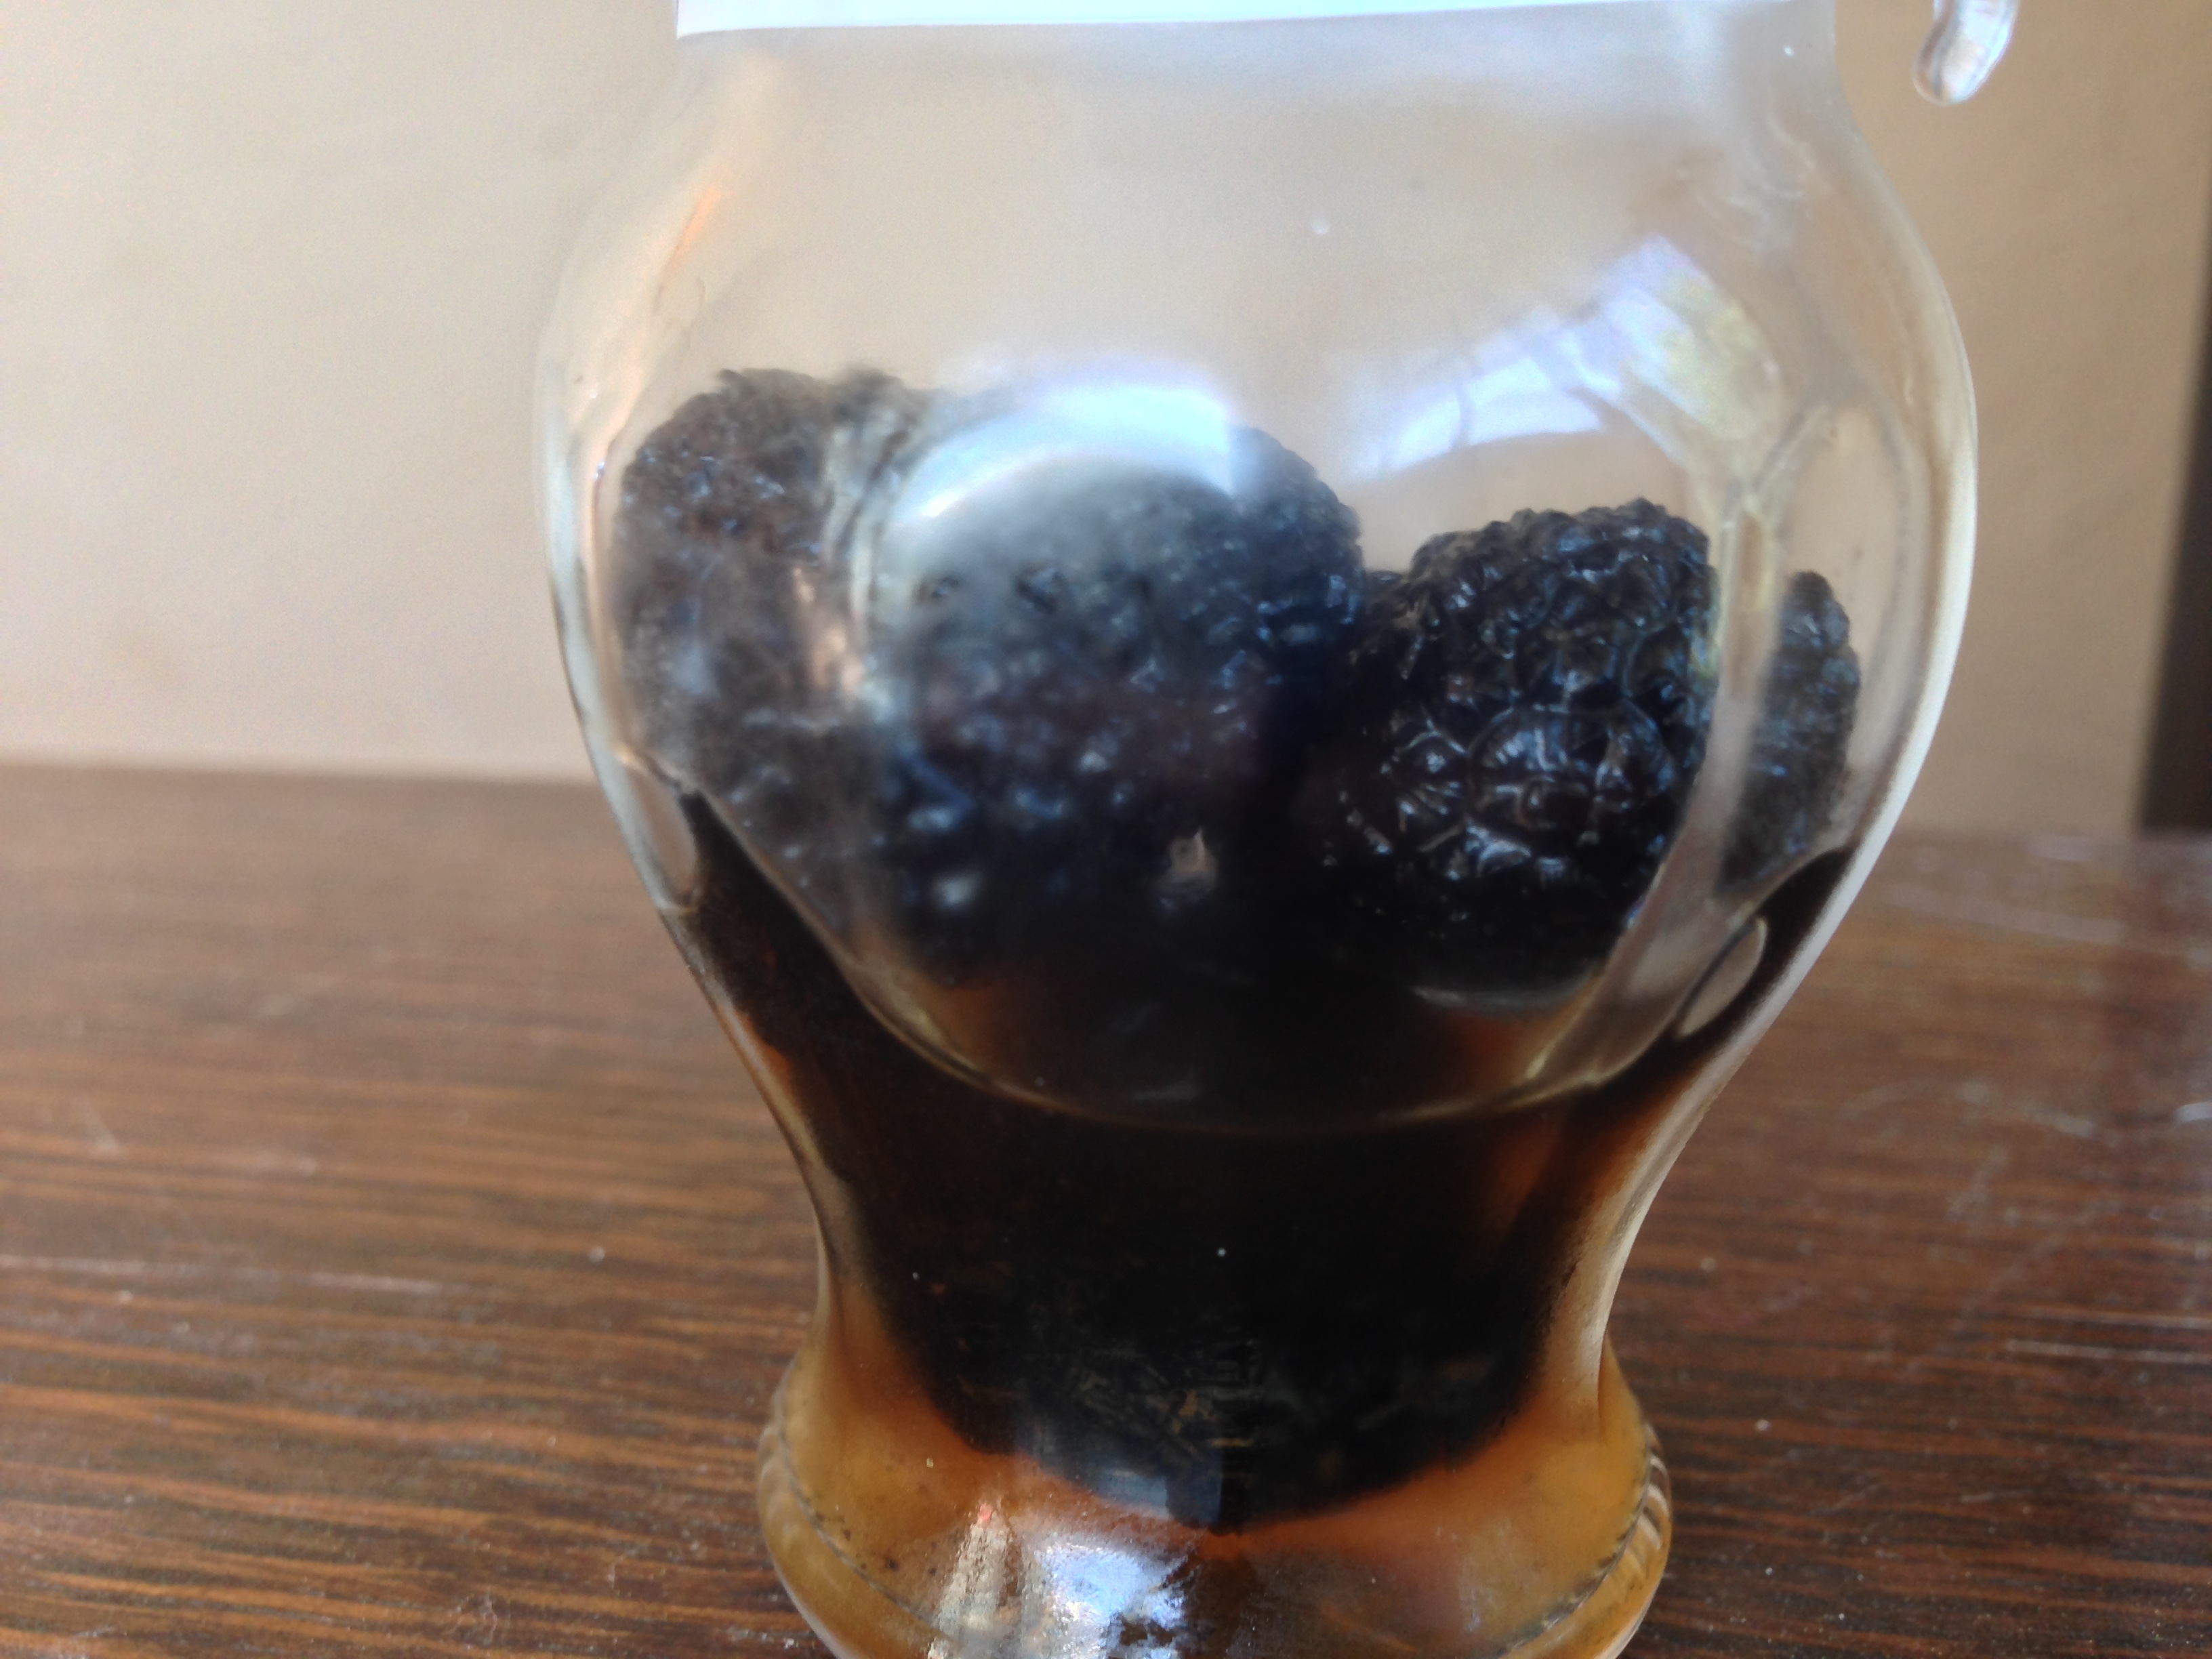
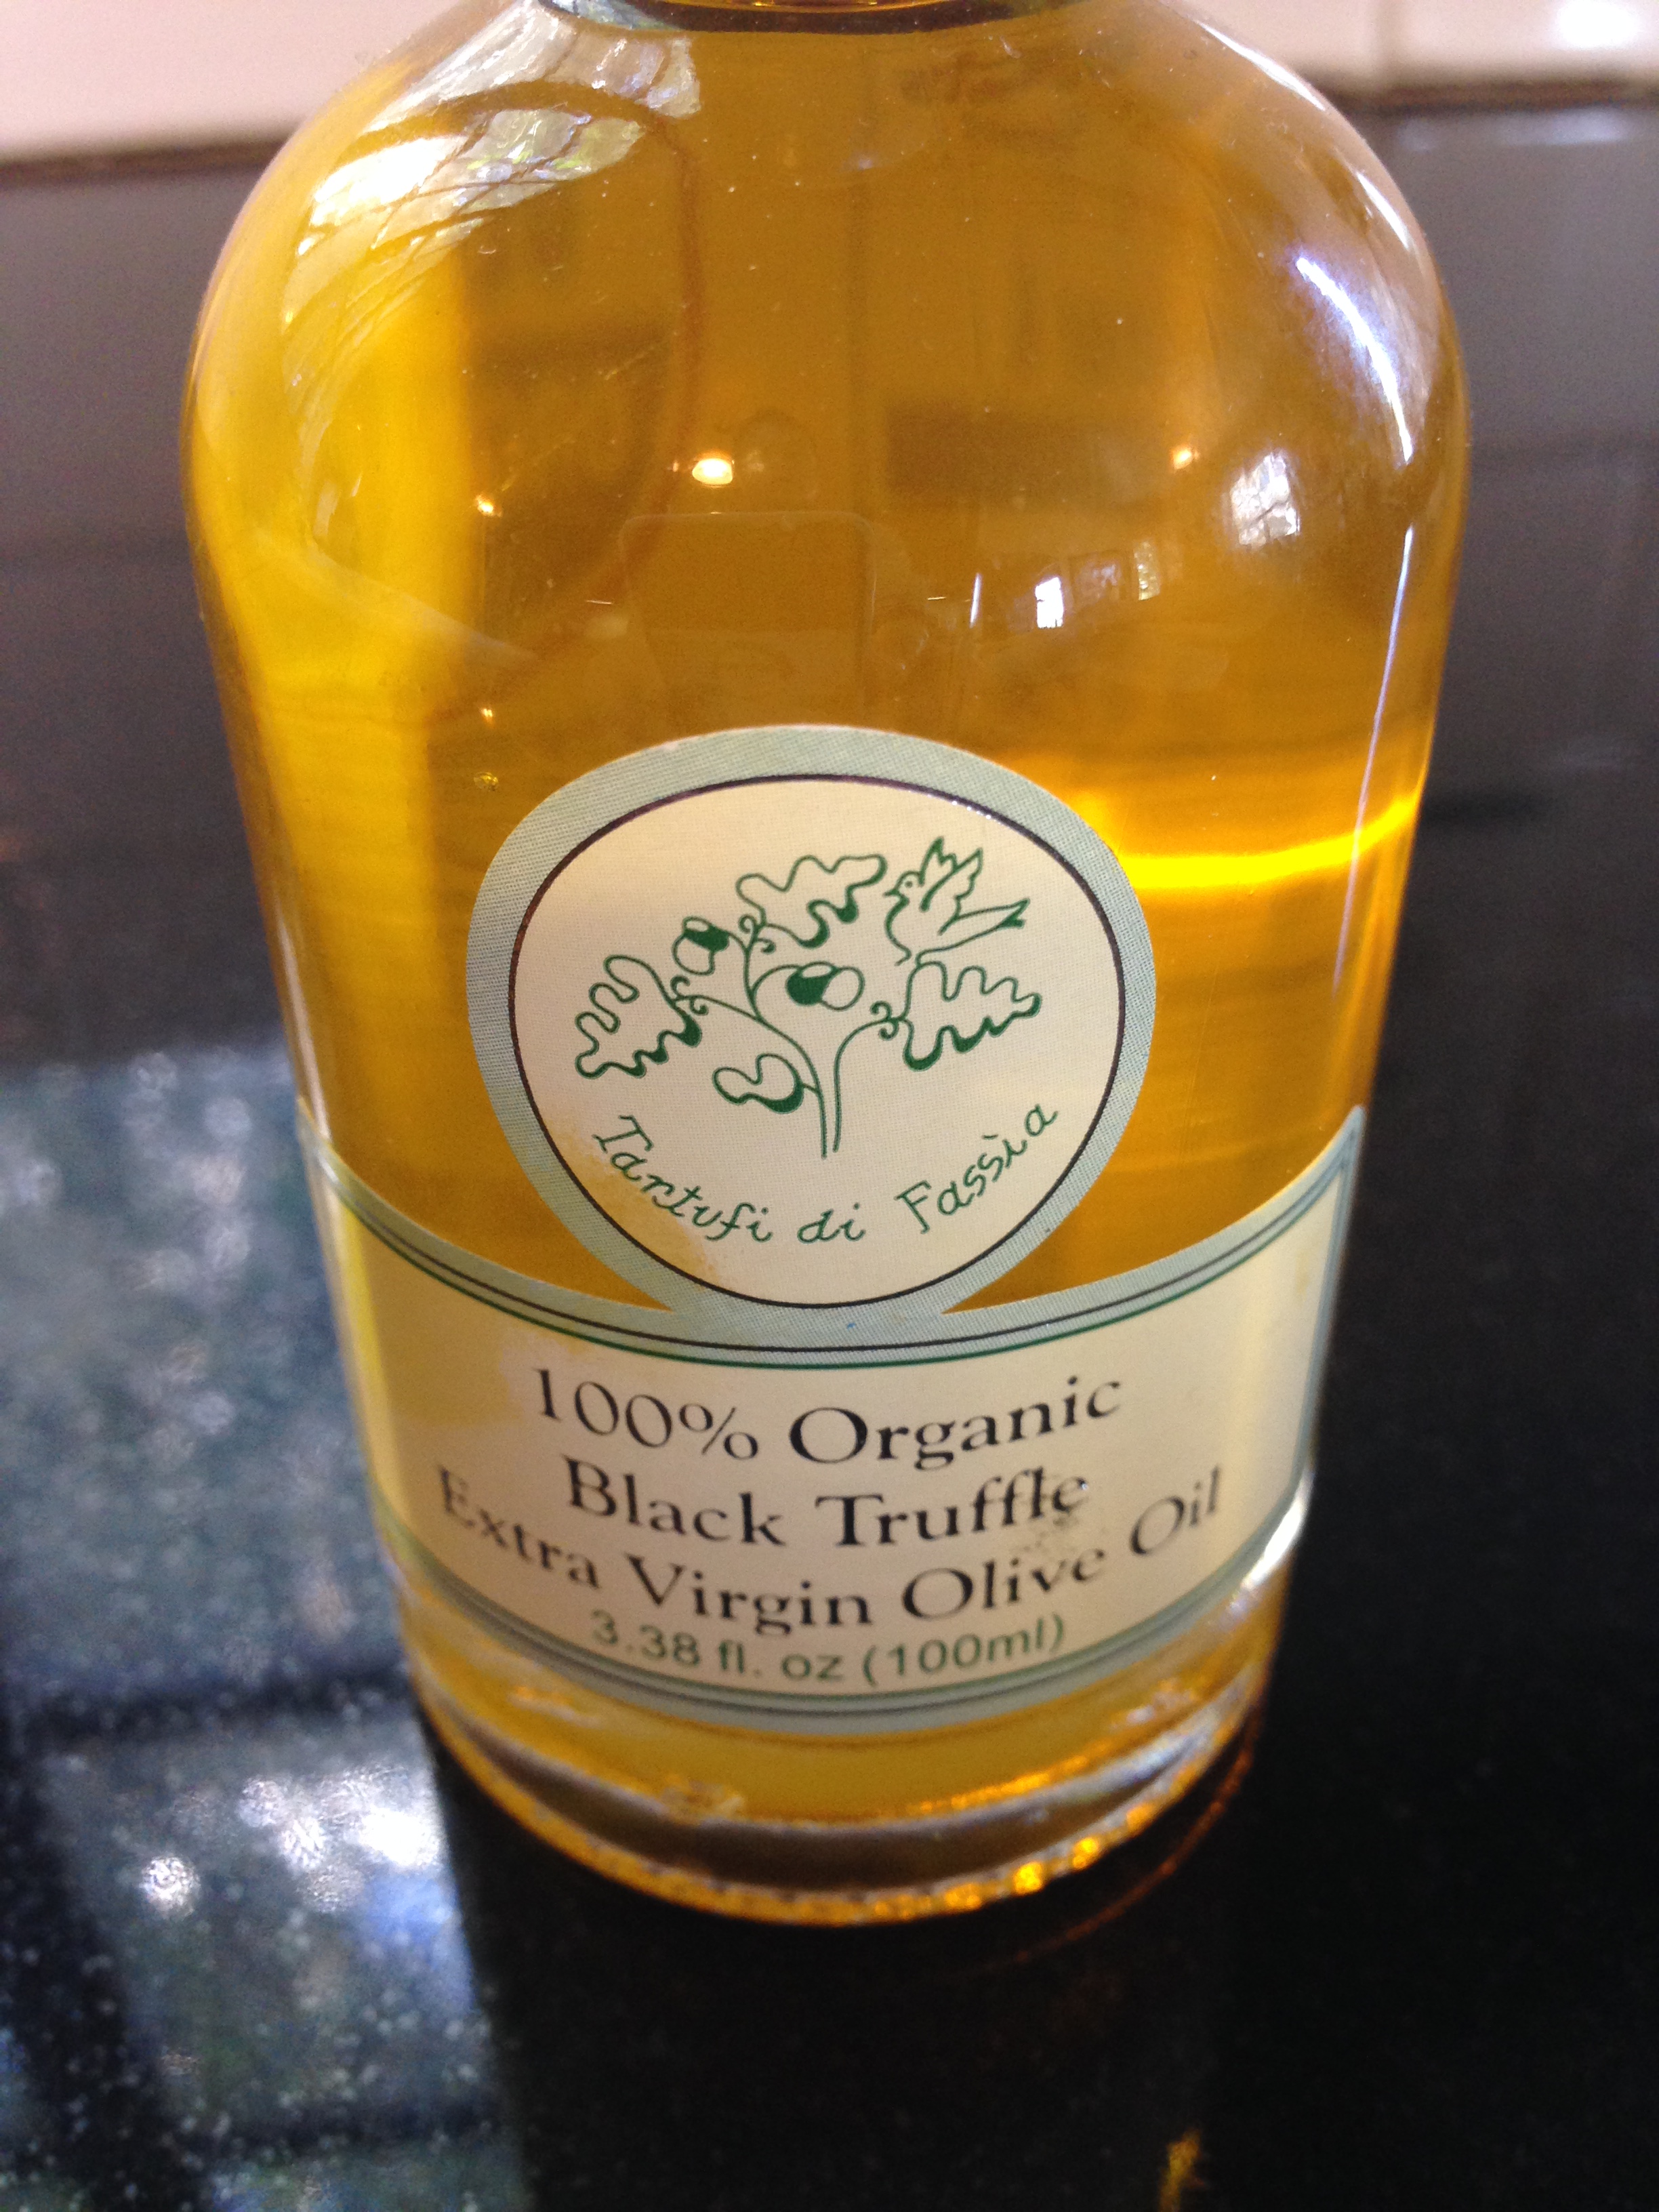
Ultimately, they were very, very lightly flavored – so I added a drizzle of the truffle oil above. Still, the flavors were almost imperceptible but that was OK because I discovered that noodles with butter & Parmesan (and maybe some fresh parsley) are pretty awesome, too, and had that as my second meal with the homemade fettuccine.
If you ever come across actual fresh truffles, come back to this recipe & try them this way. Or – if you have a truffle oil you love, drizzle that on the pasta & skip the actual truffles, altogether.
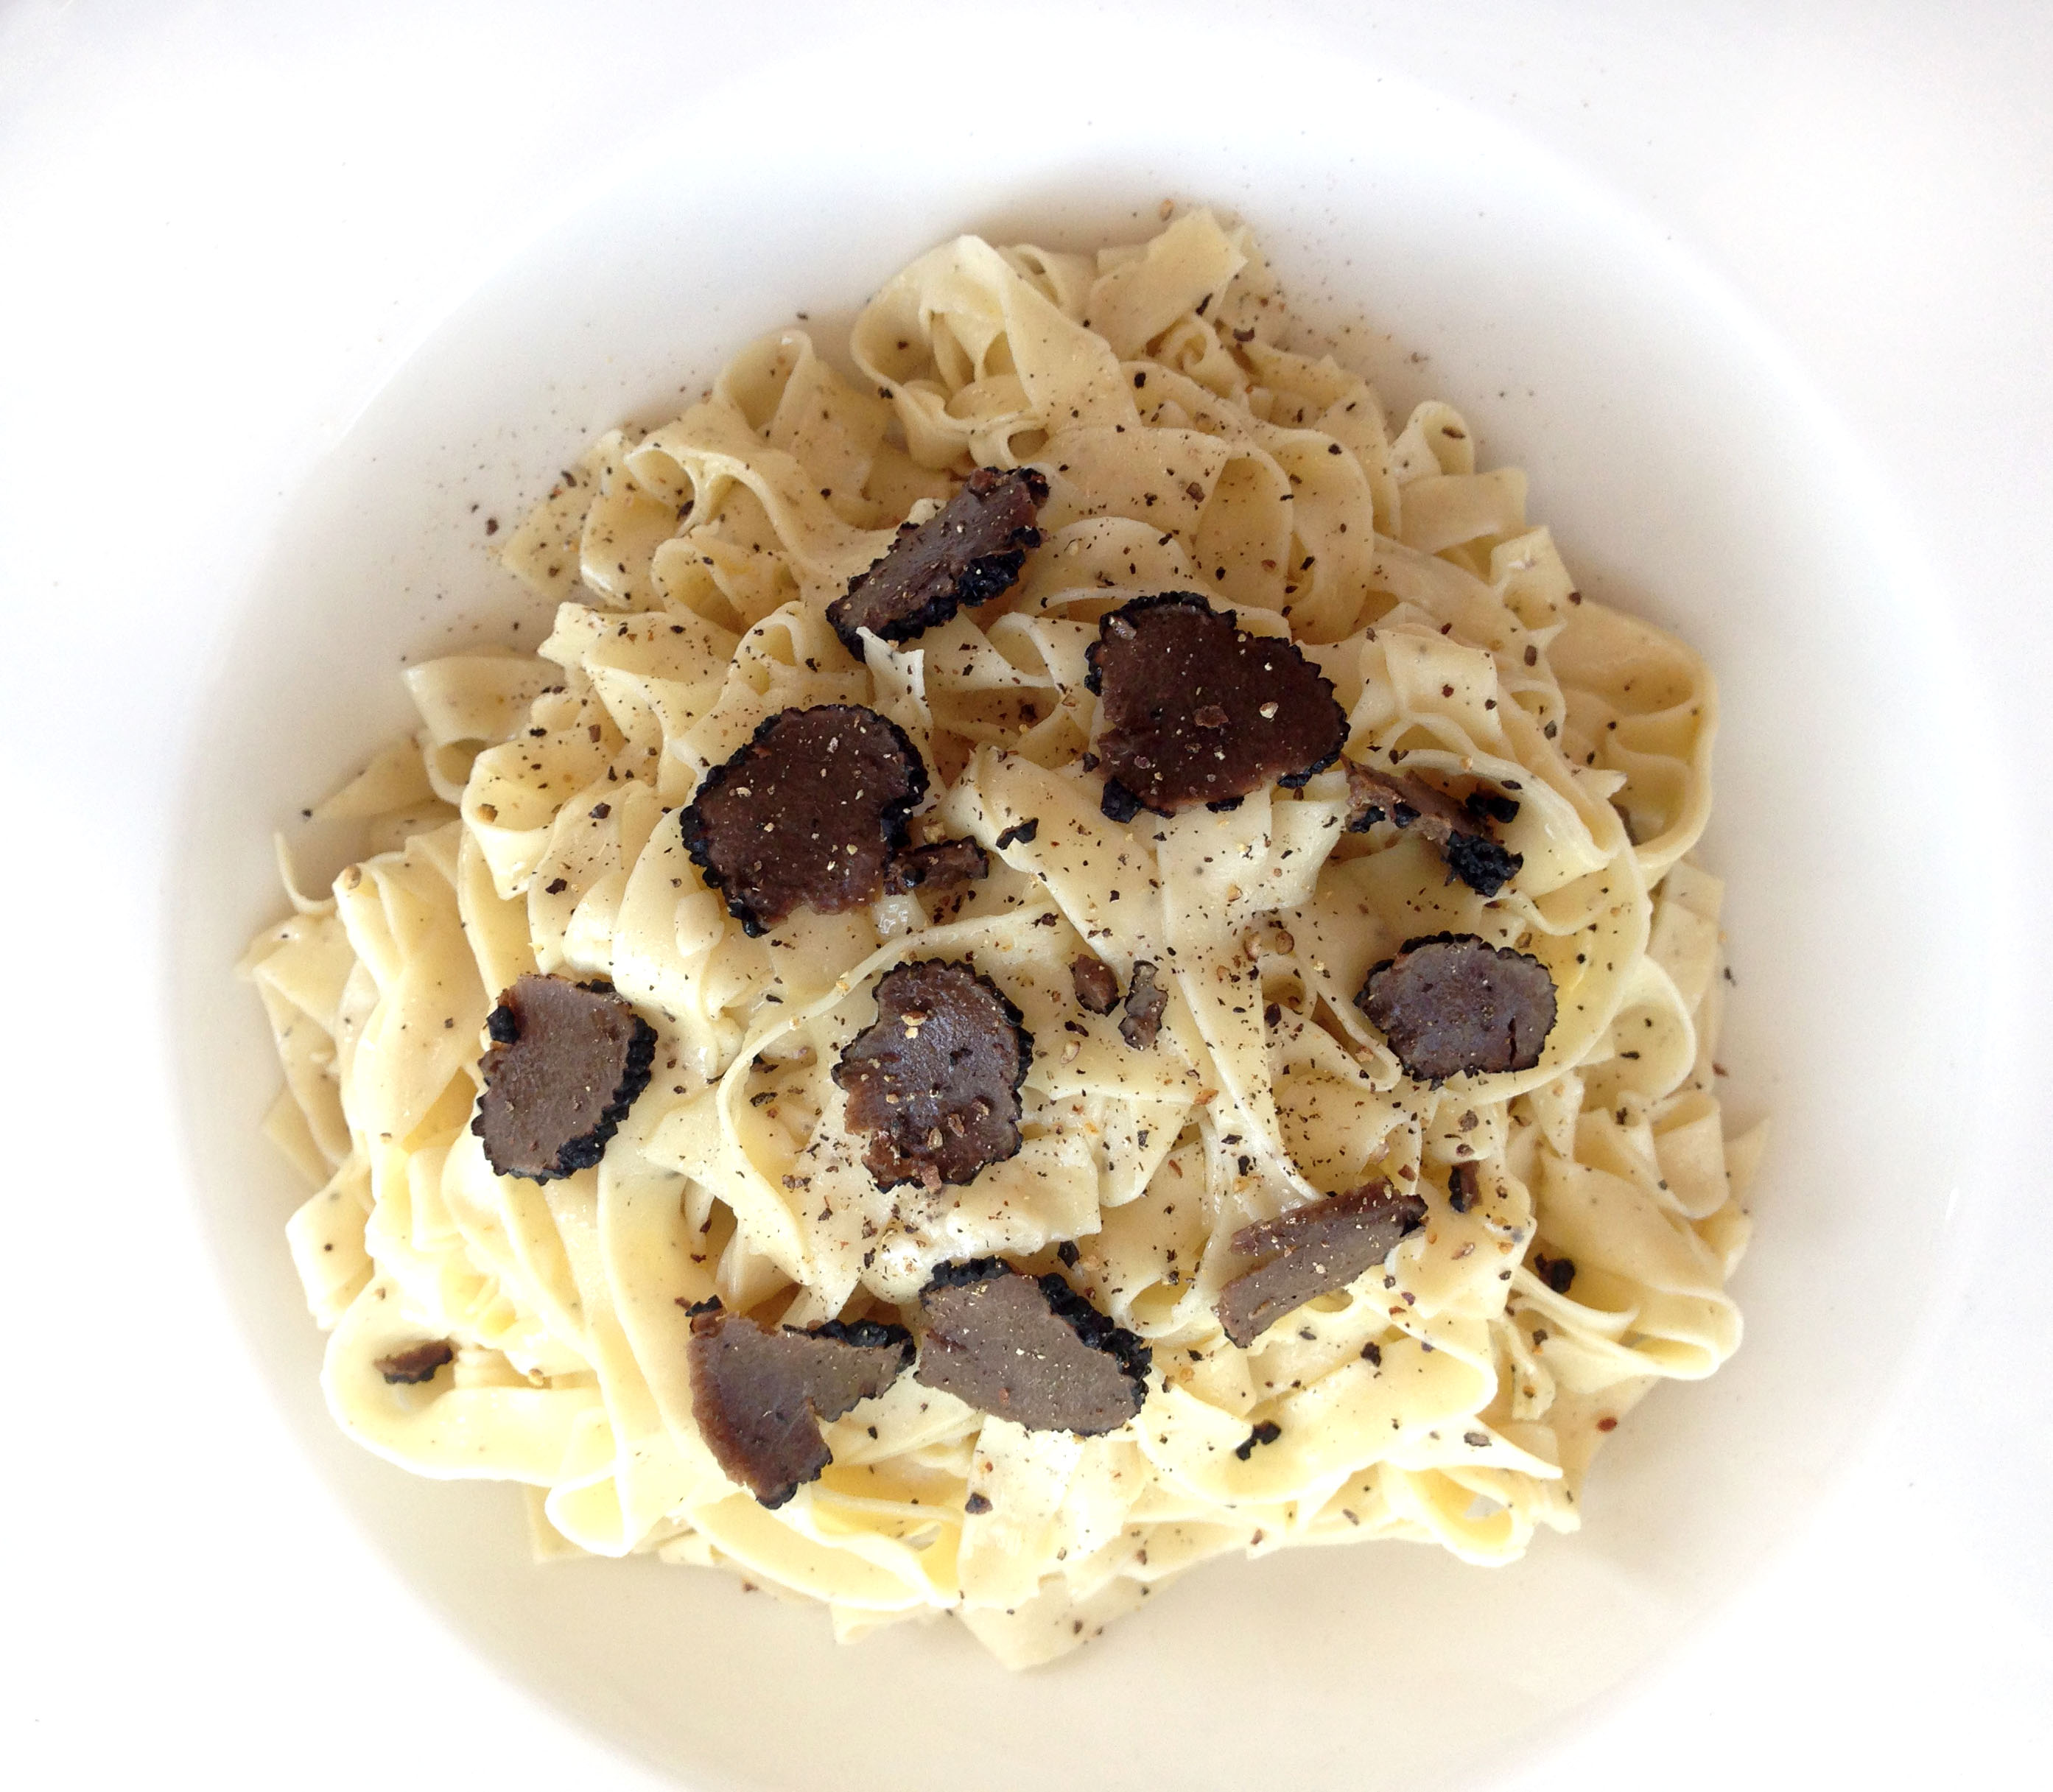
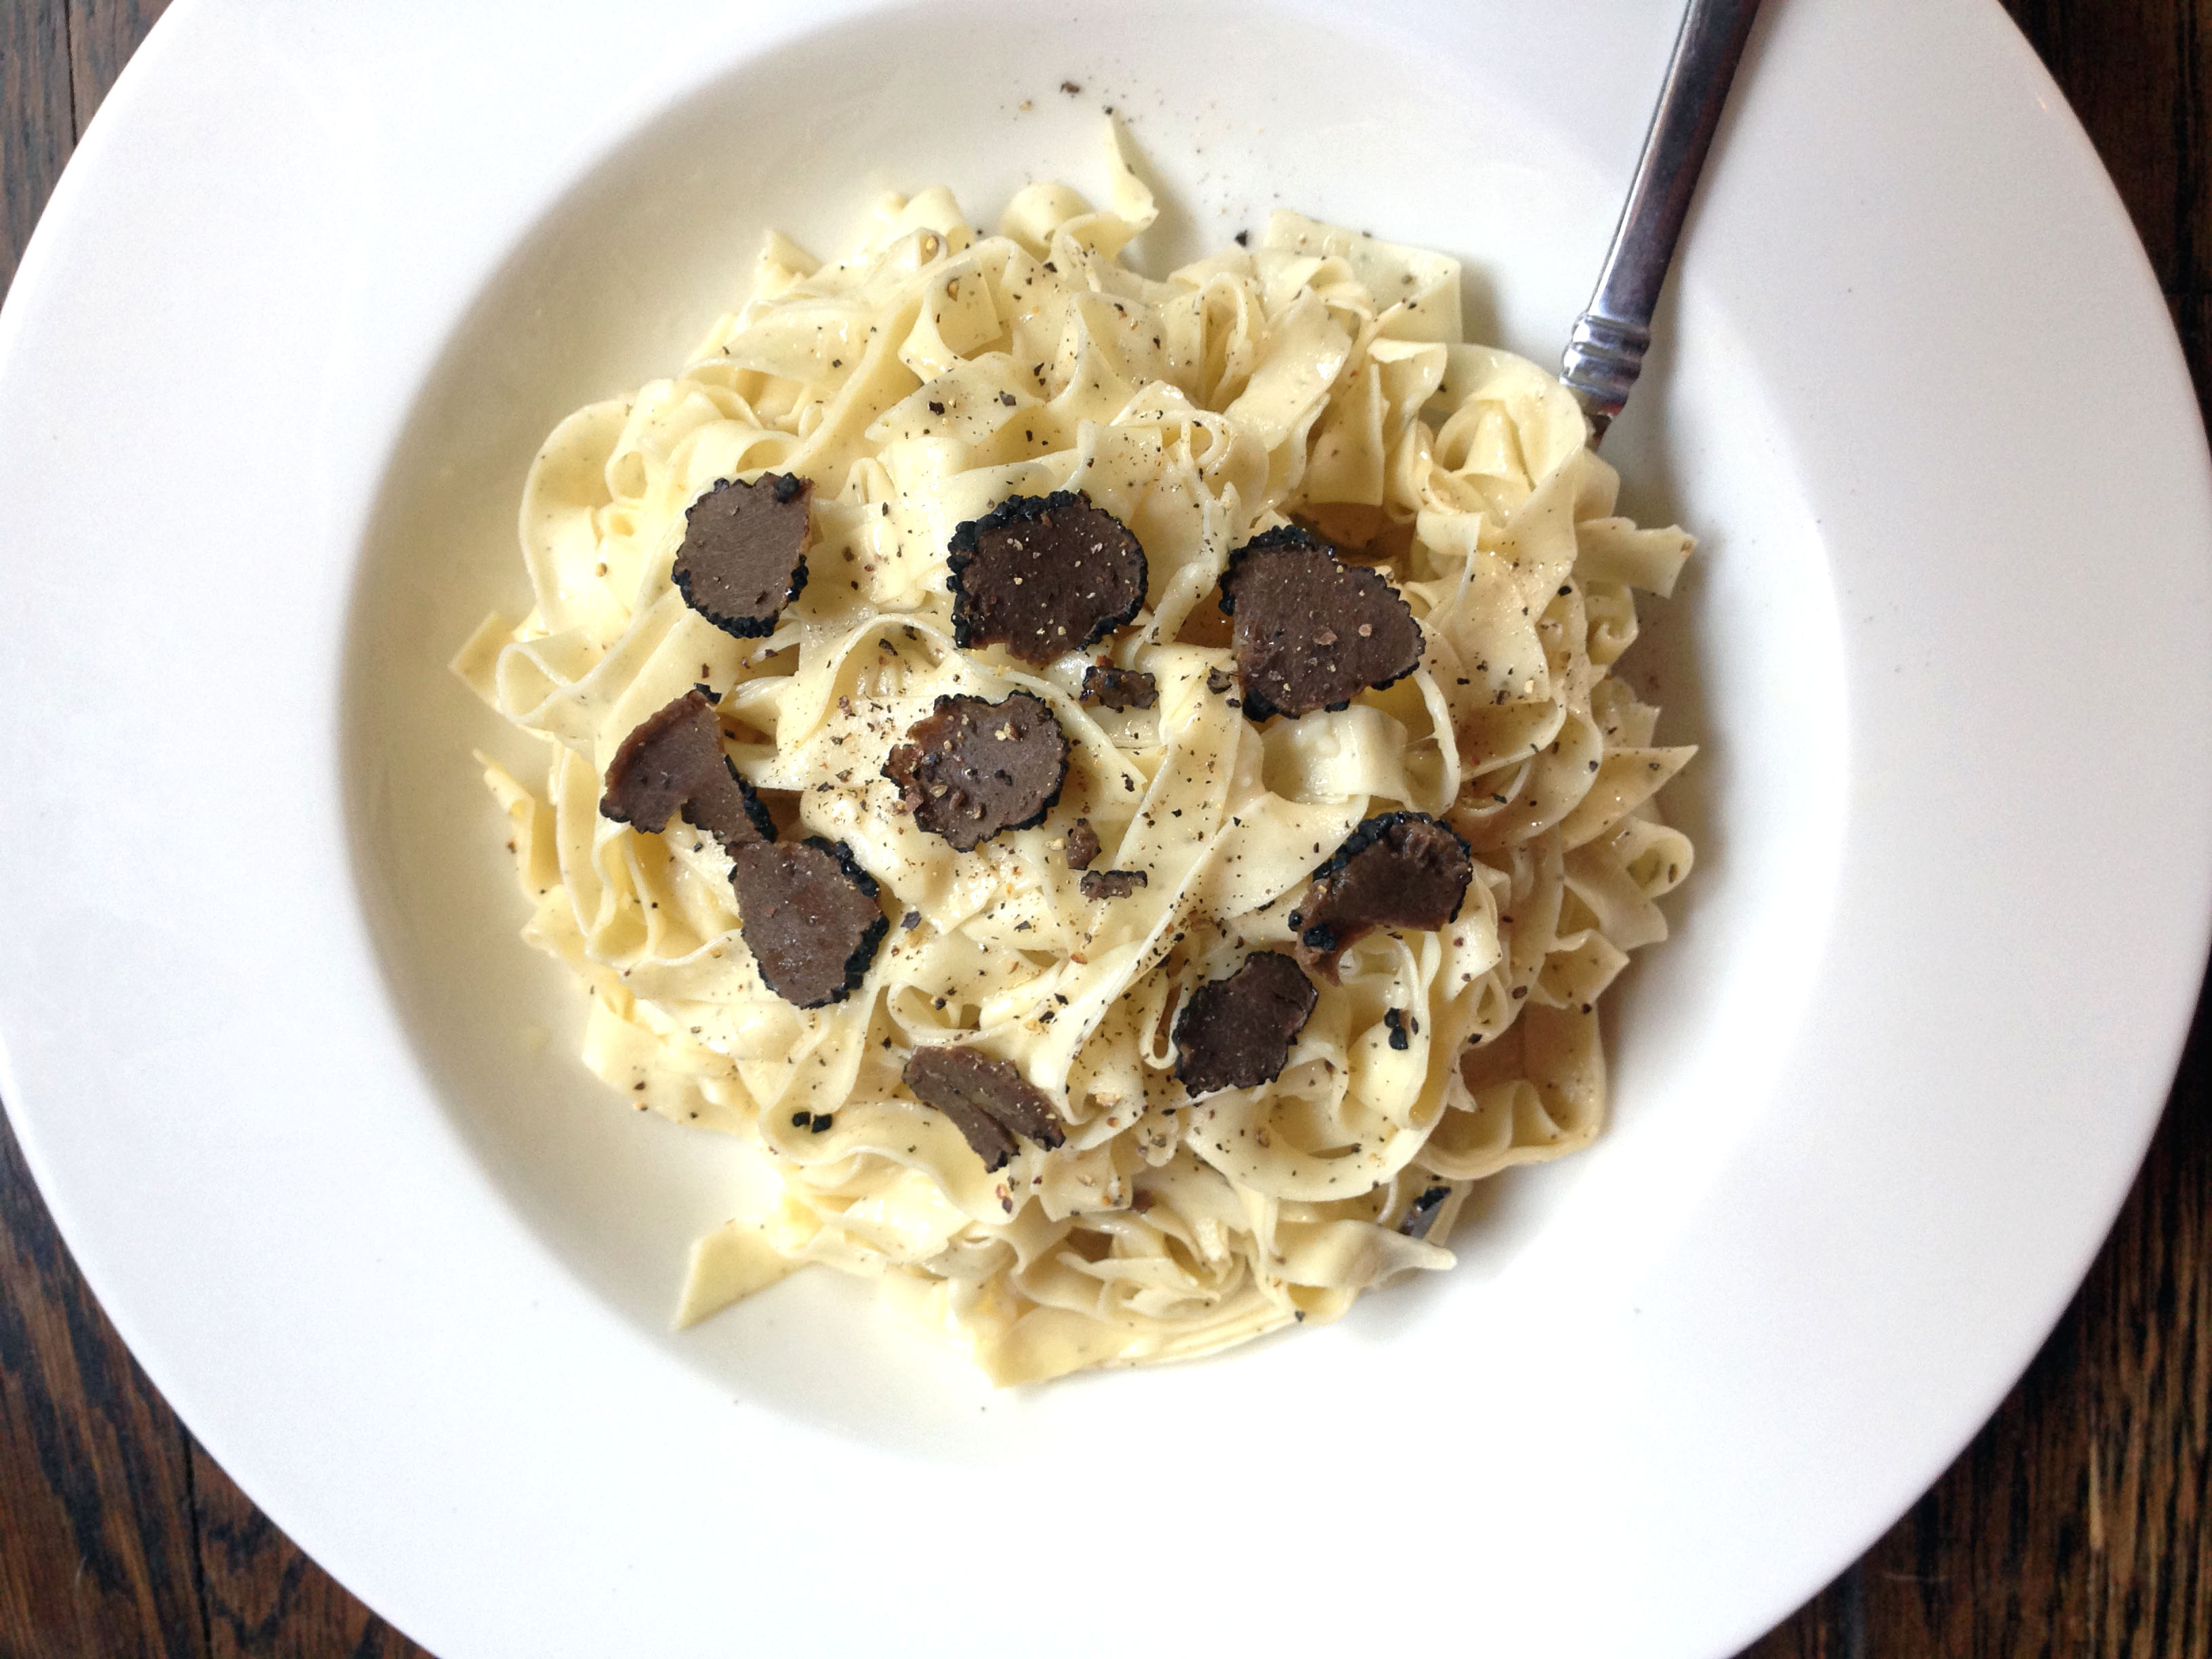
Homemade Black Pepper Fettuccine Pasta with Summer Truffles, Parmesan and Butter
Serves 2
INGREDIENTS
1/2 lb fresh pasta (or dry pasta of your choice)
2 Summer Truffles (optional) – sliced at thin as you can muster
Truffle oil
2 -3 TBS of the highest quality butter you can find (preferably grass fed)
1/2 cup or more of Parmesan cheese (highest quality you can find) – grated or shaved
Salt
Freshly ground pepper
Fresh parsley – chopped (if you are not using truffles)


DIRECTIONS
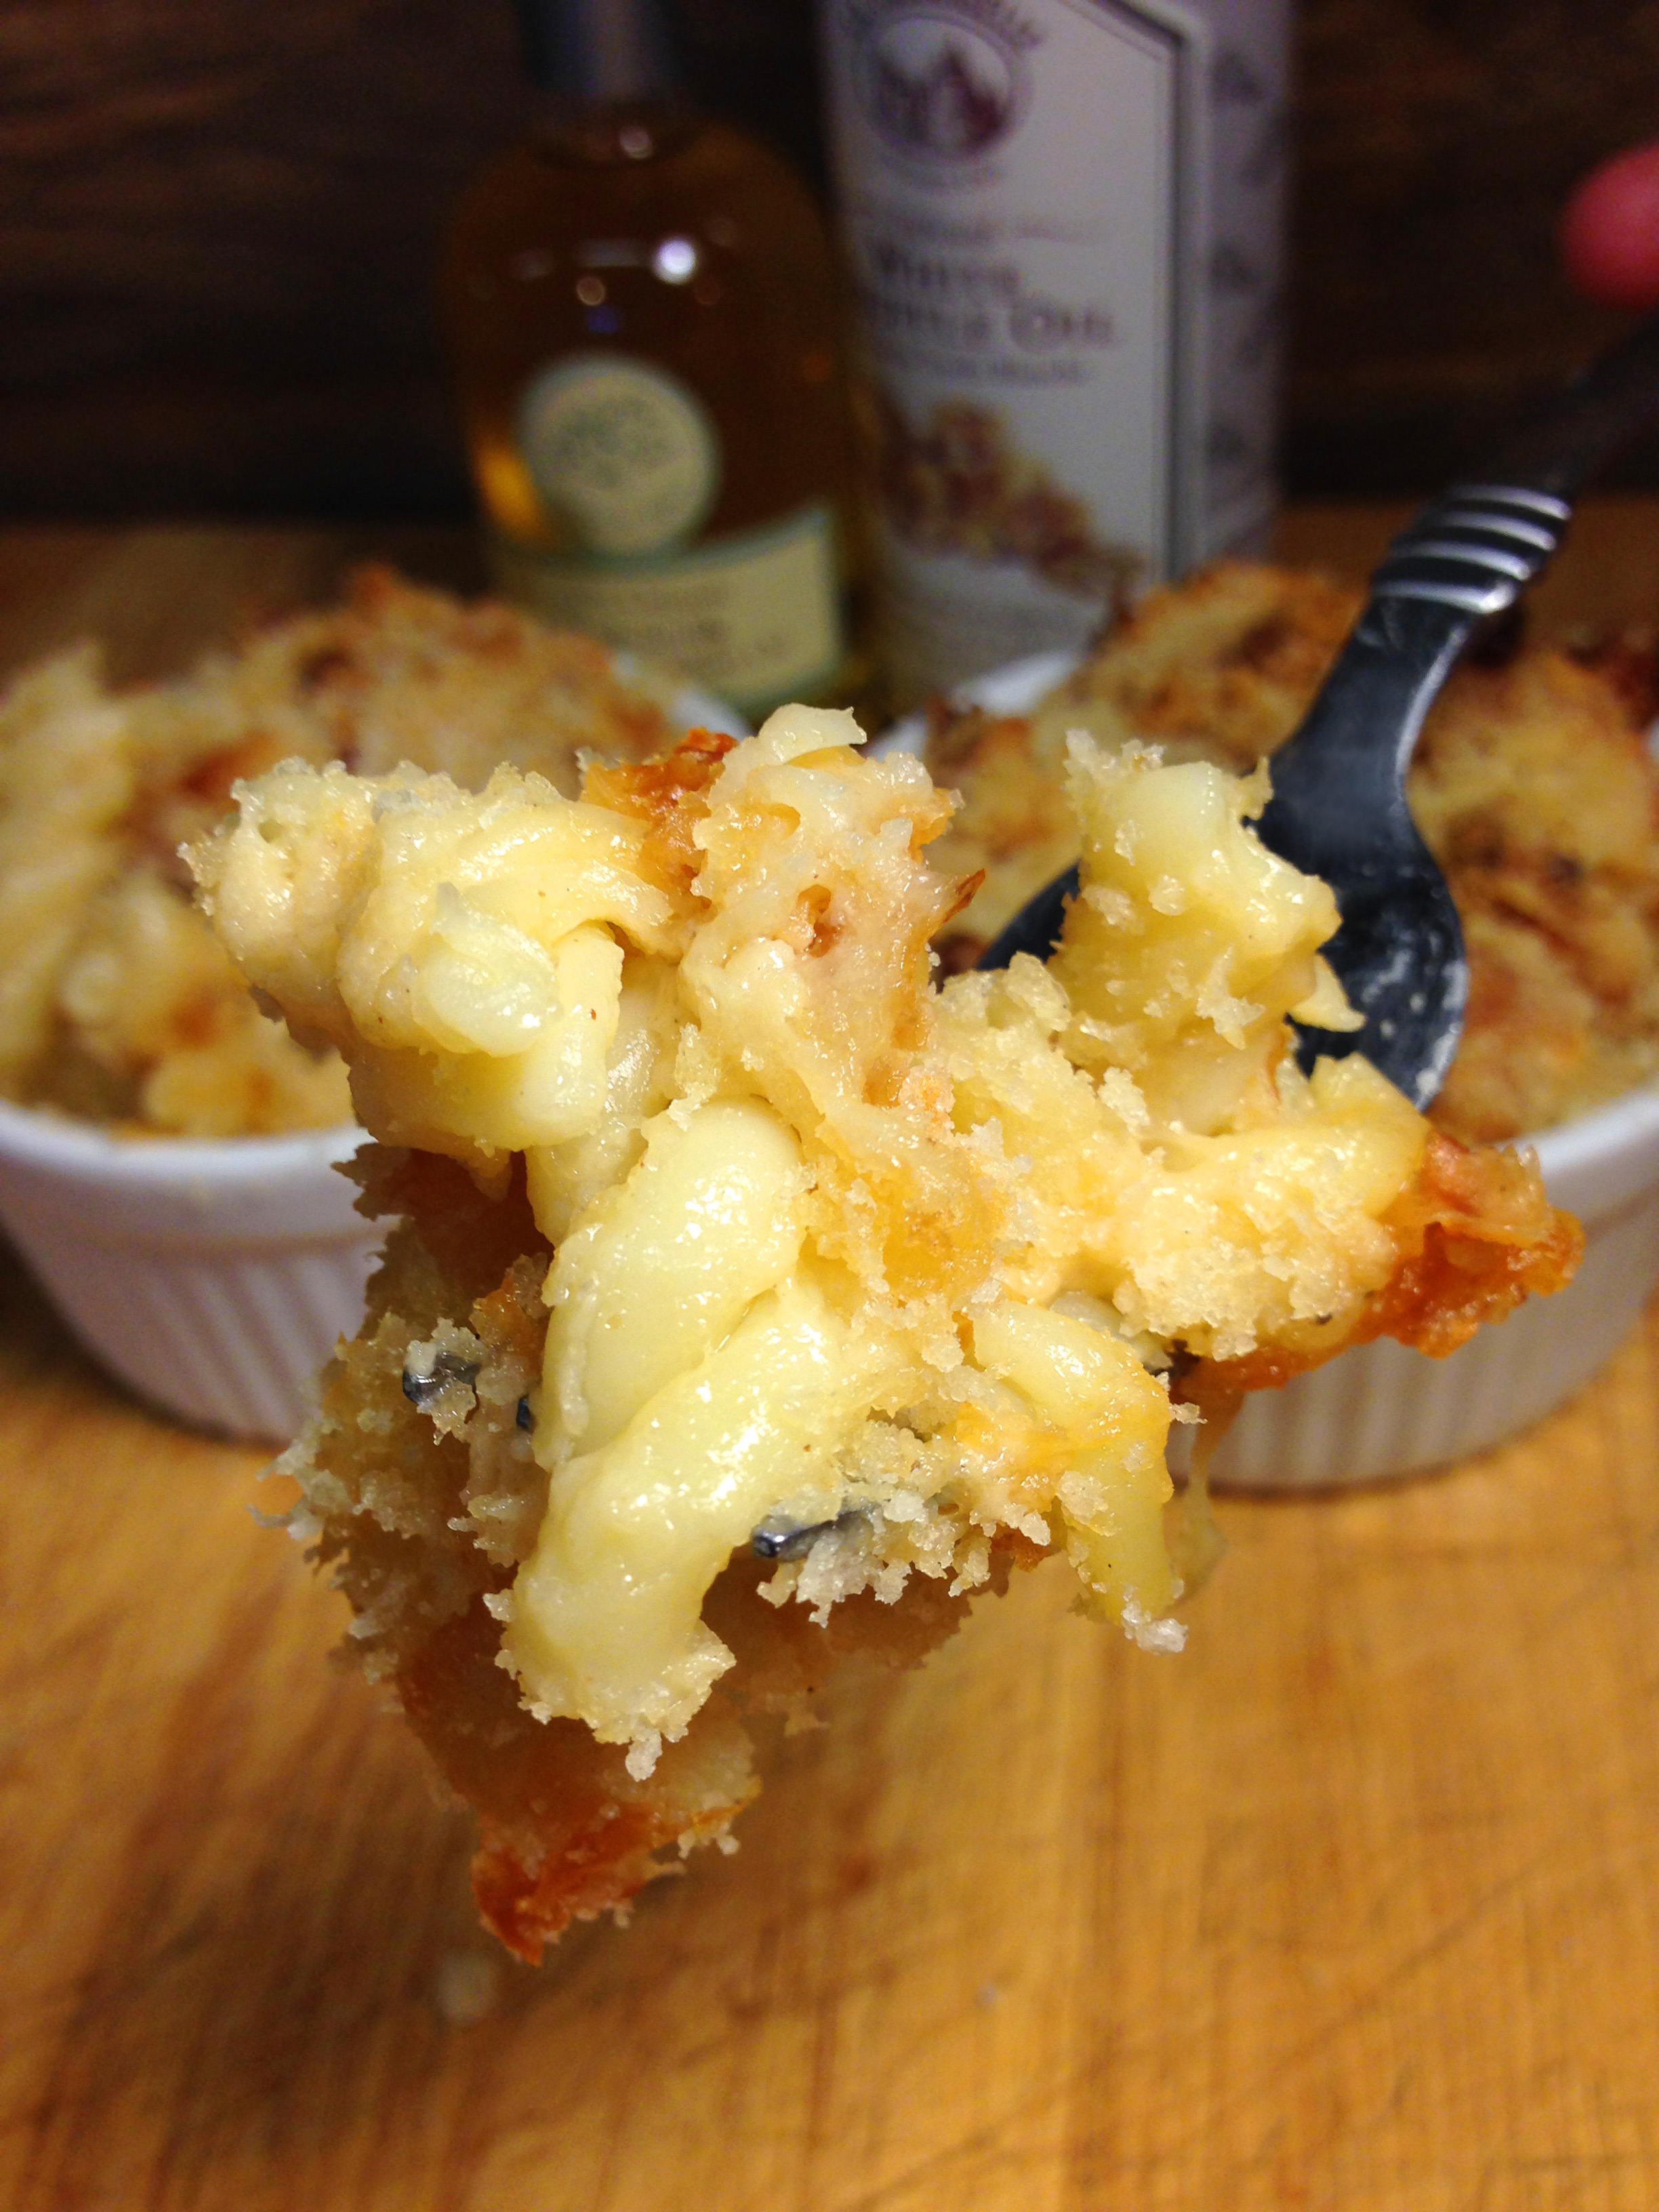
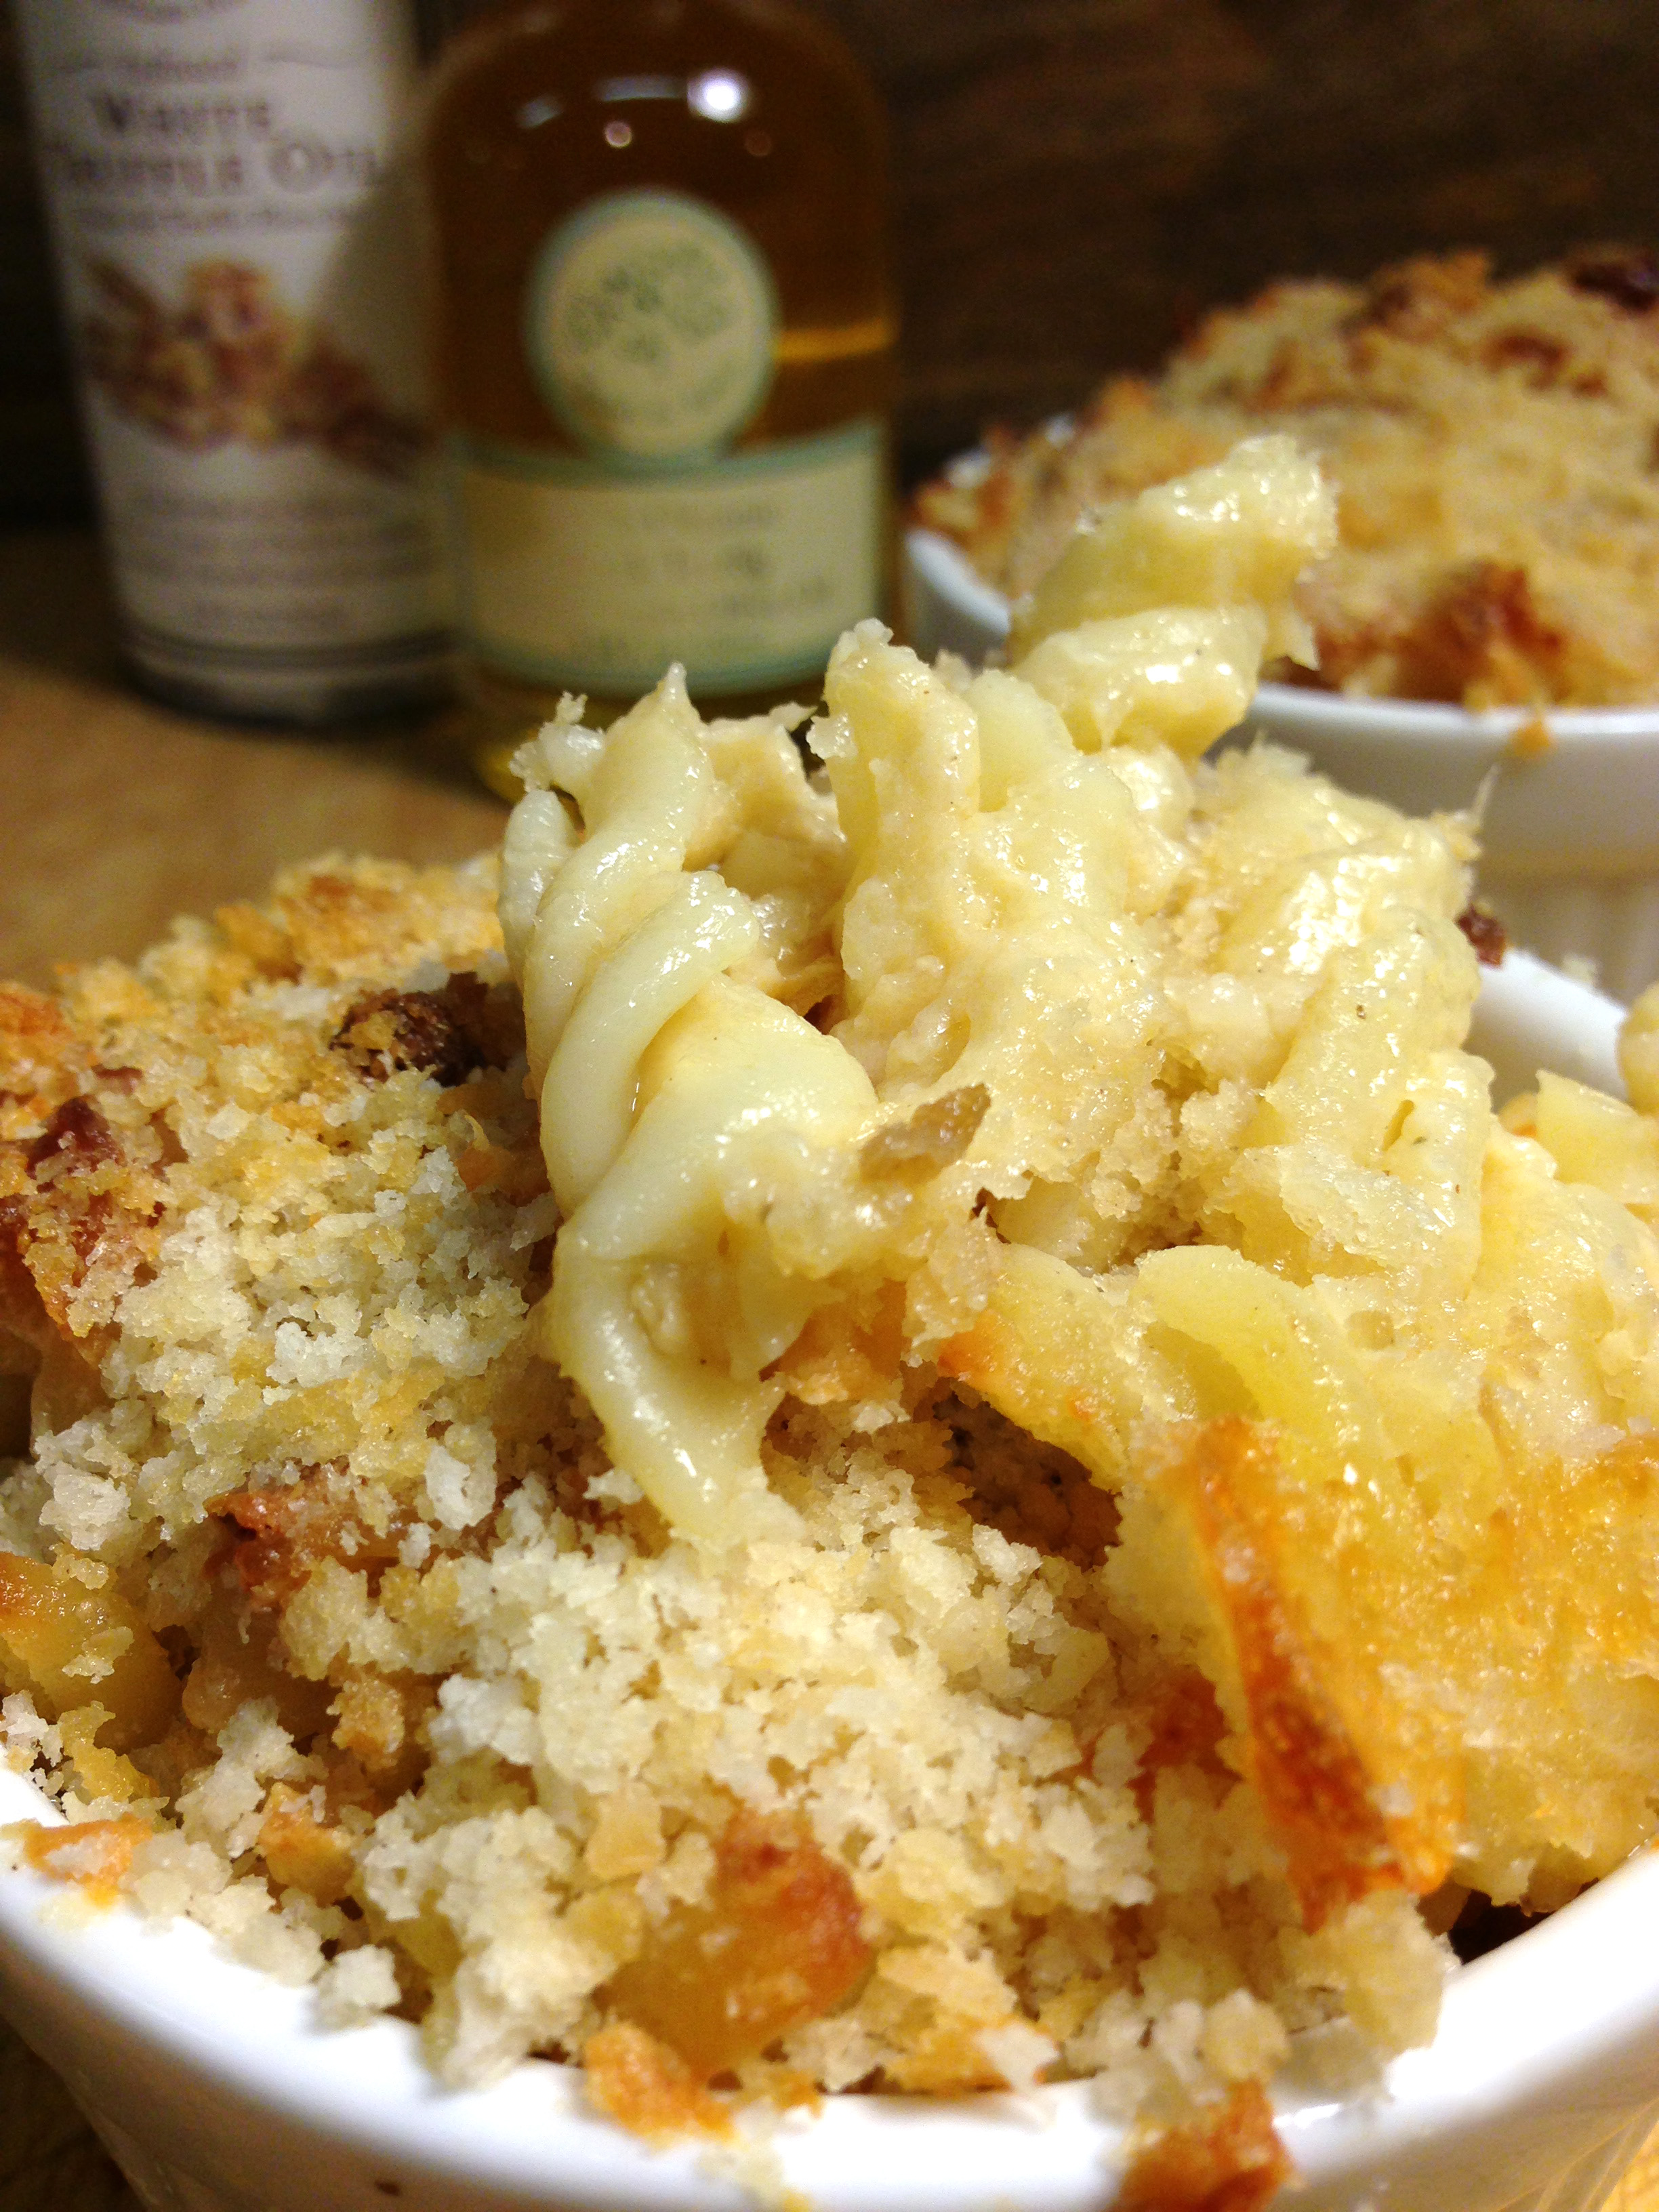
Cook & drain the pasta – reserving about 1/2 cup of the hot pasta water.
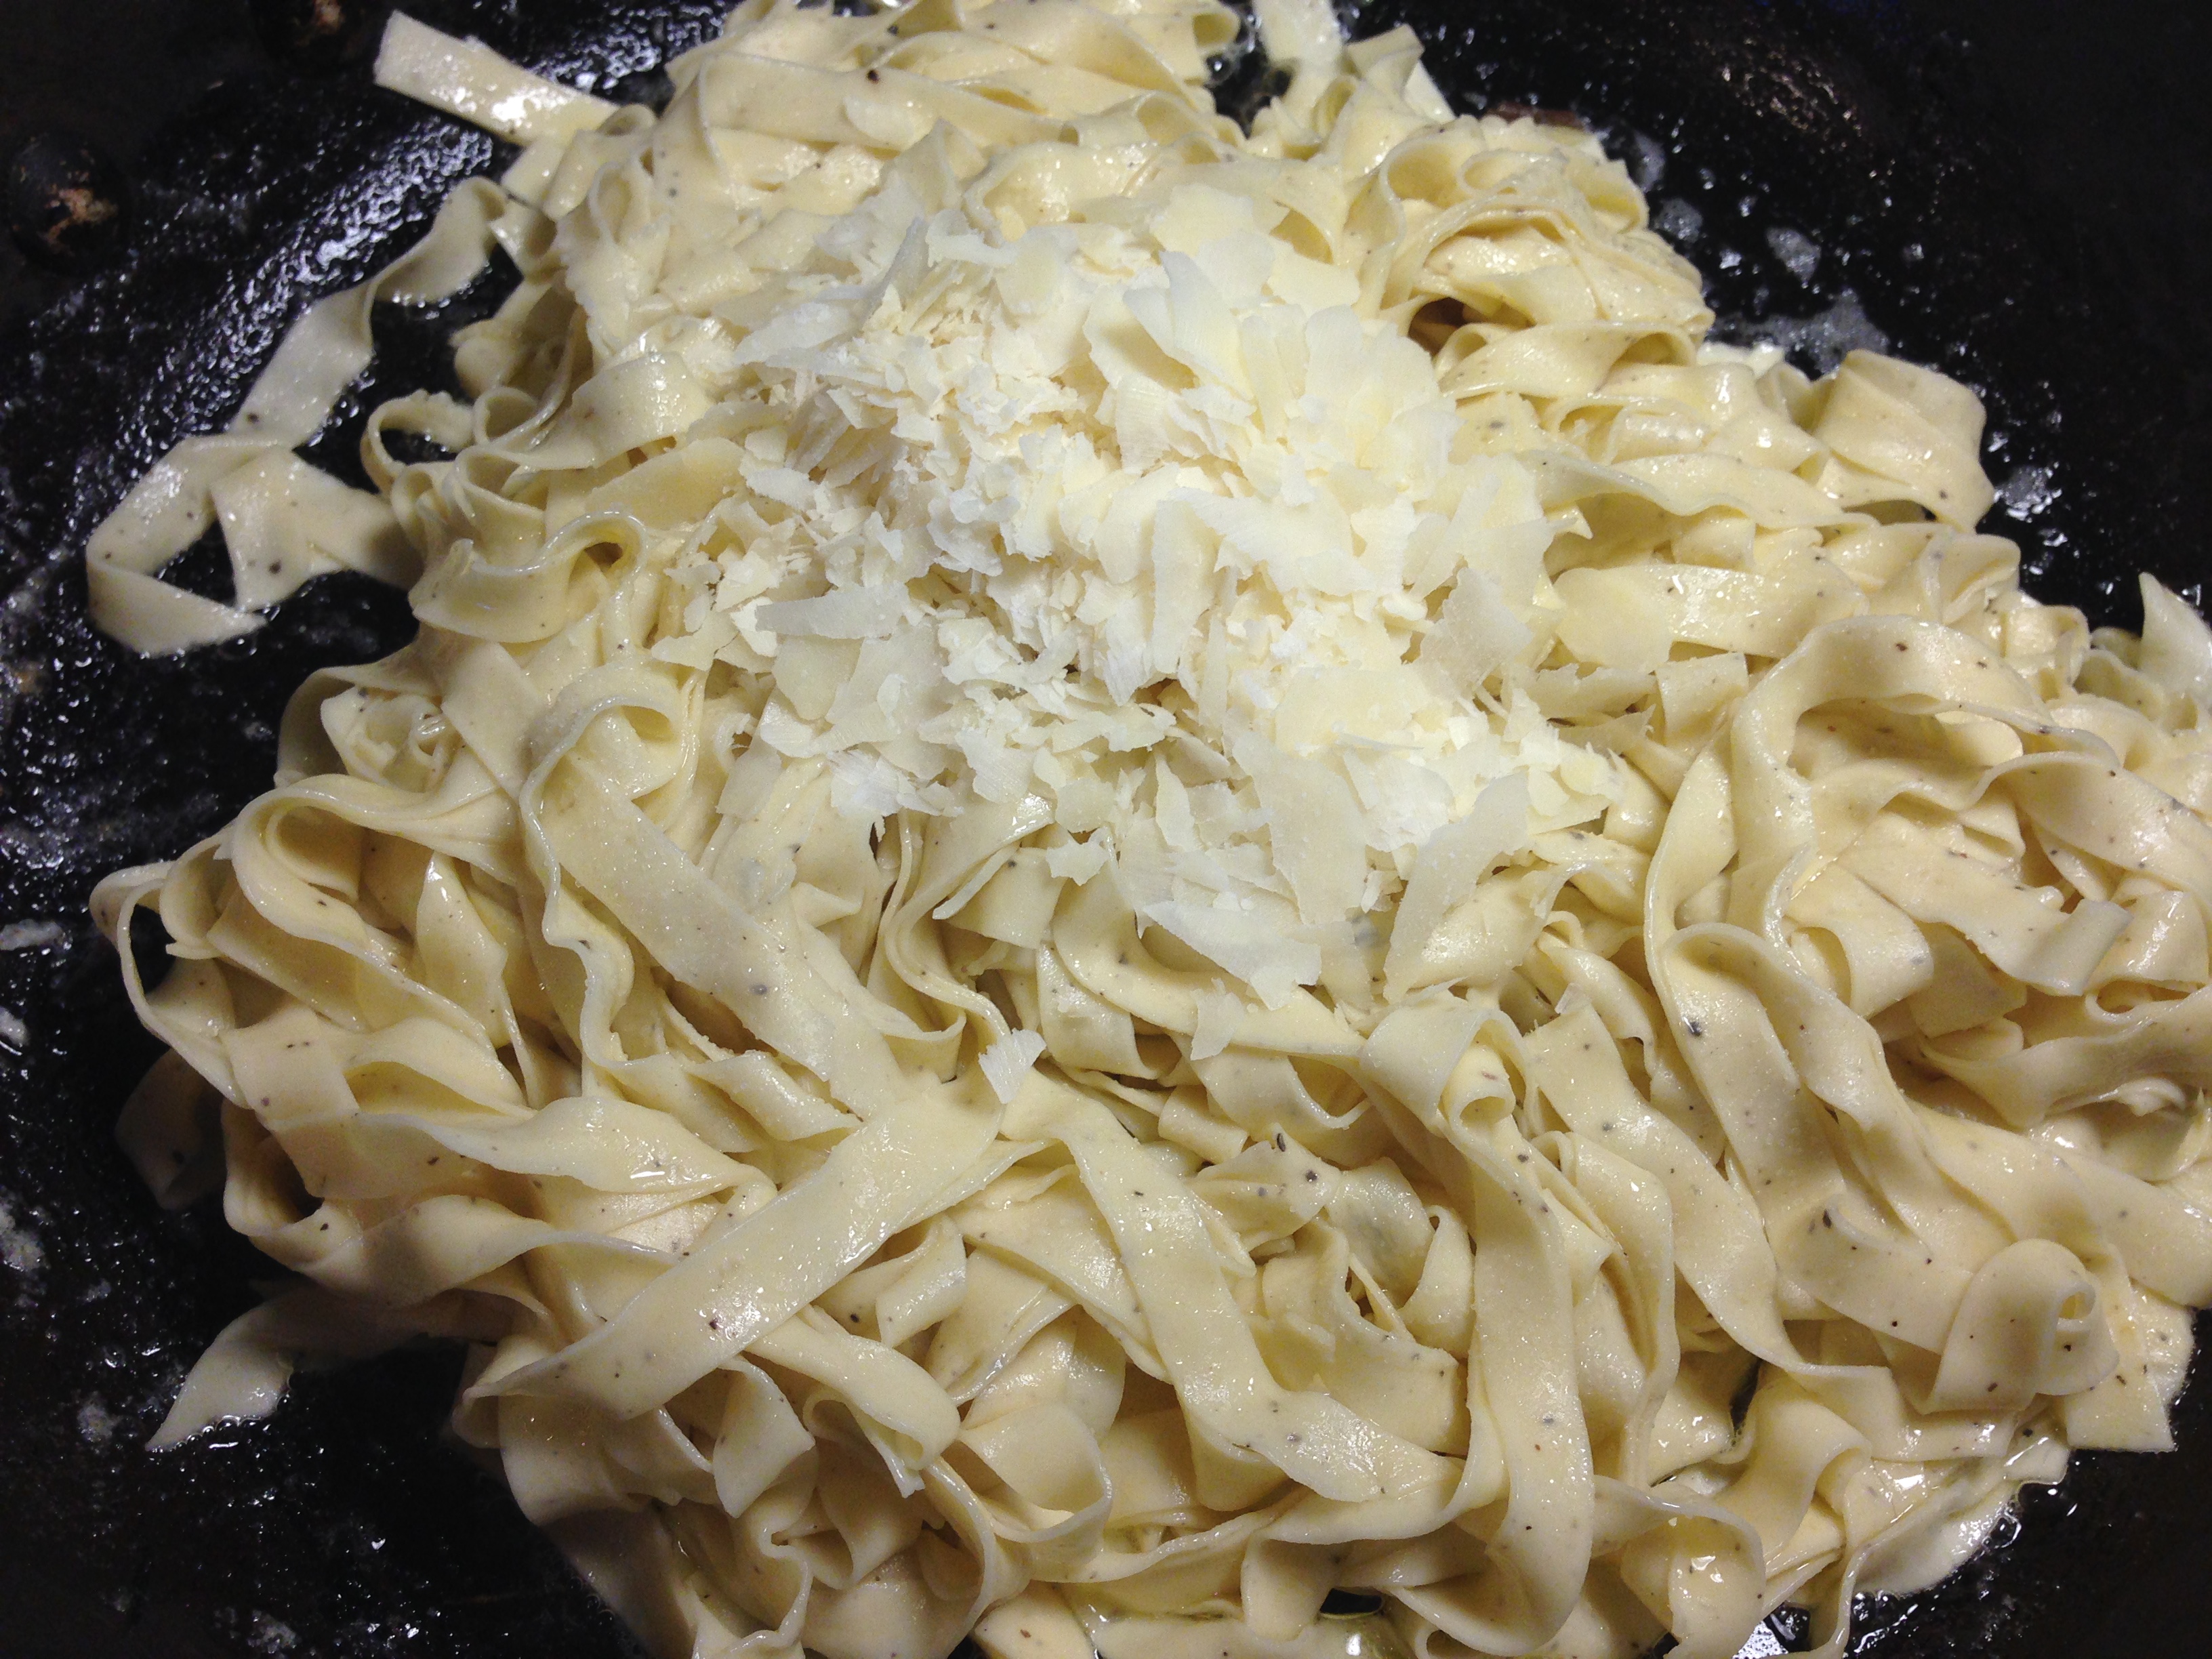
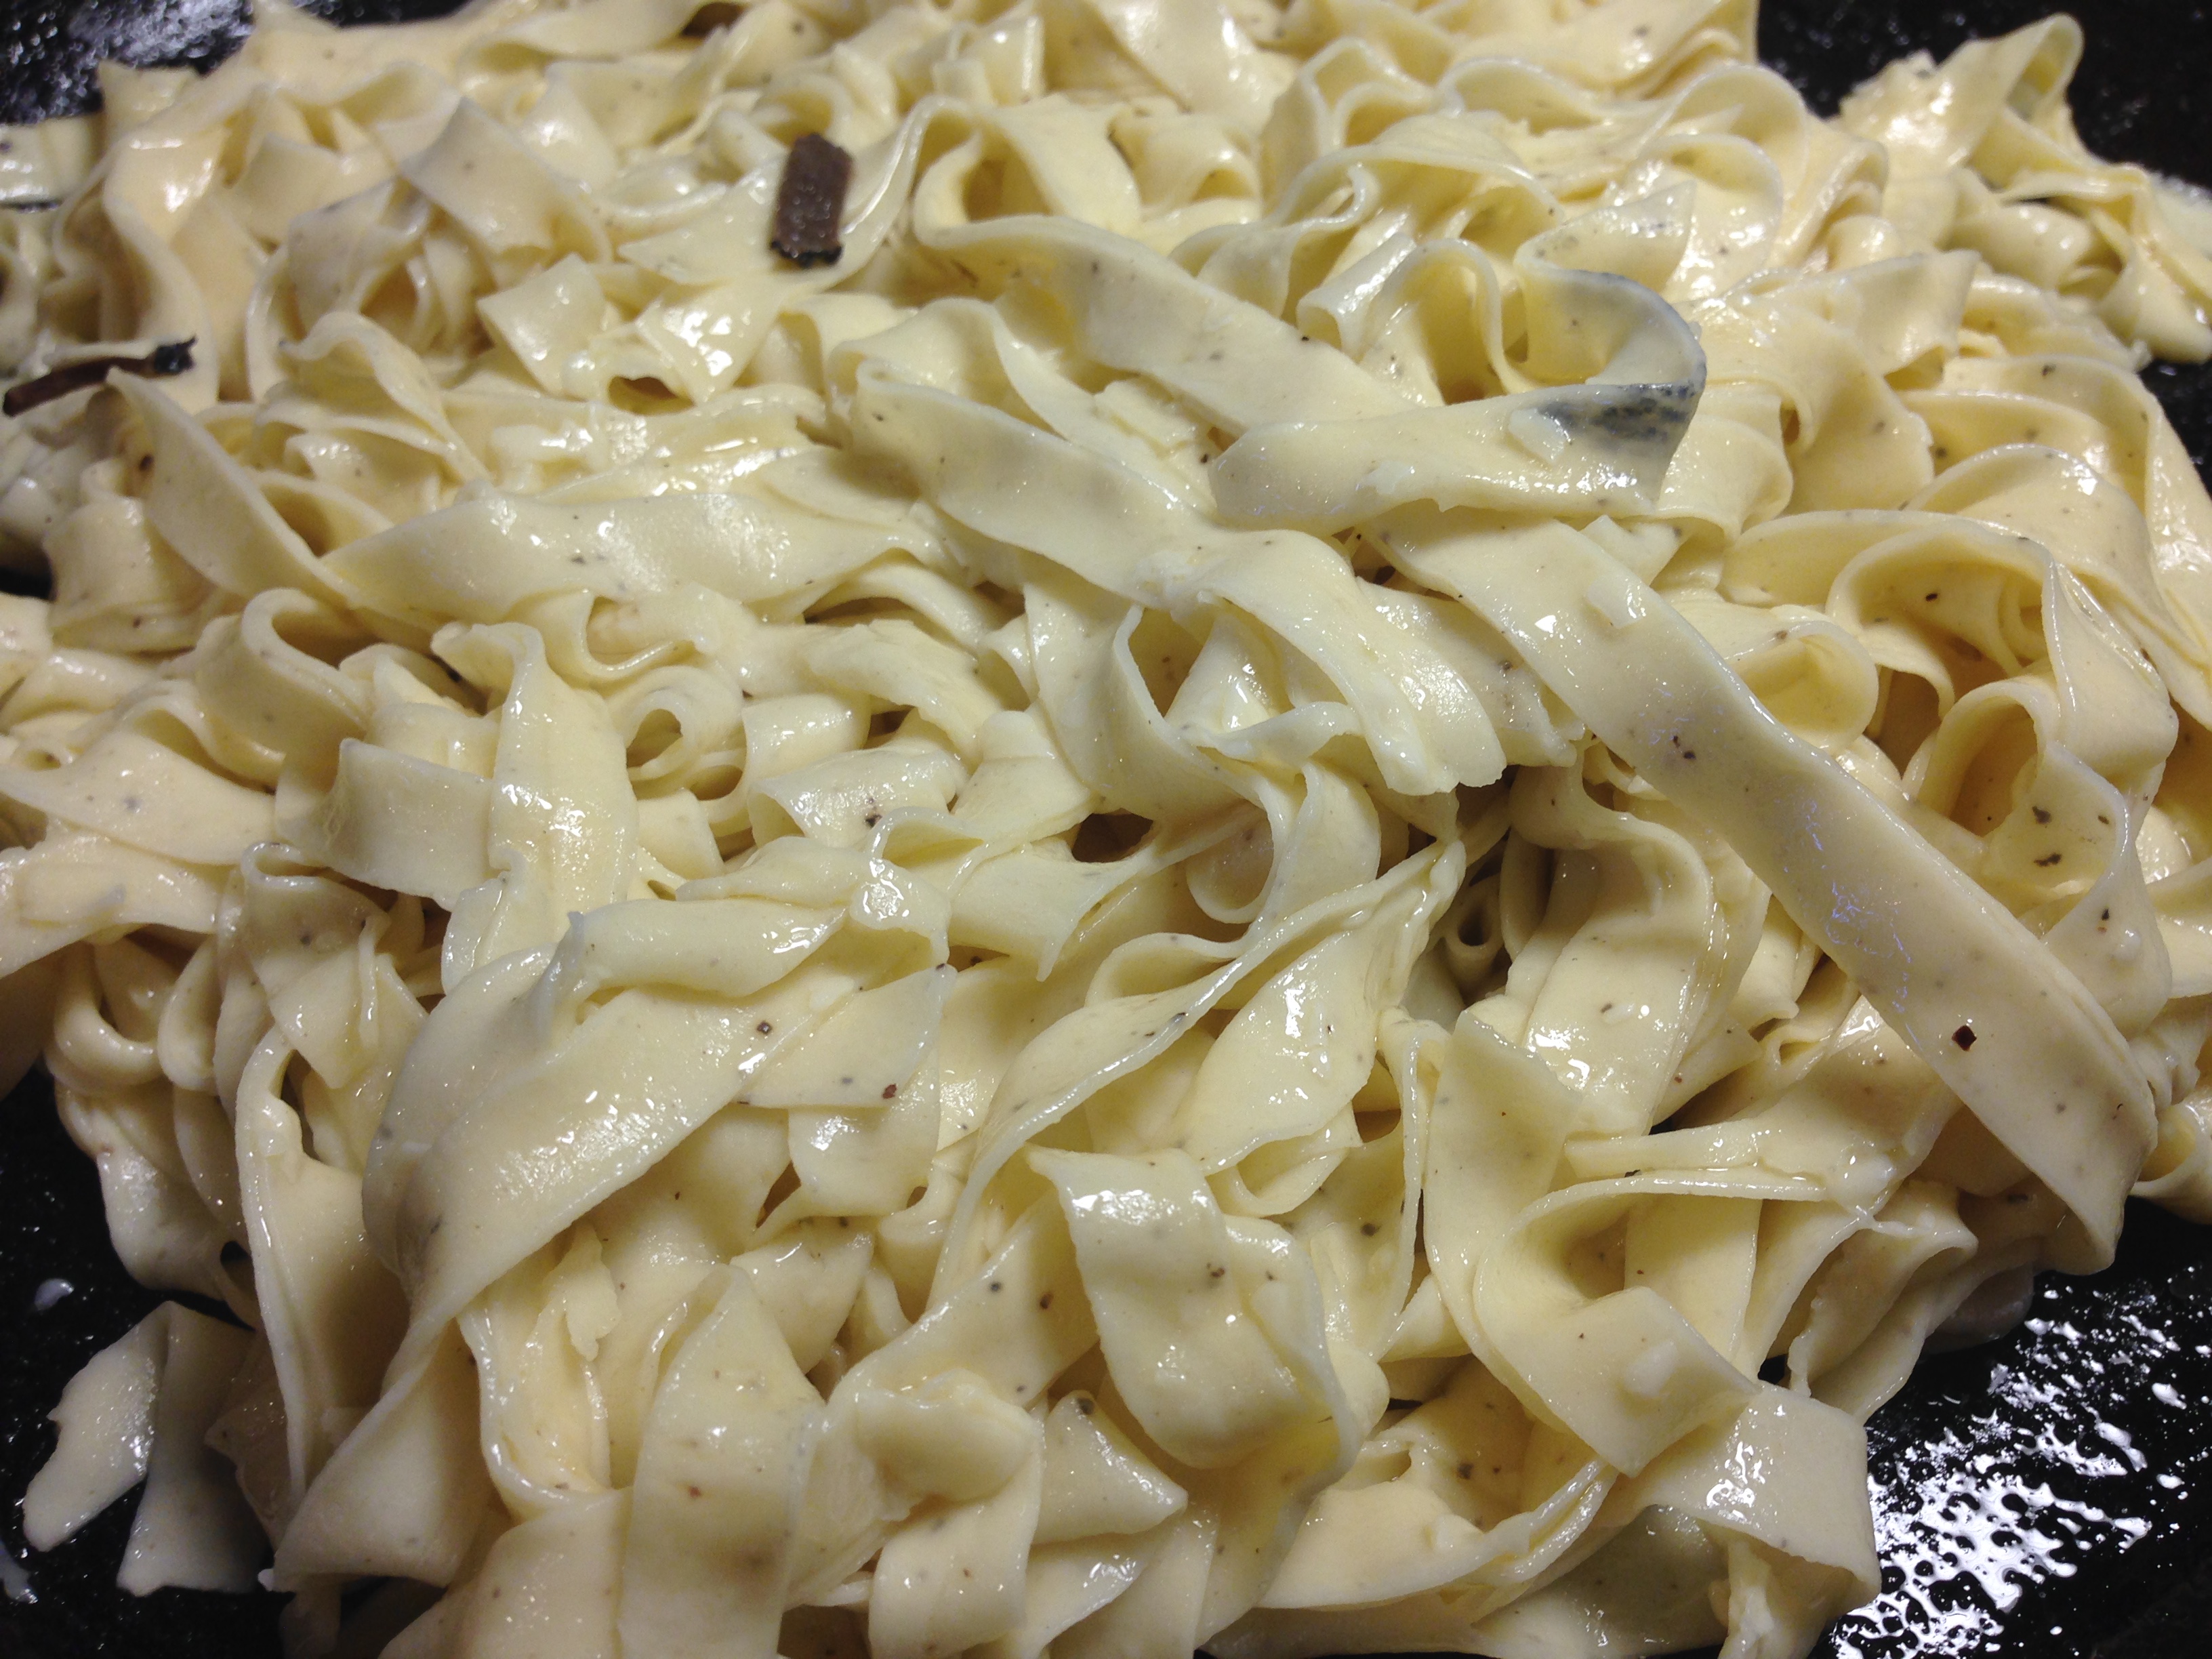
Melt the butter in a large saute pan (large enough to hold all the pasta). I drizzled a bit of the liquid from the truffle jar in the butter & a few little bits of the truffles.
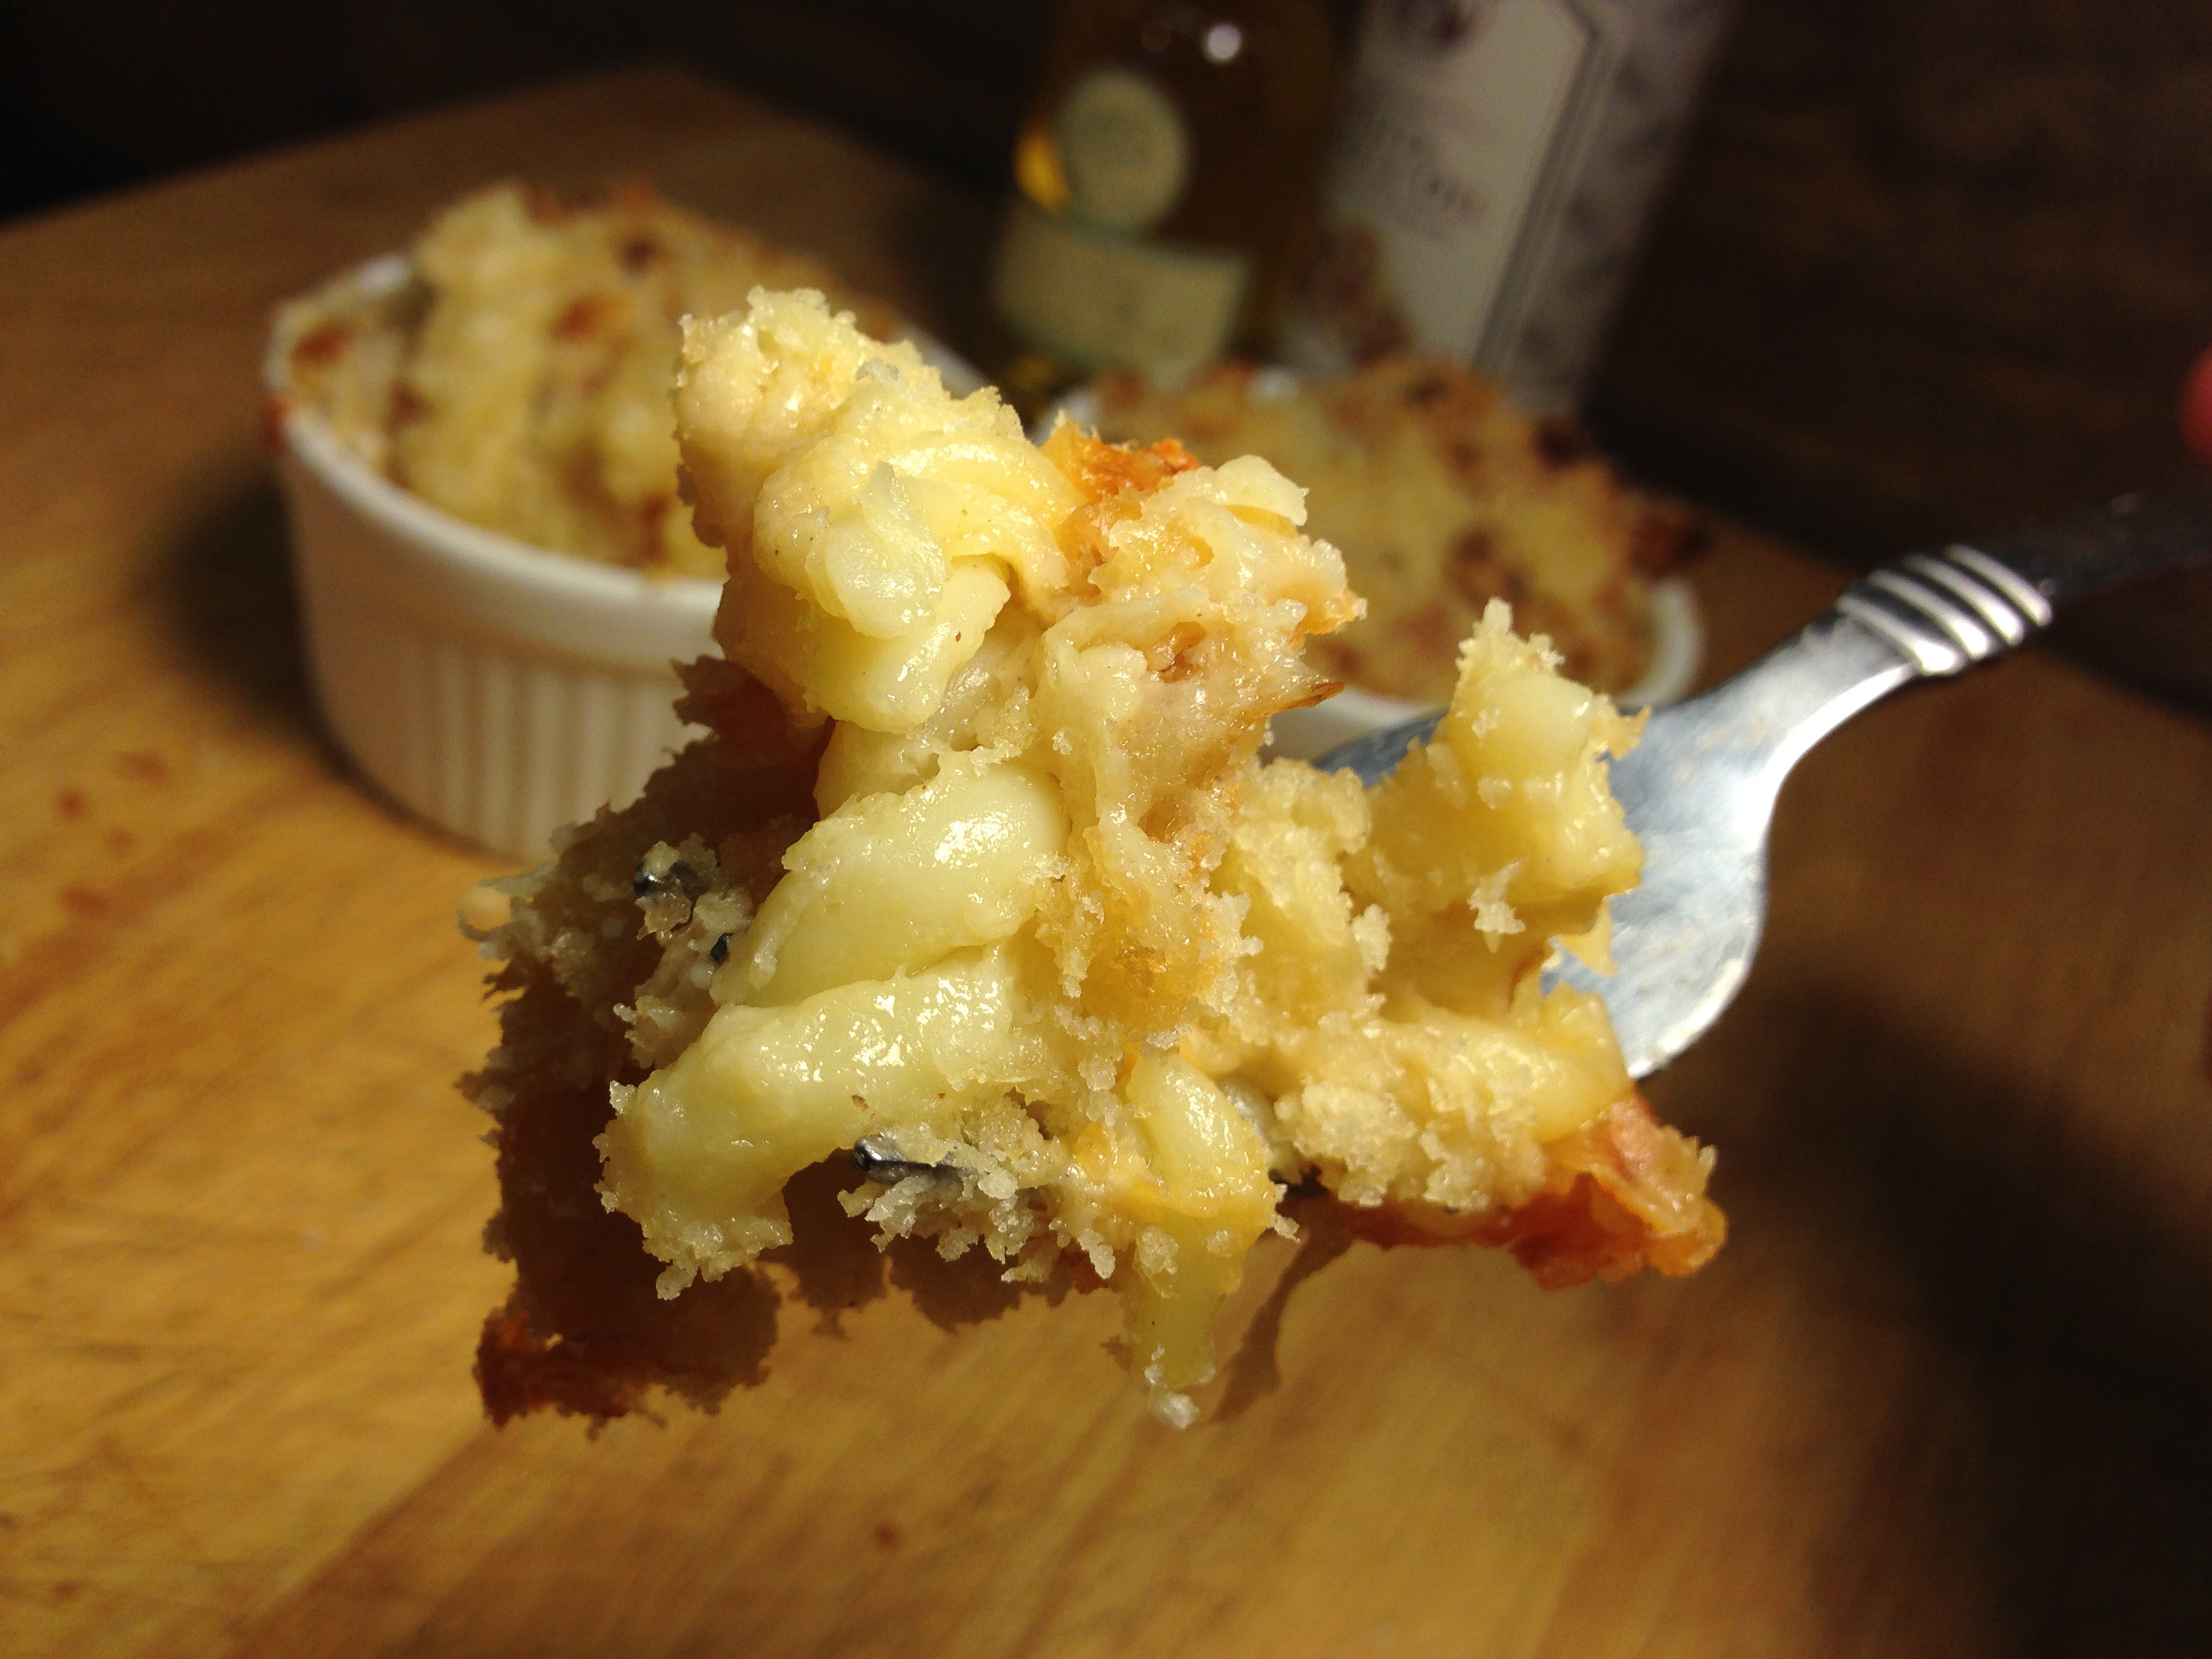
When the butter is melted, add the pasta & the Parmesan. I used about 1/2 cup but the amount of cheese is really up to you.
Stir to blend & warm through.
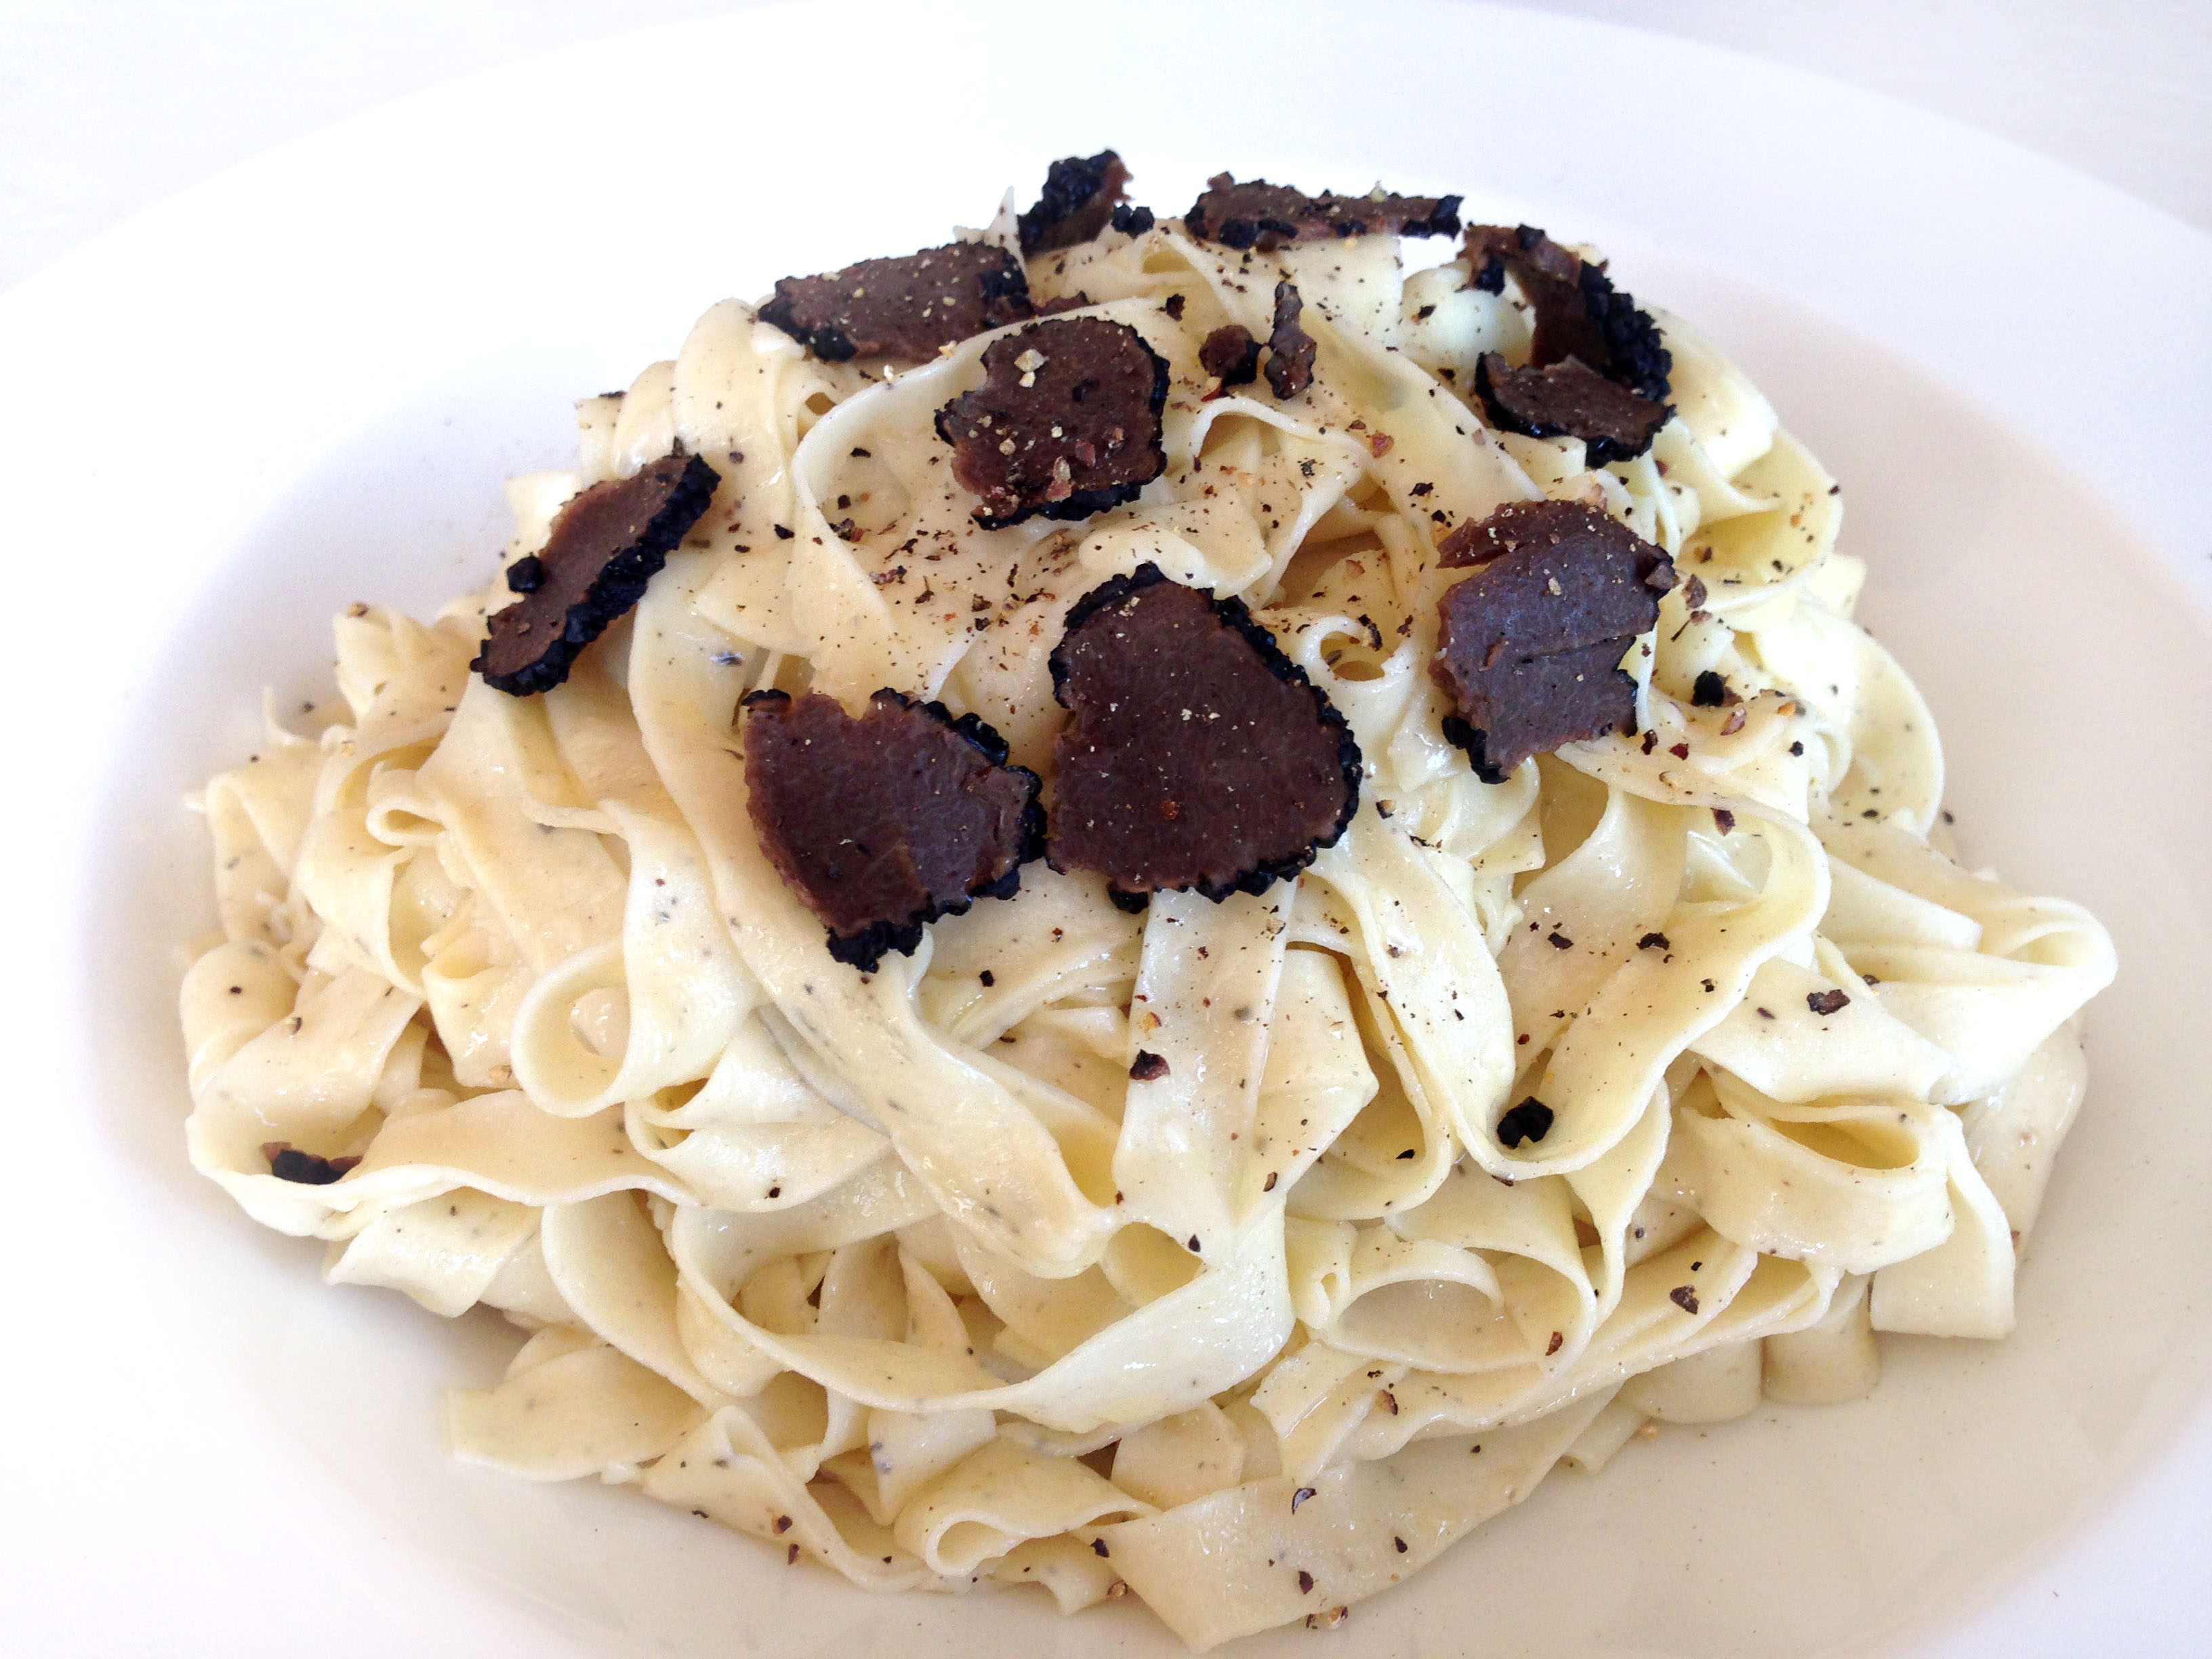
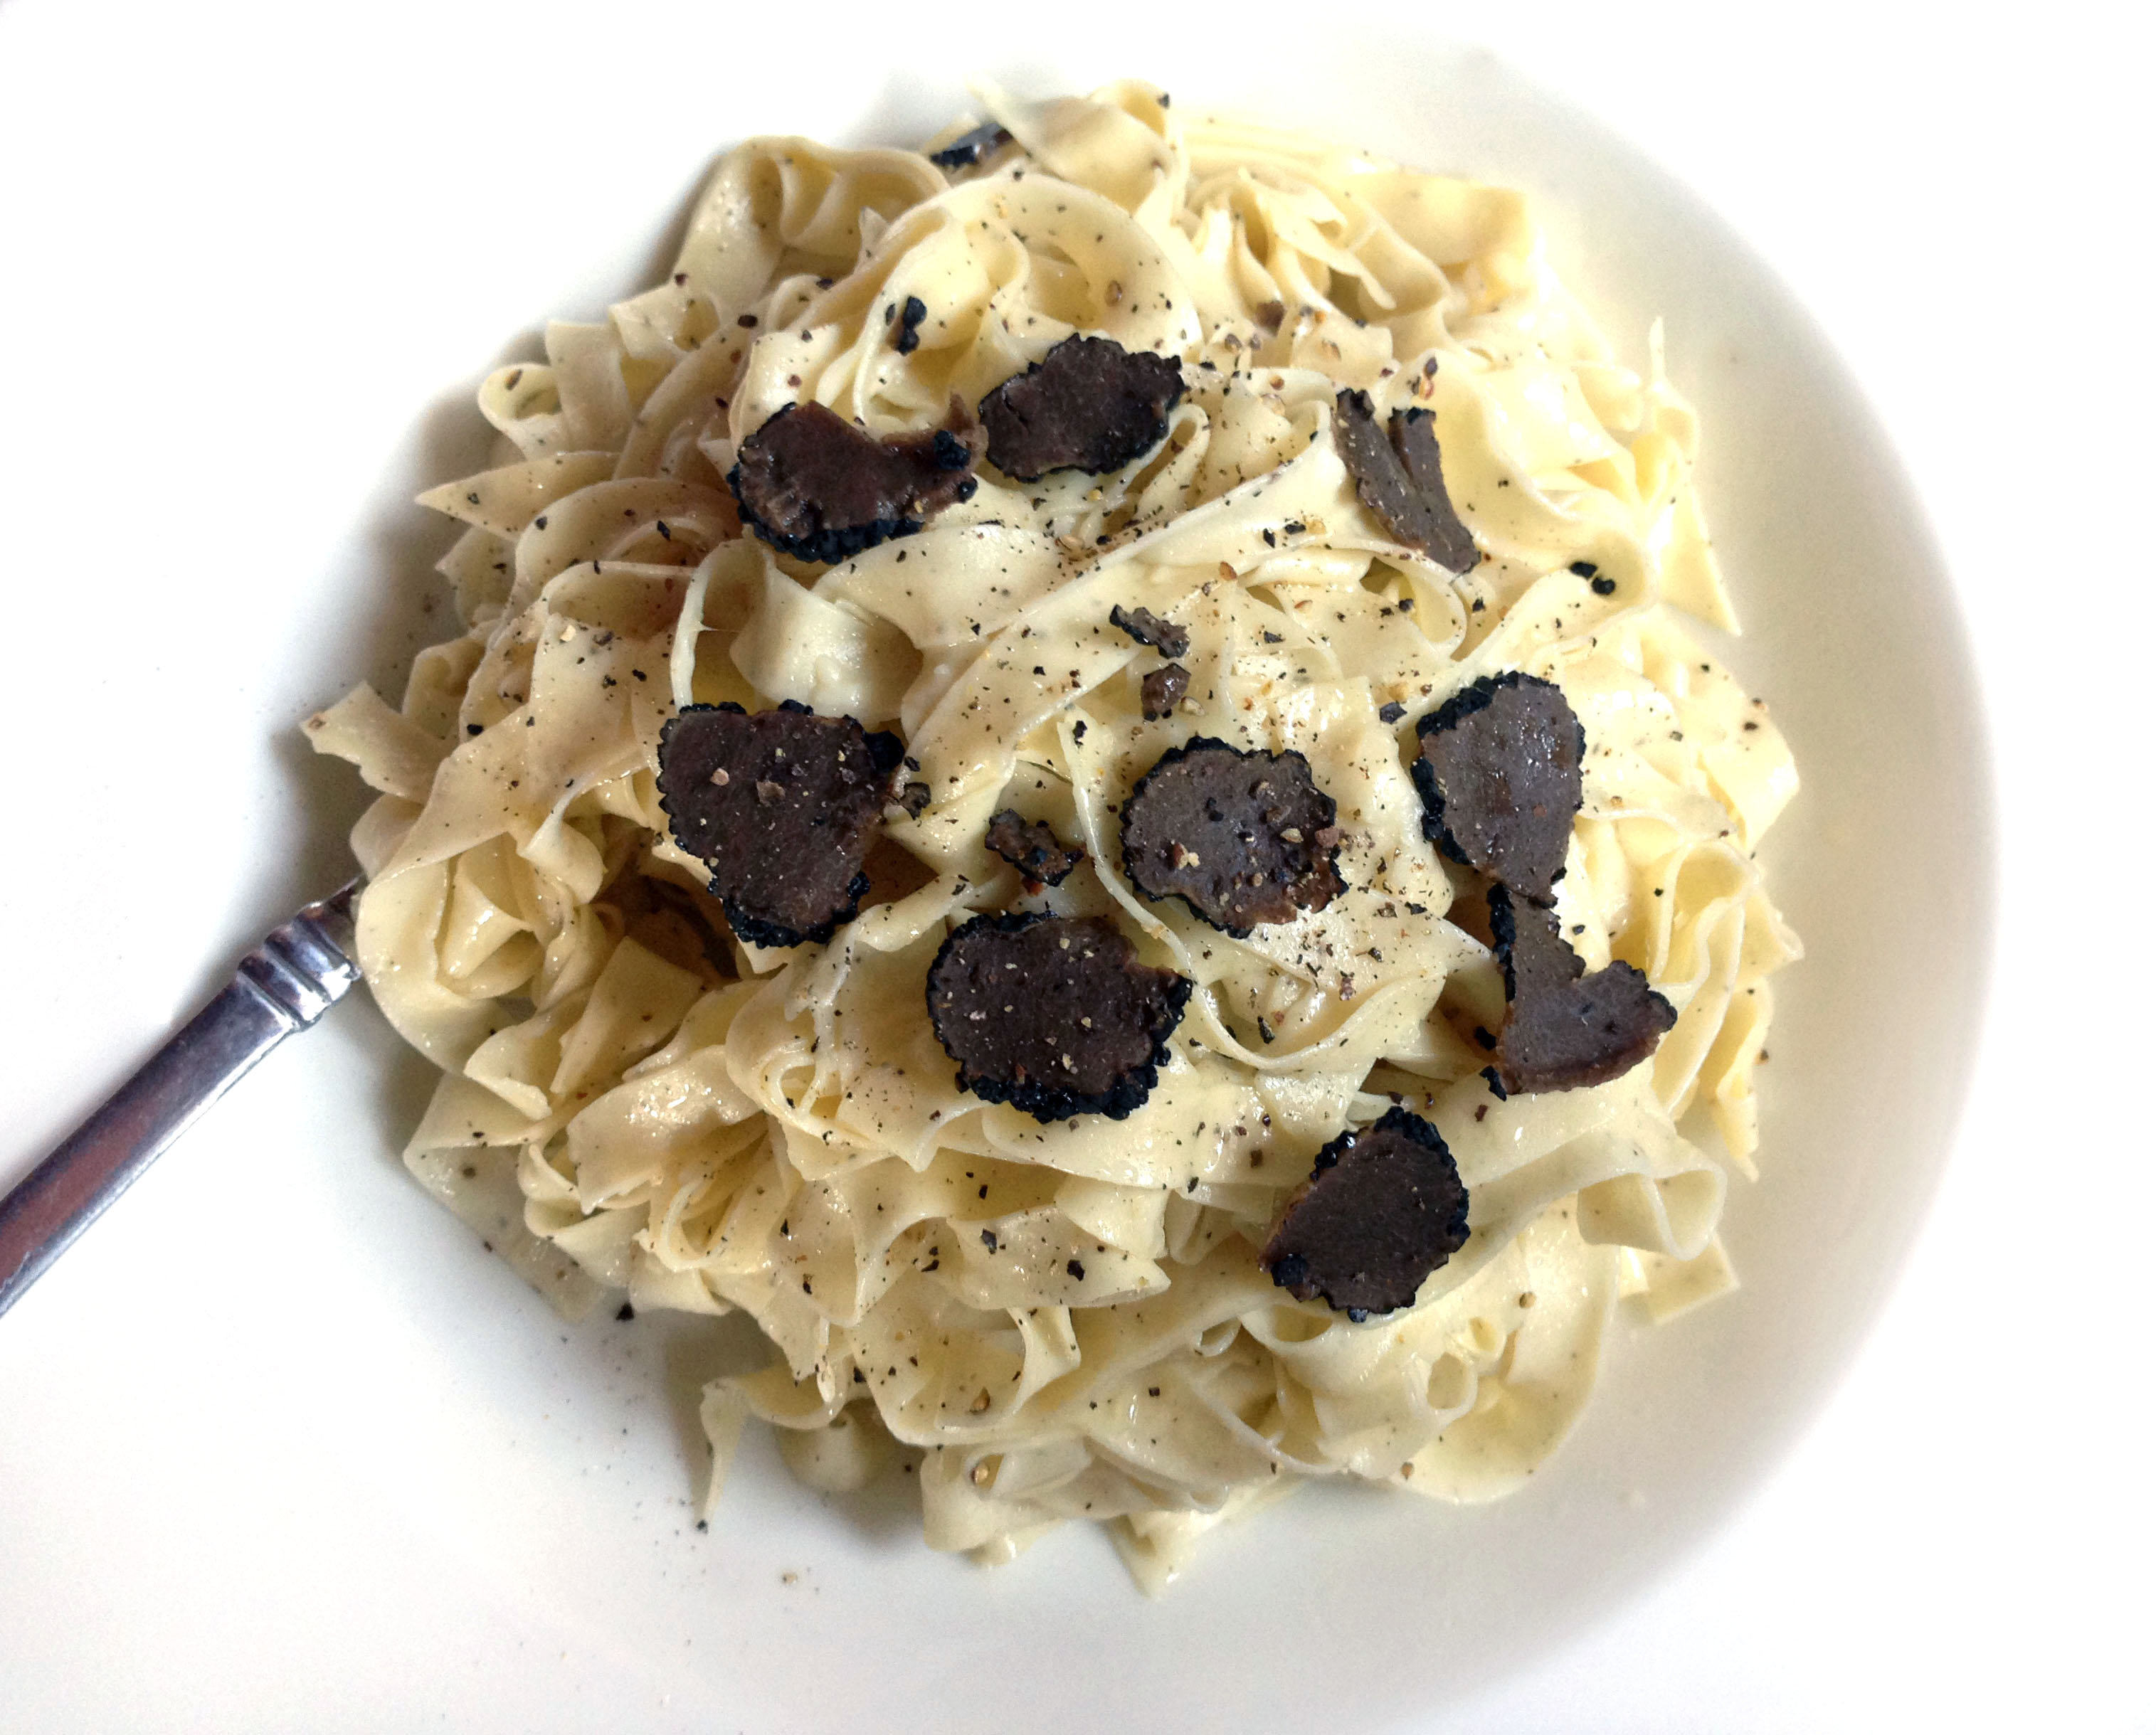
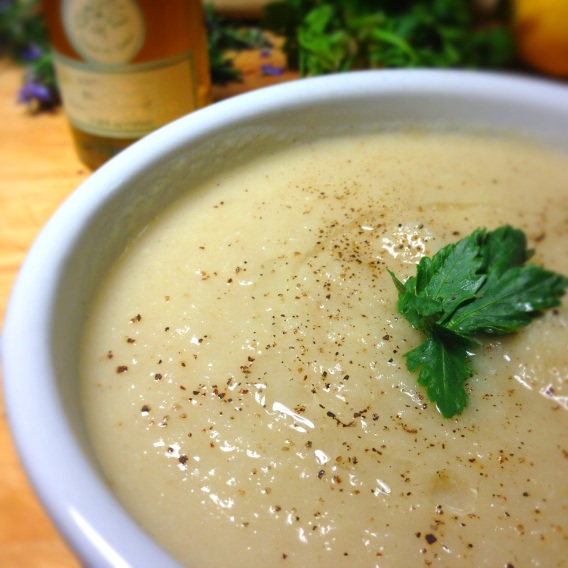
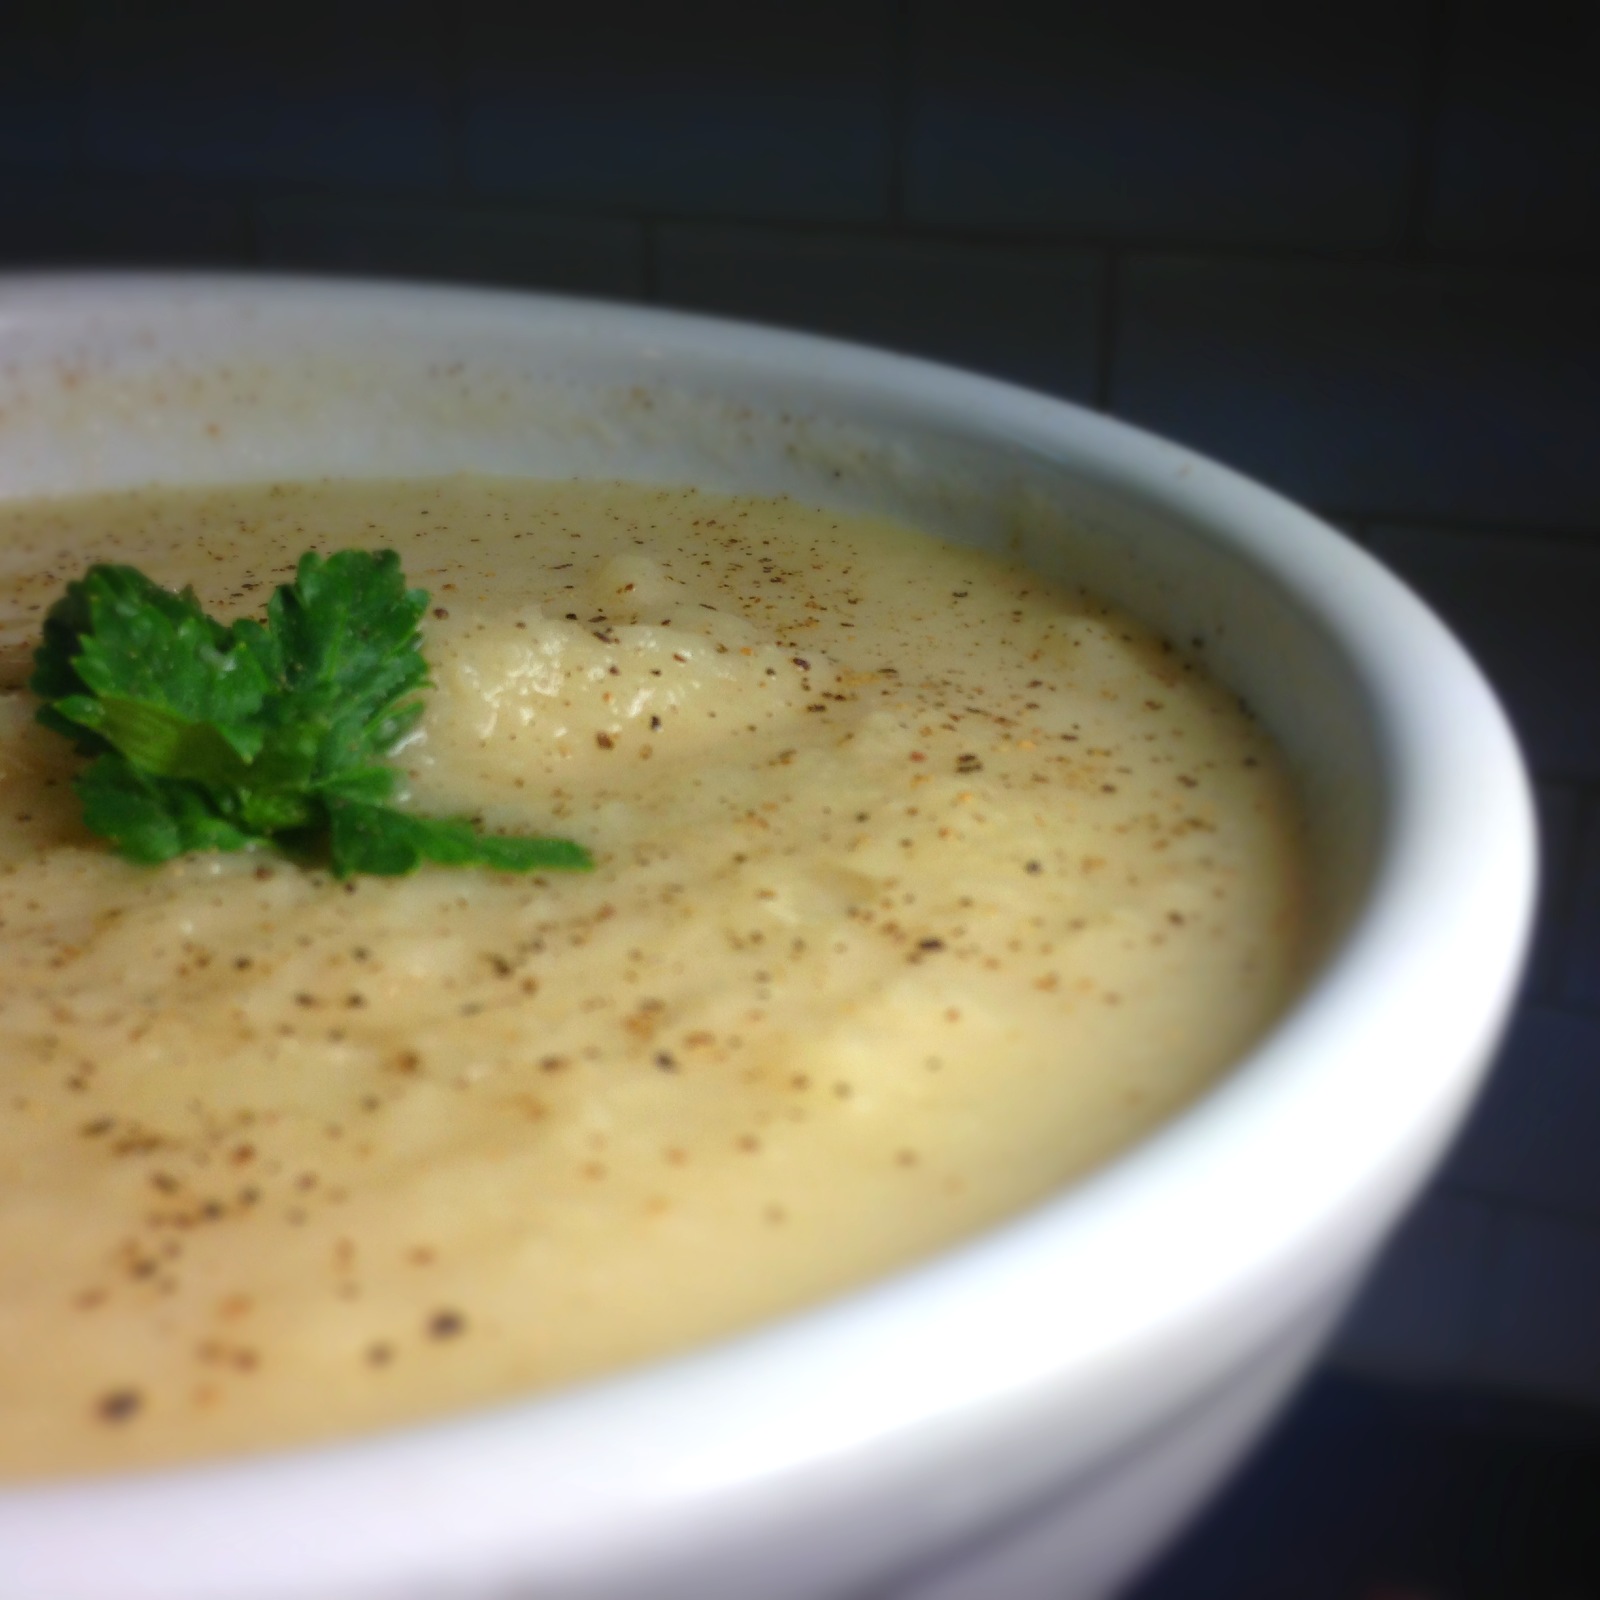
Plate the pasta & garnish with sliced truffles, truffle oil, salt & lots of freshly cracked pepper. Add more cheese, if you like.
If you are not using truffles, freshly chopped parsley is nice.